Are you tired of spending money on salon visits for a perfect French manicure look? Now, you can create beautiful nail designs at home with DIY nail tutorials.
Creating pink and white nails is simpler than you might think. This 5-step guide will show you how. You’ll get nail design ideas to get salon-quality nails without the high cost.
Key Takeaways
- Learn how to create a chic French manicure at home
- Discover the essential tools needed for a salon-quality finish
- Follow a simple 5-step process to achieve professional-looking nails
- Get tips on how to maintain your nail design for longer
- Explore various nail design ideas to suit your style
Introduction to Pink and White Nails
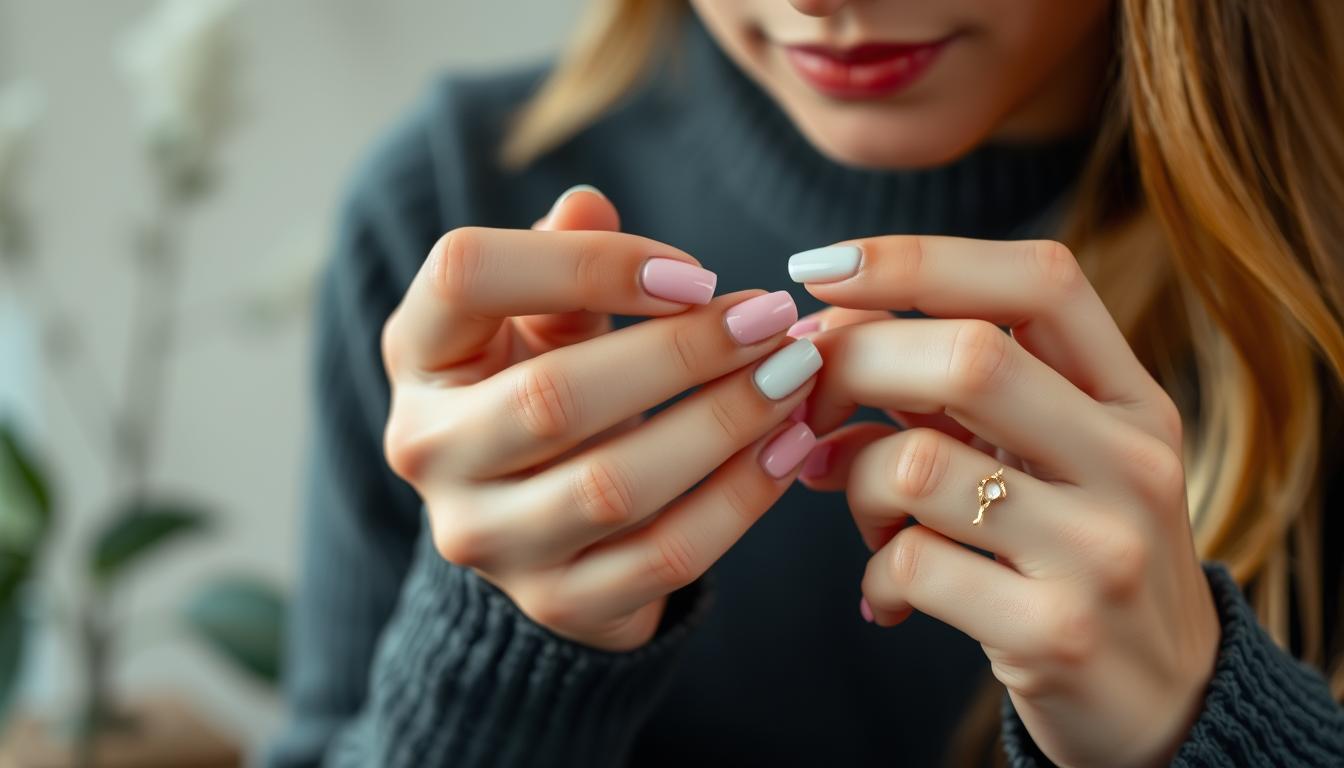
Pink and white nails are a chic and versatile choice for those who want to follow the latest trends. This classic combo is both timeless and adaptable. It suits many occasions, from everyday wear to formal events.
The beauty of pink and white nails is their simplicity and elegance. They are a staple in trendy manicure styles, giving a clean and polished look. They fit well with different outfits and styles, making them a favorite.
Pink and white nails are loved for their ability to match current trends. You can choose soft, subtle colors or vibrant ones. This combination is a blank canvas for creativity and personal touch.
Exploring pink and white nails shows their lasting appeal. Their timeless elegance and versatility make them more than a trend. They are a classic choice in beauty and nail care.
“Pink and white nails are a classic choice that exudes elegance and sophistication,” says a renowned nail artist. Many agree on the timeless beauty of this nail combination.
Why Choose Pink and White for Your Nails?
Pink and white nail polish combinations are both stylish and versatile. They are pleasing to the eye and fit well with many nail art designs and events.
Versatility and Style
Pink and white nails offer endless possibilities for nail art. You can go for a simple look with pink and white tips or try out detailed designs. This color combo is loved by many for its versatility.
There are countless nail design ideas with pink and white. You can pick from soft pastels to bold magentas and pair them with white. This lets you match your nails to your style, whether for a big event or everyday.
Suitable for Any Occasion
Pink and white nails are perfect for any event. They impress at weddings, galas, or for a daily look. The best nail salons suggest these designs for their timeless appeal and flexibility.
| Occasion | Nail Design Idea | Recommended Polish Combination |
|---|---|---|
| Formal Event | French tips with a twist, using vibrant pink and white | Bright pink with white tips |
| Everyday Look | Simple pink and white ombre | Soft pink gradating to white |
| Party or Special Occasion | Intricate designs with pink and white | Vibrant magenta with crisp white accents |
Choosing pink and white for your nails means you’re going for a vibrant nail polish combination that’s both stylish and versatile. This timeless duo will continue to be a hit with nail art lovers.
Essential Tools for Pink and White Nail Art
Top nail artists know that the right tools are key for perfect pink and white nail designs. To get professional results, you’ll need a few important items.
Nail Polishes Required
The base of any great nail art is the polish. For pink and white nails, you’ll need a top-notch white polish and various pink shades. Look for polishes from trusted brands for the best color and durability. Popular pink shades include soft pastel pinks, bright hot pinks, and gentle rose tones.
Brushes and Tools
You’ll also need different brushes and tools for your design. A nail art brush is key for fine details. A dotting tool helps with small patterns and designs. A nail art stamper or nail guide can give you sharp, clean lines.
Nail Art Accessories
To elevate your nail art, add some extra accessories. Nail stickers and nail gems bring elegance and sophistication. Nail guides help for a precise, salon-quality finish. You can find these online or at local beauty stores.
Step 1: Prepare Your Nails
A well-prepared nail is key to a salon-quality manicure at home. Getting your nails ready properly is the first step. It helps your pink and white nail design last longer and look better.
Clean and Trim
Start by cleaning and trimming your nails. Use a gentle nail polish remover to get rid of old polish. Then, trim your nails to the length you like. Make sure to file them into a shape that fits your style.
Tip: Use a nail clipper to carefully trim your nails. A nail file helps smooth out any edges.
Buff the Nail Surface
Buffing your nails is important for a smooth surface. Use a nail buffer to gently buff your nails. This removes ridges or imperfections.
“A smooth nail surface is key to a flawless manicure. By buffing your nails, you ensure that your nail polish adheres evenly and lasts longer.”
Here’s a simple table to guide you through the nail preparation process:
| Step | Action | Tool |
|---|---|---|
| 1 | Remove old polish | Nail polish remover |
| 2 | Trim nails | Nail clippers |
| 3 | Shape nails | Nail file |
| 4 | Buff nail surface | Nail buffer |
By following these steps, you can get a professional-looking manicure at home. Proper nail preparation is vital for a trendy manicure style that lasts.
Step 2: Apply a Base Coat
Applying a base coat is key in your nail care routine. It prevents staining and helps polish stick better. Nail care experts say a good base coat can greatly improve your manicure’s look and last.
A base coat does many things. It protects your nails from nail polish damage, makes a smooth surface for polish, and can nourish your nails. When picking a base coat, think about your nail type. For weak or brittle nails, choose one with strengthening ingredients.
To apply a base coat right, dip your brush into the bottle and remove excess. Then, paint a thin layer on your nails, starting in the center and moving outwards. Nail art lovers say, “A good base coat is the foundation of a great manicure.”
By following these steps, your nails are ready for the next part of your manicure. This includes picking the perfect pink shade for your nail polish.
Step 3: Choose Your Pink Shade

Finding the right pink shade can make your nail art pop. It’s important to pick a color that matches your skin tone. Look at the latest nail color trends to find the best fit for you.
Trending Pink Hues
Pastel shades are all the rage in pastel nail art. Soft pink colors can add a touch of elegance. Here are some trendy options:
- Soft blush tones
- Bubblegum pink
- Pastel rose
Selecting the Right Shade for Your Skin Tone
Choosing the right pink shade is key. Your skin tone plays a big role. Here’s how to pick the perfect shade:
| Skin Tone | Recommended Pink Shade |
|---|---|
| Fair | Soft pastel pinks |
| Medium | Bubblegum or bright pink |
| Tan | Hot pink or coral shades |
By picking a pink that matches your skin, your nail design will look amazing. It will also look great on you.
Step 4: Create the White Accents
After your pink polish dries, it’s time to add white details. White accents bring elegance and sophistication to your nails.
There are many ways to use white in your design. You can stick to classic styles or try more detailed designs.
French Tips Style
French tips are always in style. You’ll need a steady hand and a thin brush for this look. Start by painting a small tip at the end of your nail using white nail polish. Use nail guides or stickers for a clean line.
- Choose a nail polish that’s easy to control.
- It might take a few tries to get it right, so don’t worry.
- A nail art brush can help you get a precise line.
Geometric Designs
Geometric patterns add complexity to your design. These designs can be simple or very detailed. You can use guides or freehand with a thin brush.
- Stripes: Thin or thick stripes can make a bold statement.
- Triangles: Paint triangles at the tip or create a pattern.
- Chevron: A chevron pattern adds interest to your nails.
Adding white accents makes your nails stylish and elegant. Whether you go for a French tip or a geometric design, your nails will stand out.
Step 5: Seal with a Top Coat
Sealing your pink and white nail design with a top coat is key. This step keeps your nail art looking vibrant and intact for longer.
Using a top coat adds shine and protects your design from chipping and fading. You can pick from many types of top coats, depending on your nail care needs.
Types of Top Coats
There are several top coats you can use:
| Type | Description | Benefits |
|---|---|---|
| Glossy Top Coat | Adds a high shine finish | Enhances the appearance of your nail art |
| Matte Top Coat | Gives a flat, non-shiny finish | Provides a unique, stylish look |
| Long-Lasting Top Coat | Formulated to extend the wear of your nail polish | Reduces chipping and fading |
Importance of a Good Seal
A good top coat seals your design, protecting it from daily wear. Nail care experts say it’s not just an extra step, but essential for keeping your nail art looking good.
“A top coat is like the guardian of your nail polish. It keeps everything in place and makes your manicure last longer.” – Nail Care Professional
To make your nail polish last longer, apply a thin layer of top coat. Let it dry fully before touching anything.
By following these steps and choosing the right top coat, you can enjoy your pink and white nails for a longer time.
Tips for Maintaining Your Pink and White Nails
To keep your pink and white nails looking great, follow some simple tips. Regular care can extend the life of your nail design.
Regular Touch-Ups
Regular touch-ups are key to maintaining your nails. Check your nails often for chips or wear. Fix them right away.
- Check your nails weekly for any damage.
- Use a nail polish touch-up kit to fix minor chips.
- Consider visiting a professional nail technician for more significant repairs.
Avoiding Chips and Damage
Preventing chips and damage is vital. Daily activities can harm your nails. So, it’s important to take precautions.
- Wear gloves when washing dishes or using harsh chemicals.
- Avoid using your nails as tools (e.g., to open packages).
- Apply a top coat regularly to protect your nail polish.
Additional Tips: Use a nail strengthener to strengthen your nails. Be gentle when filing or buffing to avoid damage.
Common Mistakes to Avoid
Avoiding common mistakes is key for a lasting, beautiful pink and white nail design. Knowing these mistakes helps you prevent them. This way, your nail art will look its best.
Overloading on Polish
One big mistake is using too much polish. Too many coats can make your nails thick and prone to chipping. To fix this, apply thin coats. Let each coat dry fully before adding the next.
- Use a light touch when applying polish.
- Allow each coat to dry completely before adding the next.
- Avoid using too many coats, as this can lead to a thick finish.
Skipping the Base Coat
Another mistake is skipping the base coat. It protects your nails and helps polish stick better. Without it, your polish won’t last long, and your nails might stain. Always use a base coat before your pink and white polish.
By following these tips and avoiding common mistakes, you can get a beautiful, lasting pink and white nail design. Be patient and take your time with polish. And don’t forget the base coat.
How to Remove Pink and White Nails Safely
Removing pink and white nails safely is key for their health and look. It’s important to remove nail polish carefully to avoid harming your nails.
To begin, you need the right tools. Reliable nail polish removers are essential. Choose acetone-based removers. They work well without drying out your nails too much.
Recommended Removal Products
Here are some top nail polish removers:
- Acetone-based removers like OPI Nail Polish Remover or Zoya Nail Polish Remover
- Gentle, non-acetone removers for a more moisturizing option
| Product | Type | Benefits |
|---|---|---|
| OPI Nail Polish Remover | Acetone-based | Effective, fast-acting |
| Zoya Nail Polish Remover | Non-acetone | Gentle, moisturizing |
Proper Techniques
To safely remove your nails, follow these steps:
- Soak a cotton pad with nail polish remover and place it on your nail.
- Wrap the cotton pad with aluminum foil to trap the remover.
- Let it sit for 10-15 minutes before gently scraping off the polish.
Nail care experts say, “The key to safe nail polish removal is to be gentle and patient.”
“Gently removing nail polish is key to healthy nails. Avoid harsh chemicals or scraping too hard, as this can damage.”
By following these steps and using the right products, you can safely remove your nails without harm.
Nail Care FAQs

Thinking about pink and white nails? You might wonder how long they last and if you can easily change the design. Here are answers to common questions about nail care and design.
Longevity of Nail Designs
The life of your nail design depends on a few things. These include how well it was applied, aftercare, and your lifestyle. A good pink and white nail design can last up to two weeks without chipping much.
Changing Nail Designs
Yes, you can change your nail design. But it’s best to do so when you remove your old polish to avoid nail damage. If you want a new look, consider seeing a professional nail technician.
Here’s a comparison of different nail design types and how long they last:
| Nail Design Type | Longevity | Ease of Change |
|---|---|---|
| Pink and White Nails | Up to 2 weeks | Easy to change with professional help |
| Acrylic Nails | Up to 3 weeks | Can be more challenging to change |
| Gel Nails | Up to 2 weeks | Easy to change with proper removal |
Understanding nail care and design basics helps you enjoy your pink and white nails longer. You can also make changes as needed.
Conclusion: Flaunt Your Chic Pink and White Nails!
The world of nail art is full of endless possibilities. Your chic pink and white nails are just the start. You’ve not only got a beautiful nail design but also opened a world of creativity.
Encouragement to Experiment
Don’t be afraid to try new things with your nails. Experiment with different colors, patterns, and techniques. This will keep your nail art fresh and exciting.
Experimenting with nail designs lets you express your personality and style. You can mix and match elements to create a look that’s truly yours. Whether you like bold statements or subtle elegance, the most important thing is to have fun and be creative.
Final Thoughts on Nail Art
Nail art is more than just a beauty trend. It’s a way to express yourself and show your creativity. As you explore nail art, remember that practice makes perfect. Don’t get discouraged by mistakes – they’re chances to learn and get better.
| Nail Art Tips | Description | Benefit |
|---|---|---|
| Regular Touch-Ups | Maintain your nail design by touching up chips and fading colors. | Keeps your nails looking fresh and new. |
| Experiment with Colors | Try different color combinations to find your unique style. | Enhances your personal style and creativity. |
| Practice Nail Art | Regularly practice different nail art techniques. | Improves your skills and confidence. |
In conclusion, your journey into nail art is just starting. With nail art inspiration and the skills you’ve learned, you’re ready to create stunning designs. Keep experimenting and most importantly, have fun with it!
Additional Resources for Nail Art Lovers
Now that you’ve mastered the art of chic pink and white nails, it’s time to explore more. You can find a wealth of information on various platforms to enhance your skills.
Recommended YouTube Channels
YouTube is a great place for nail art tutorials. Channels like Nail Art by Lisa and Polish Up offer a wide range of tutorials. You can learn simple designs to complex patterns, including gel extensions and nail art with different materials.
Popular Nail Art Blogs
Nail art blogs are also a great resource. Websites like Nail It! and Nail Art Diary feature the latest trends, tutorials, and product reviews. You can stay updated with the latest styles and learn new techniques to try at home.