Are you ready to dive into the world of underwater-inspired beauty with a mesmerizing nail design? Can you achieve a salon-quality, shimmering nail look at home? Mermaid-inspired nails are all the rage. Now, you can get gorgeous, ocean-like nails in just a few simple steps.
Mermaid-inspired nail art draws inspiration from the ocean’s beauty. It’s a favorite among nail enthusiasts. By following a straightforward guide, you can achieve a stunning nail look that shines like the ocean’s treasures.
Key Takeaways
- Learn the simple steps to achieve a gorgeous nail design at home.
- Discover the secrets to a salon-quality, shimmering nail look.
- Get inspired by the ocean’s beauty with mermaid-inspired nail art.
- Follow a straightforward guide to achieve stunning nails.
- Explore the world of underwater-inspired beauty.
Understanding Pink Mermaid Nails
Pink mermaid nails are all the rage in the nail art world. They catch the eye with their bright colors and designs that remind us of the ocean. These nails are more than just a trend; they’re a way to express yourself through art and a love for the sea.
What Are Pink Mermaid Nails?
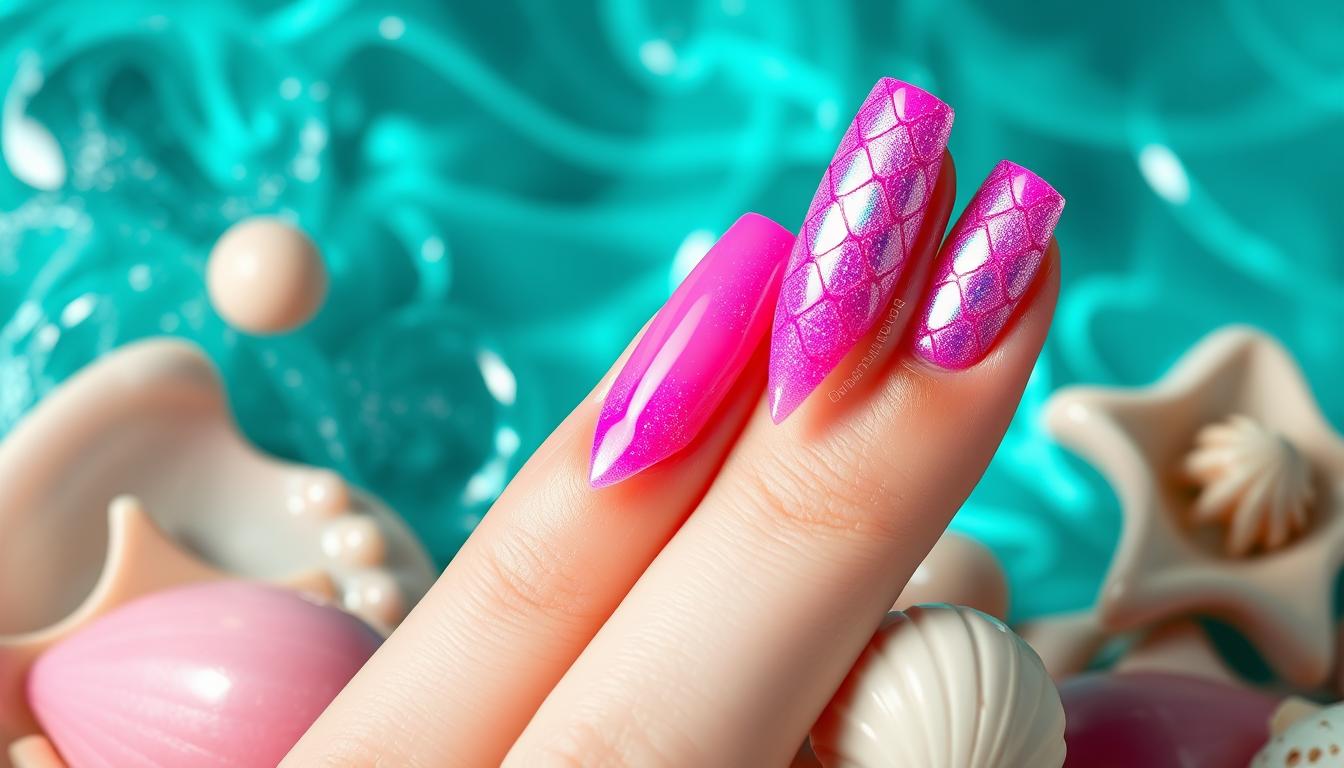
Pink mermaid nails use pink shades mixed with sparkles and patterns that look like the ocean. They’re inspired by mermaids, symbolizing freedom and the sea’s charm. The pink adds a feminine and soft touch to the design.
Popular Variations of Pink Mermaid Nails
There are many types of pink mermaid nails that people love. These include:
- Ombre effects that go from soft pink to darker shades, like the ocean’s depths.
- Glittery finishes that shine, like the sun on water.
- Nail art with seashells, fish, or other sea creatures.
Pink mermaid nails are great for creativity, making them a hit with nail art fans.
| Variation | Description | Key Features |
|---|---|---|
| Ombre Pink Mermaid | A gradual transition from soft pink to a deeper shade. | Soft pink, deep pink, ombre effect. |
| Glittery Mermaid | A shimmering finish that adds a reflective quality. | Glitter, shimmer, pink base. |
| Oceanic Nail Art | Designs that incorporate elements inspired by the ocean. | Seashells, fish, ocean motifs. |
Essential Tools for Pink Mermaid Nails
To make stunning pink mermaid nails, you need the right nail polish and art supplies. This trendy nail design requires the right tools and knowing how to use them.
Nail Polish Colors to Consider
The color palette is key for pink mermaid nails. Start with different shades of pink, from soft pastels to bright magentas. Add blues, greens, and purples to get that shimmering mermaid look.
Popular finishes for mermaid nails include:
- Glitter for extra sparkle
- Shimmer for a pearlescent sheen
- Metallic for a bold, shiny finish
Necessary Nail Art Supplies
For detailed mermaid nail designs, you’ll need some basic supplies. These include:
| Supply | Description | Use |
|---|---|---|
| Nail art brushes | Fine brushes for detailed work | Creating patterns and designs |
| Glitter and foils | Materials for adding sparkle and shine | Enhancing the mermaid effect |
| Nail guides | Stickers or tapes for clean lines | Assisting in precise application |
Setting Up Your Workspace
A clean, organized workspace is essential for pink mermaid nails. Make sure you have a stable surface and all supplies within reach. Good lighting helps with precision and avoids mistakes.
With the right nail polish and supplies, and a well-set workspace, you’re ready to create stunning trendy nail designs that highlight your nail beauty.
Preparing Your Nails for Application
Getting your nails ready is key for a stunning pink mermaid manicure. To get nail inspiration that stands out, start with the basics.
Nail Shaping Techniques
Shaping your nails is the first step. You can pick from oval, square, or almond shapes. Choose one that fits your natural nail and style.
- Use a nail file to gently shape your nails.
- Choose a shape that complements your nail bed and personal style.
- Avoid filing too much, as this can weaken your nails.
Cuticle Care Essentials
Cuticle care is vital for a manicure that looks professional. Healthy cuticles make your nail art look better.
- Soften your cuticles by soaking your fingers in warm water.
- Gently push back your cuticles using a cuticle pusher.
- Apply a cuticle oil to moisturize and protect your cuticles.
Cleaning Your Nails
Cleaning your nails is key for smooth polish application. Remove oils or lotions before you start.
- Use a nail cleanser to remove dirt and oils.
- Wipe your nails clean with a lint-free wipe.
- This step helps your nail polish adhere better.
By following these steps, you’ll get a beautiful pink mermaid nail design. It will show off your personal style and nail inspiration.
Creating the Base Layer
To get a stunning pink mermaid manicure, start with a solid base layer. This step helps your polish stick better and last longer. A good base coat protects your nails and makes polish application smooth.
Choosing the Right Base Coat
Picking the right base coat is key for your pink mermaid nails. Choose one that nourishes and protects your nails. Some have keratin or calcium to strengthen your nails. Look for a base coat with a primer to help your polish stick better.
“A good base coat is like a good foundation for a building; it provides the necessary support for everything that follows,” says nail expert, Jane Smith.
“Using a high-quality base coat can significantly extend the life of your manicure and improve the overall appearance of your nails.”
Applying the First Coat of Pink
After your base coat, it’s time for pink polish. Choose a pink that matches your skin tone. For a mermaid look, start with a light pink and add darker shades. Apply the first coat thinly and evenly over the nail.
Remember, patience is key when applying the first coat. Let it dry completely before adding more. This prevents smudges and gives a smooth finish.
Adding Mermaid Effects
Transform your nails into a shimmering mermaid-inspired masterpiece with the right techniques. The key is to add elements that give your nails a multidimensional, oceanic look.
Incorporating Glitter and Foils
Glitter and foils are key for a shimmering mermaid nail art look. Start with a base coat that matches your glitter color. Then, dab glitter onto your nails with a sponge or brush, focusing on desired areas.
For foils, apply glue or adhesive to your nail and place the foil on top. Smooth out air bubbles or wrinkles with a cotton swab or foil smoother. Using holographic or iridescent foils adds depth to your nail art.
Techniques for Ombre Effects
Ombre effects can enhance the mermaid look by creating a gradient. This gradient transitions from one color to another, like a mermaid’s tail scales. Use a makeup sponge to apply polish layers, starting with lightest color at the cuticle and darkest at the tip.
Blend colors seamlessly. Using a clean-up brush dipped in nail polish remover can correct mistakes. Dry each layer before adding the next to avoid thick polish.
Using Pearlescent Tones
Pearlescent tones add a lustrous, oceanic sheen to your nails. Apply a pearlescent top coat over your base color. This gives your nails a subtle shine, like mermaid scales.
| Technique | Description | Effect |
|---|---|---|
| Glitter Application | Applying glitter on a base coat | Shimmering, multidimensional look |
| Ombre Effects | Gradual color transition | Mimics mermaid scales |
| Pearlescent Tones | Applying pearlescent top coat | Lustrous, oceanic sheen |
By combining these techniques, you can create stunning nail art that looks like a mermaid. Try different colors and effects to find your favorite.
Top Coats for a Flawless Finish

To seal in your nail art and add shine, a top coat is essential. It protects your nail design from chipping and fading. It also gives your nails a glossy finish that catches the light.
The right top coat can make a big difference in nail trends. It enhances the colors of your nail art, adds extra durability, and can even strengthen your nails or dry quickly.
Why a Top Coat is Important
A top coat is the final layer of your nail polish application. It acts as a sealant that locks in your design. This layer is important for several reasons:
- It protects the nail polish from chipping and fading.
- It adds shine to your nails, making your nail art more vibrant.
- Some top coats offer additional benefits, such as nail strengthening or anti-aging properties.
Using a top coat can significantly extend the life of your manicure. It keeps your pink mermaid nails looking fresh and vibrant for longer.
Recommended Top Coat Products
Choosing the right top coat can be overwhelming with so many options. Here are some top-rated options that are popular among nail enthusiasts:
| Product | Features | Price Range |
|---|---|---|
| Sally Hansen Miracle Nail Thickener Top Coat | Helps to thicken and strengthen nails | $10-$15 |
| Seche Vite Dry Fast Top Coat | Dries quickly to prevent smudging | $8-$12 |
| Essie Good to Go Top Coat | Quick-drying and chip-resistant | $9-$14 |
When selecting a top coat, consider your specific nail needs. Look for durability, shine, or nail health. Experimenting with different products can help you find the perfect top coat for your pink mermaid nail art.
By incorporating a high-quality top coat into your nail care routine, you can enjoy a flawless, long-lasting finish. This showcases your nail art. Whether you’re a seasoned nail enthusiast or just starting out, the right top coat can elevate your nail trends game and keep your nails looking their best.
Nail Art Design Ideas
Explore the enchantment of mermaid nail art and learn to make stunning designs at home. Mermaid nail designs are now very popular. With the right techniques, you can get salon-quality nails right in your home.
Simple Designs for Beginners
For beginners, start with simple designs. Try a basic pink mermaid nail design and then move to more complex ones. Use a nail polish color chart to pick the right shades for your mermaid look.
- Start with a light pink base coat.
- Add shimmering shades for a mermaid effect.
- Finish with a top coat to seal your design.
Advanced Techniques for Experts
For those more experienced, try advanced techniques like layering glitter, using nail foils, or creating ombre effects. Playing with different colors and textures can create unique mermaid nail designs.
| Technique | Description | Tips |
|---|---|---|
| Layering Glitter | Apply glitter polish on top of a base color. | Use a glitter polish that’s not too chunky. |
| Nail Foils | Apply nail foils to create metallic effects. | Use a special adhesive for better adhesion. |
| Ombre Effects | Gradually blend colors from dark to light. | Use a makeup sponge to blend colors. |
Seasonal Themes for Your Nails
You can also tailor your mermaid nail designs to fit seasonal themes. For example, in summer, use brighter, more vibrant colors. Autumn might call for warmer, earthier tones.
“Nail art is a form of self-expression, and with mermaid designs, you can let your creativity shine through.” – Nail Art Enthuasiast
To incorporate seasonal themes, consider the following:
- For summer, use bright colors and add beach-inspired elements like seashells.
- For autumn, switch to warmer tones and add leaf patterns or other fall-themed designs.
Caring for Your Pink Mermaid Nails
Proper care keeps your pink mermaid nails looking great and healthy. Taking good care of them makes them last longer.
Maintaining Nail Health
To keep your nails in top shape, follow some easy steps. First, keep your nails moisturized with a good cuticle oil. This stops them from getting dry and brittle.
- Use a nail brush to gently clean under your nails.
- Avoid using your nails as tools.
- Wear gloves when washing dishes or using harsh chemicals.
Tips to Extend the Life of Your Manicure
Keeping your manicure looking fresh involves good habits and the right products. Applying a top coat regularly seals your polish and prevents chips.
- Apply a top coat every few days.
- Avoid exposing your nails to extreme temperatures.
- Be gentle when opening packages or performing tasks that might strain your nails.
By following these tips, your pink mermaid nails will last longer. They’ll stay beautiful and healthy. For more nail inspiration, check out nail art designs or talk to a nail expert.
Troubleshooting Common Issues

Pink mermaid nails are a stunning choice, yet they can sometimes be plagued by issues such as bubbles, uneven application, and color chipping. Fortunately, many of these problems can be easily addressed with the right techniques and a bit of practice.
Fixing Bubbles and Uneven Application
Bubbles and uneven application are common issues when creating trendy nail designs like pink mermaid nails. To fix bubbles, gently smooth out the nail polish with a brush, or use a small dotting tool to pop the bubbles. For uneven application, try using a nail polish with a built-in brush that allows for more precise control.
- Use a base coat to create a smooth surface for your nail polish.
- Apply thin coats of polish, allowing each coat to dry before adding the next.
- Finish with a top coat to seal in your design and add shine.
What to Do If Color Chips
Color chipping can be frustrating, but it’s not the end of the world. To prevent chipping, make sure to apply a top coat that’s designed to protect your nails. If chipping does occur, you can try touching up the affected area with a small brush.
Tips to prevent color chipping:
- Use a high-quality top coat that’s formulated to last.
- Avoid using your nails as tools, as this can cause chipping.
- Wear gloves when doing dishes or engaging in other activities that can dry out your hands.
Popular Trends in Pink Mermaid Nail Art
Pink mermaid nails are now a big deal in nail art. They’re influenced by the latest fashion and what celebrities wear. These trends let you show off your style and keep up with the latest trends.
Nails Inspired by Current Fashion
Current fashion trends really shape nail art. For example, the comeback of 80s and 90s fashion means bold, bright nail colors and cool designs. You can add these trends to your pink mermaid nails by:
- Using neon pink shades that remind you of neon-lit runways.
- Adding metallic foils and glitters, like the metallic fabrics seen on catwalks.
- Trying ombre effects that go from soft pastels to bright pinks, like the latest fashion prints.
Celebrity Influences on Nail Art
Celebrities really set the trend for nail art, and pink mermaid nails are no different. When someone like Kate Hudson or Billie Eilish shows off a bold nail look, it quickly becomes a hit. You can get ideas from their styles by:
| Celebrity | Nail Art Inspiration |
|---|---|
| Kate Hudson | Soft pink mermaid nails with a bit of glitter |
| Billie Eilish | Bold, neon pink nails with edgy, metallic touches |
By keeping up with the latest fashion and celebrity trends, you can keep your nail art fresh. This way, your pink mermaid nails will always be in style.
Spotlight on Nail Salons
Finding gorgeous pink mermaid nails begins with the right nail salon and technician. With many choices, picking the best can be tough. We’ll show you top salons for pink mermaid nails and tips for choosing the right technician.
Best Salons for Pink Mermaid Nails
Look for salons with experience in mermaid nail designs. Some salons stand out for their nail art skills. Here are a few to consider:
| Salon Name | Location | Specialty |
|---|---|---|
| Nail Artistry | New York, NY | Mermaid Nail Designs |
| The Nail Lounge | Los Angeles, CA | Custom Nail Art |
| Nail Bliss | Chicago, IL | Pink Mermaid Nails |
Tips for Choosing the Right Nail Technician
Choosing the right nail technician is key. Here are some tips to help you:
- Check their portfolio: Look at their past work to see if they can do mermaid nails.
- Read reviews: See what others say about their work.
- Ask about their sanitation practices: Make sure they keep things clean for your health.
By following these tips and visiting a reputable salon, you can get the pink mermaid nails you dream of. The right technician can really make your nail art stand out.
DIY vs. Salon: Making the Choice
Choosing between DIY nail art and a salon depends on your skill and what you want. For a pink mermaid manicure, think about the good and bad of each option.
Pros and Cons of DIY Applications
DIY nail art lets you be creative at home. You can try new designs and techniques without salon stress. But, it needs skill and patience. If you’re new, getting the look you want might be tough.
DIY has some perks:
- Cost-effective: You can save money with products at home.
- Flexibility: Work on your nails whenever you like.
- Creativity: Try out different designs and techniques.
But, DIY can take a lot of time, and the look might not be perfect. As “Nail art is not just about applying polish; it’s about creating a miniature work of art.” Mistakes like uneven coats or smudges can happen.
Benefits of Professional Services
Going to a salon gets you top-notch results that are hard to do at home. Nail techs can make detailed designs and ensure a perfect finish. For example, check out pink stiletto nails for ideas.
Salon services have many benefits:
- Expertise: Techs know how to do complex designs.
- Quality products: Salons use products that won’t harm your nails.
- Time-saving: Get your nails done fast and well.
As a seasoned nail artist once said,
“The key to a great manicure is not just the nail polish, but the care and attention to detail.”
Salon services offer a relaxing experience and a lasting beautiful finish.
Conclusion: Making Your Pink Mermaid Nails Shine
Creating gorgeous pink mermaid nails is a journey. It combines technique, creativity, and personal style. You’ve followed steps to achieve this stunning look. You’ve not only enhanced your nail beauty but also discovered new nail inspiration.
Your Unique Nail Art Expression
Your personal style makes your nail art special. By trying different shades of pink, glitter, and mermaid effects, you express yourself. Whether you want a subtle shimmer or a bold design, your nails show your unique taste.
Embracing the Journey
The journey of creating your pink mermaid nails is key. Enjoy the process and don’t be afraid to try new things. With each try, you’ll get more confident and skilled. This will lead to even more stunning nail art in the future.