What if one simple styling trick could transform your look instantly? The answer lies in a technique that’s dominated red carpets and everyday routines for over a century. Celebrities like Jennifer Lopez, Zendaya, and Hailey Bieber aren’t just following trends—they’re reviving a classic that works for everyone.
This method creates natural balance, letting your hair fall with effortless sophistication. It adapts to straight, curly, short, or long textures, proving versatility isn’t just a buzzword. The secret? A deep, intentional part that frames your features while adding polish.
Why does this approach remain iconic? It’s not about rigid rules—it’s about enhancing what you already have. Whether you crave casual elegance or Hollywood glamour, mastering this style unlocks endless possibilities. Ready to learn how?
Key Takeaways
- Celebrities are driving the resurgence of this classic styling method.
- Works for all hair types, lengths, and face shapes.
- Creates instant balance and enhances natural features.
- Offers flexibility for both relaxed and formal occasions.
- Prepares you for step-by-step styling guides later in the article.
Introduction: Discover Your Perfect Side Part Haircut

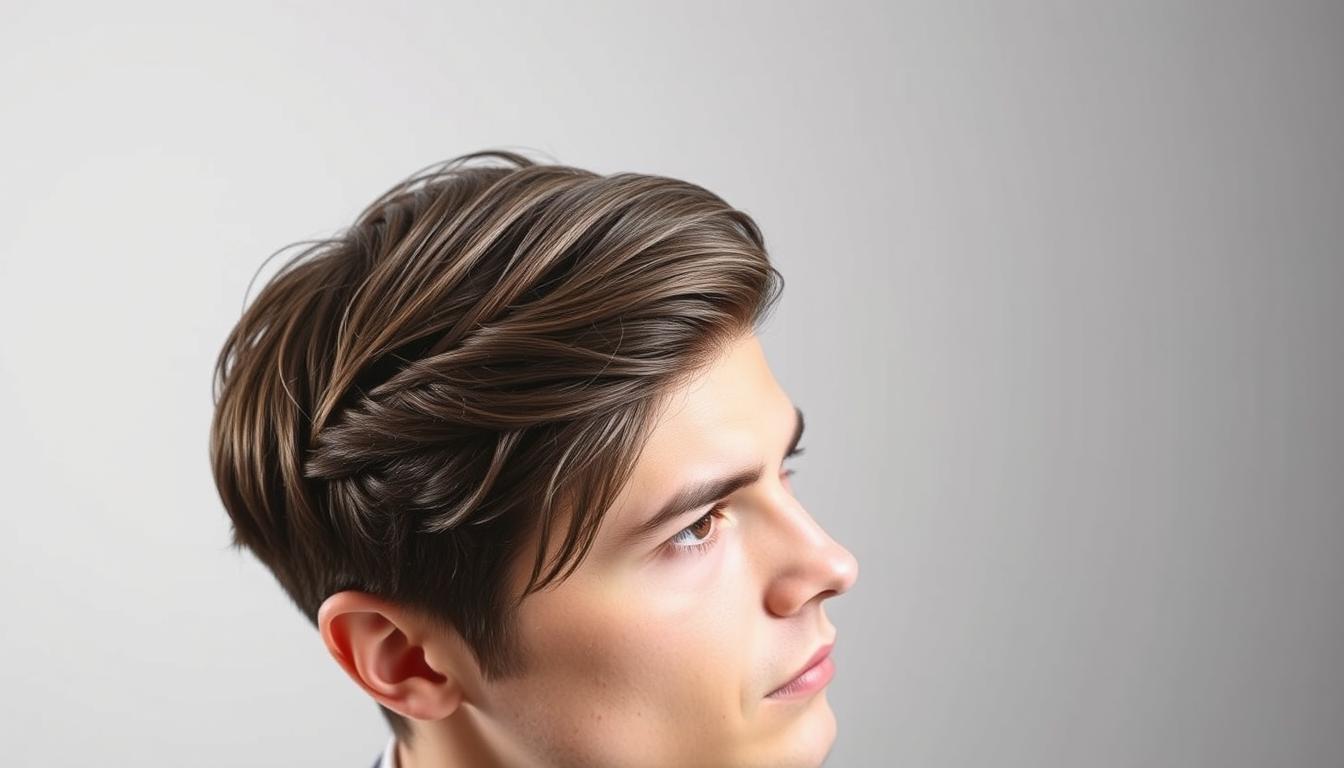
Red carpets and Instagram feeds agree: the classic off-center style is back. From boardrooms to brunch dates, this retro-inspired look delivers instant polish without the fuss. Its revival isn’t random—modern stylists praise its ability to elevate any texture or length with minimal effort.
Why Everyone’s Talking About This Trend
Fashion icons choose this method for three reasons:
- Universal appeal: Works whether your strands are pin-straight or tightly coiled
- Quick transformation: Creates structure in under a minute
- Style chameleon: Pairs with messy buns or sleek blowouts
What makes it timeless? The diagonal line draws attention to cheekbones and jawlines, acting like natural contour. It also disguises cowlicks or uneven growth patterns—no scissors required.
Busy mornings become easier when your go-to style adapts to last night’s hair wash schedule. Curtain bangs? Slicked-back ponytail? The foundational separation stays relevant. Even better: it costs nothing to try.
Trends and Celebrity Inspirations

Hollywood’s biggest stars are redefining classic elegance with fresh takes on a signature technique. From crimson carpets to casual outings, this styling choice adapts to any personality or occasion.
Celebrity Styles Featuring a Side Part
Jennifer Lopez pairs her deep separation with cascading waves for red carpet events, while Zendaya elevates wet-look buns using precise placement. Jessica Chastain’s copper-toned layers gain dimension through strategic directional styling.
Michelle Williams’ cropped cut demonstrates how minimalism meets sophistication. For retro flair, Skai Jackson’s flipped ends nod to 1960s icons without sacrificing modern edge. Karlie Kloss reinvents formal updos by anchoring sleek buns with angled foundations.
Trend Analysis in the United States
Recent Google Trends data shows a 140% surge in searches for this technique since 2022. Urban centers like New York and Los Angeles lead adoption rates, with these popular variations:
| Style | Age Group | Popularity |
|---|---|---|
| Tousled Waves | 25-34 | 42% |
| Sleek Buns | 18-24 | 31% |
| Retro Flicks | 35-44 | 19% |
Salon bookings reveal 68% of clients now request this foundational technique during consultations. Stylists attribute its growth to social media tutorials showcasing customizable approaches for different textures.
Steps to Achieve a Flawless Look
Transforming your hair from messy to masterpiece starts with the basics. Chicago stylists Jenna Spino and Raven Hurtado reveal their blueprint for salon-worthy results at home. “The right prep work determines whether your style lasts 2 hours or 12,” they emphasize.
Preparation and Pre-Styling Tips
Begin with damp, towel-dried strands. Apply a nickel-sized amount of leave-in conditioner from roots to ends. Follow with heat protectant—this duo creates slip for styling while shielding against damage.
For extra volume, flip your head upside down while blow-drying roots. Use a pick to lift sections before they cool. This creates lasting lift without sticky products.
Sectioning and Perfect Part Placement
Locate your natural crown swirl using a rat-tail comb. Draw an imaginary line from this point to your eyebrow arch—that’s your ideal placement. Secure top layers with clips to avoid confusion.
Create crisp lines by combing small sections at a time. Hold tension near the roots for precision. Pro tip: Mist a toothbrush with hairspray to tame baby hairs along the divide.
Finishing Touches and Product Use
Lock in your work with a light-hold spray. For sleek styles, glide a boar bristle brush coated with serum over flyaways. Prefer texture? Scrunch waves with sea salt spray using upward motions.
Maxine Salon experts recommend this final check: Tilt your head side-to-side in natural light. Adjust any uneven sections before leaving the mirror. Your look should feel secure but never stiff.
Tips for Styling a side part haircut
Mastering a polished appearance starts with the right arsenal. Professional results demand precise tools and insider knowledge about product layering. Let’s explore the essentials that turn ordinary styling into red-carpet-ready artistry.
Choosing the Right Tools and Products
Curling iron size dictates your final look. Use 1.25″ barrels for short layers and 1.5″ for shoulder-length waves. A Denman brush smooths coils, while round brushes lift roots during blowouts. Flat irons with adjustable heat settings prevent damage on fine strands.
Top salon picks include:
- Trademark Beauty The Sunny Styler: Creates retro flicks in seconds
- Oribe Imperial Blowout Cream: Adds weightless volume
- Curl Control Silkening Cream: Defines ringlets without crunch
Expert Tips and Tricks from Stylists
Jenna Spino reveals her pro secret: “Apply heat protectant first, then mousse. This combo locks styles longer.” Raven Hurtado recommends working in 2″ sections with medium heat for defined waves.
Key techniques:
- Start styling at 350°F for thick hair, 300°F for fine textures
- Cool curls around the iron for lasting bounce
- Spritz roots with dry shampoo before parting for extra grip
Always finish with a flexible hold spray. This keeps movement intact while taming flyaways. Remember: Layering lightweight products prevents buildup and maintains shine.
Tools and Products for the Ultimate Look
Elevate your styling game with salon-approved essentials that deliver red-carpet-ready results. Top stylists rely on specific formulas to create lasting volume, definition, and movement. These professional picks work across all textures while protecting strands from heat and humidity.
Product Recommendations from Top Salons
New York’s Maxine Salon artistic director shares their must-haves: “Layering lightweight products creates structure without stiffness. Start with a strong foundation, then build upward.”
| Product | Best For | Key Benefit |
|---|---|---|
| Oribe Imperial Blowout Cream | Heat styling | 72-hour frizz control |
| Trademark Beauty Sunny Styler | Retro waves | Adjustable barrel sizes |
| RPZL Volumizing Powder | Fine hair | Root lift + texture |
For curly textures, Oribe’s Curl Control Silkening Cream defines coils while maintaining separation. Wax sticks tame flyaways along divisions, creating sharp lines that last through humidity. Always finish with a humidity-resistant spray—it locks styles without crunch.
Pro tip: Apply volumizing mousse to damp roots before blow-drying. This creates lift exactly where you need it. Pair with a boar bristle brush for smoothness or a diffuser for bounce.
Styling Techniques for Every Hair Texture
Your hair’s natural texture dictates the roadmap to flawless styling. Whether your strands cascade in loose waves or spring into tight coils, customized methods unlock polished results. These techniques work with your hair’s unique patterns—not against them.
Techniques for Straight and Wavy Hair
Start with a 1.25″ curling iron held horizontally. Wrap 2″ sections away from your face for balanced movement. Cool curls completely before gently brushing them out with a wide-tooth comb—this creates soft, lived-in waves.
Blow-dry with a round brush to lift roots. Angle the nozzle downward to smooth ends. For sleek finishes, flat iron in small vertical sections at 350°F. Pro tip: Spritz texturizing spray at mid-lengths for grip without crunch.
Handling Curly and Coily Hair
Apply leave-in conditioner to soaking wet strands. Use a pick to lift roots while air-drying. For defined spirals, twirl sections around your finger after applying curl cream. “This technique mimics your natural pattern while adding uniformity,” explains Atlanta stylist Lina Patel.
Strong-hold gels create polished wet looks. Rake product through hair, then smooth with a Denman brush. Diffuse on low heat until 80% dry to prevent frizz. Touch up stubborn areas with a micro-edge brush dipped in water.
Expert Advice: Mastering the Side Part
Elevate your styling game with insider knowledge from top-tier professionals. Maxine Salon’s Jenna Spino and Raven Hurtado share battle-tested methods refined through years of red-carpet prep and editorial work.
Insights from Renowned Hairstylists
Horizontal curling transforms waves into cascading movement. “Angle your iron parallel to the floor and wrap hair away from your face,” Spino advises. This technique builds volume where your separation starts, enhancing its architectural effect.
Brush choice makes or breaks your finish. Hurtado recommends boar bristle for smoothing and nylon pins for lift. Alternate tools during styling phases—wide-tooth combs detangle, while tapered brushes sculpt precise lines.
Smart heat management preserves hair integrity. “Layer thermal spray under styling cream for double protection,” Spino suggests. Keep irons below 350°F for fine textures, using 10-second bursts. Cool each section completely before touching—this locks the shape.
When strands rebel, reach for water-misted hands. Glide them over flyaways to reactivate products without adding weight. For lasting polish, Hurtado notes: “Anchor your style at the crown first, then work downward.”
