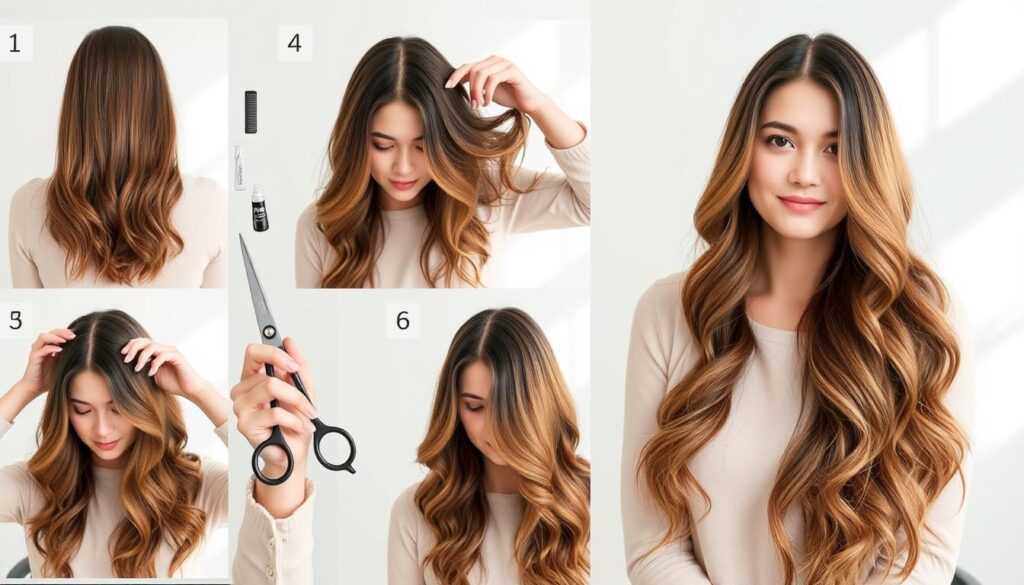
Imagine waking up with textured layers that scream confidence – no expensive appointments required. The shag-meets-mullet look dominating Instagram isn’t just for celebrities. With the right approach, anyone can create this head-turning style at home.
This guide reveals why millions are embracing the effortless-cool aesthetic. You’ll learn how to blend face-framing pieces with strategic layers that work for straight, wavy, or curly textures. We’ve simplified salon techniques into easy steps that prioritize your hair’s natural movement.
Social media’s favorite cut isn’t just about aesthetics – it’s a low-maintenance revolution. Discover how to maintain that perfectly messy vibe between trims. Our methods help you avoid the dreaded “choppy” effect while maximizing volume and dimension.
Key Takeaways
- Create salon-quality results using household tools
- Adapt the style to your unique hair type and length
- Enhance natural texture with strategic layering
- Achieve the “lived-in” look celebrities love
- Save money while staying on-trend
Ready to transform your look? Let’s break down the process that’s empowering style enthusiasts nationwide. You’ll gain the skills to refresh your appearance whenever inspiration strikes – no scissors anxiety required.
Getting Ready for Your DIY Transformation
Your journey to a fresh look begins with smart preparation. Quality tools and self-awareness about your hair’s unique qualities set the stage for success. Let’s explore what you’ll need and how to create the ideal starting canvas.

Must-Have Items for Precision Work
Gather these essentials before starting:
| Tool | Purpose | Pro Tip |
|---|---|---|
| Hairdressing scissors | Clean section separation | Sharpen every 6 months |
| Section clips | Organize layers | Use color coding |
| Spray bottle | Maintain moisture | Add leave-in conditioner |
Understanding Your Hair’s Personality
Wash hair 24 hours before styling – natural oils help with control. Those with long hair should measure desired length against collarbone or shoulder landmarks.
Consider these factors:
- Curly textures need 15% more length allowance
- Fine hair benefits from staggered layering
- Thick hair requires texturizing techniques
Natural lighting reveals true color variations and movement patterns. Position mirrors to see crown and nape areas simultaneously for balanced results.
Step-by-Step Wolf Cut DIY Tutorial
Transform your look with precision and confidence using these professional techniques. Proper preparation and strategic execution ensure salon-worthy results without leaving home.

Sectioning and Preparing Your Hair
Start by dividing damp hair into four quadrants using a tail comb. Clip the crown area upward, leaving the bottom layers free. This separation method creates clean working zones for controlled trimming.
Horizontal parting from ear to ear establishes your baseline length. Maintain slight tension when combing sections to prevent uneven edges. Curly textures benefit from stretch-testing strands to account for shrinkage.
Cutting Techniques for a Flawless Look
Hold scissors vertically at 45-degree angles for feathered ends. Begin with the longest back layer, trimming upward in small increments. This gradual approach builds natural-looking movement.
Face-framing pieces require angled cuts starting at cheekbone level. Blend these sections into longer layers using slide-cutting for seamless transitions. Check symmetry by comparing both sides in a hand mirror.
Refine texture by point-cutting into thicker areas. This method removes bulk while preserving length. For those seeking an effortless style, leave ends slightly uneven to enhance the lived-in vibe.
Wolf Cut DIY: Tips, Tricks, and Common Mistakes

Mastering this iconic style requires balancing bold creativity with technical precision. Let’s explore professional strategies to elevate your results while steering clear of beginner blunders.
Expert Advice for Salon-Worthy Style
Top stylists suggest trimming 10% less than your target length initially. This buffer zone allows gradual refinement while preserving volume. Keep shears at consistent 45-degree angles for uniform layers that cascade naturally.
- Blend face-framing sections using feathering motions
- Rotate mirrors to check rear layers every 3 cuts
- Use wide-tooth comb for tension-free sectioning
Texture is your best friend. Create softness by cutting into strands rather than across them. This technique prevents harsh lines while enhancing that coveted “I woke up like this” charm.
Avoiding Common Pitfalls in Your DIY Process
Many enthusiasts rush through the crucial drying phase. Always style hair 80% dry before final adjustments – damp strands deceive the eye with temporary elongation.
| Mistake | Solution |
|---|---|
| Over-thinning layers | Remove hair in pencil-width sections |
| Uneven side balance | Use temple points as symmetry guides |
| Static flyaways | Mist with diluted conditioner |
If a section feels off, pause and reassess. Pro tip: Clip problem areas and revisit them after completing other sections. Fresh perspective often reveals simple fixes.
Conclusion
Celebrate your bold new look – you’ve just unlocked a style revolution from your bathroom! Those face-framing layers and textured movement prove trendsetting looks don’t require salon visits. Social media’s favorite ‘do earned its millions of views for good reason.
Your fresh skills in sectioning and texturizing translate to countless styling possibilities. As your layers grow, they’ll develop softer edges that enhance natural volume. This adaptable shape works magic on long hair and shorter lengths alike.
Keep your masterpiece looking sharp with quick trims every two months. The beauty of this look? It stays camera-ready even as it grows out. Experiment with different drying techniques to switch between polished waves and bedhead texture.
Share your success story – your transformation inspires others to embrace home styling confidence. Remember: Great hair comes from understanding your unique beauty, not expensive appointments. Now go rock that effortless-cool vibe you’ve mastered!
