What if your favorite body art could vanish without a trace in minutes? Temporary tattoos let you experiment with bold designs, but even the coolest ink loses its charm when you’re ready for a fresh look. Here’s the secret: you don’t need professional help or harsh chemicals to erase them.
These colorful designs have exploded in popularity, especially among adults seeking commitment-free self-expression. They’re perfect for testing styles or matching outfits – until that stubborn decal lingers past its welcome. Maybe it clashes with tomorrow’s meeting attire, or you simply crave a blank canvas.
Good news: most methods involve items already in your bathroom cabinet. Gentle techniques preserve your skin’s health while bidding farewell to yesterday’s masterpiece. Whether you prefer oil-based solutions or exfoliation tricks, we’ll guide you through options that work with your routine.
Key Takeaways
- Temporary body art offers creative freedom without long-term commitment
- Removal processes are simpler than many expect, using everyday products
- Skin-friendly approaches prevent irritation during the cleaning process
- You decide exactly when to refresh your look – no waiting weeks
- Proper care maintains your skin’s smooth texture post-removal
Ready to master the art of clean slates? Let’s explore smart strategies that keep your skin glowing while removing unwanted designs. You’ll discover why millions trust these pain-free methods to maintain their style flexibility.
Getting Started with Temporary Tattoos

Temporary body art isn’t just stickers—it’s style that respects your skin’s future. These artistic expressions let you wear intricate patterns today and blank canvas tomorrow. But first, understanding their charm helps maximize both application and removal experiences.
Understanding Temporary Tattoos and Their Appeal
Modern designs rival permanent ink with photorealistic details and metallic finishes. Fashion influencers pair them with summer outfits, while professionals use subtle patterns for conference confidence. No needles mean zero commitment—ideal for testing placements or matching event themes.
Many use these decals as trial runs before permanent decisions. A floral shoulder piece might preview sleeve potential, while wrist script checks readability. This risk-free experimentation explains why 67% of first-time ink seekers try temporary versions first.
Preparing Your Skin for Removal
Start by washing the decorated area with mild soap. Pat dry gently—rubbing might smudge the design prematurely. Check if edges already lift naturally; this signals easier removal.
Clear away lotions or oils near the artwork. Clean surfaces help removal agents work effectively without spreading pigment. If your skin feels sensitive, apply aloe vera gel around (not on) the design first.
Remember: proper prep reduces scrubbing time and keeps your body’s largest organ happy. Now you’re ready to refresh your look whenever inspiration strikes anew.
How to Remove Temporary Tattoos: A Step-by-Step Guide

Your favorite designs deserve an exit strategy that respects your skin. Two reliable approaches dominate the art of clean removal—each suited for different needs. Let’s break down both options so you can choose your perfect match.
Oil-Based Methods for Removal
Baby oil and coconut oil work like magic on stubborn decals. Pour a quarter-sized amount onto your palm. Rub it over the design until fully coated. Wait three minutes—the oil breaks down adhesive bonds naturally.
Gently massage the area using circular motions. Watch pigments lift onto your fingertips. Wipe clean with a soft washcloth dipped in warm water. Repeat if needed for intricate patterns.
Rubbing Alcohol and Adhesive Techniques
Isopropyl alcohol tackles tougher metallic inks. Soak a cotton pad until damp, not dripping. Press it onto the artwork for 30 seconds—this softens the surface layer.
Use light dabbing motions to avoid redness. The design dissolves into specks that rinse off easily. Finish with unscented soap to eliminate residue.
| Method | Time Required | Best For | Key Steps |
|---|---|---|---|
| Oil-Based | 3-5 minutes | Delicate skin | Apply, wait, massage, rinse |
| Rubbing Alcohol | 1-2 minutes | Stubborn inks | Dab, dissolve, wash |
Always follow up with fragrance-free lotion. This maintains your skin’s moisture barrier after treatment. Your canvas stays ready for new creations!
Alternative Removal Techniques and Aftercare

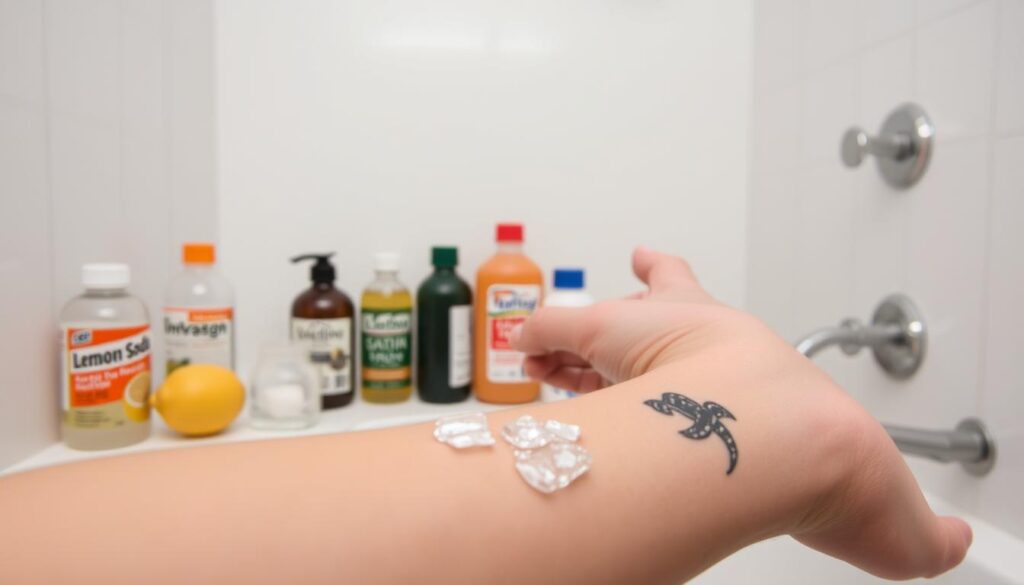
Common household items can transform into powerful design erasers. Beyond oils and alcohol, your home holds unexpected solutions for refreshing your skin’s appearance. Let’s uncover clever approaches that blend practicality with gentle care.
Exploring Natural and Household Options
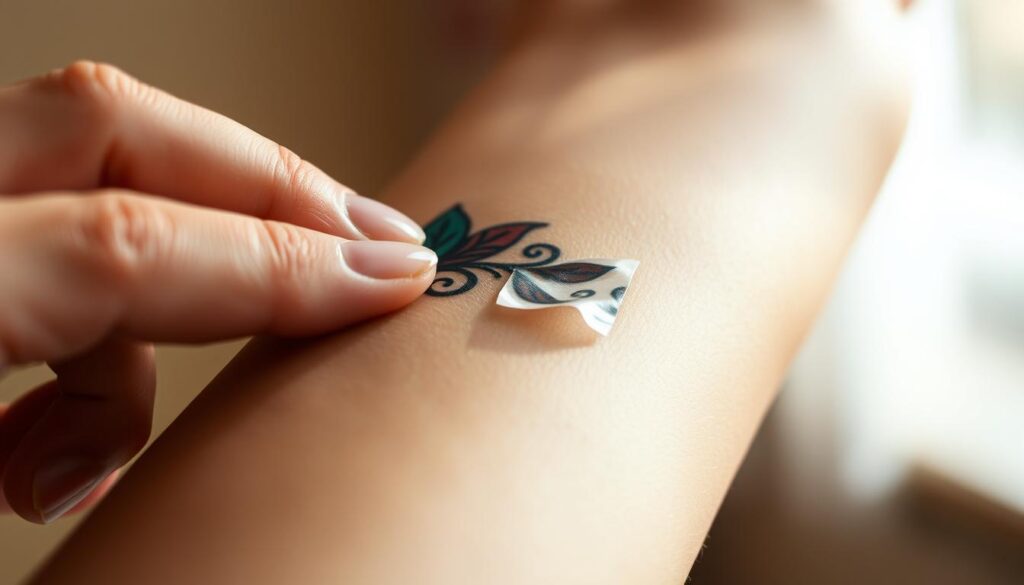
Adhesive tape works wonders on smaller designs. Press a strip slightly larger than your artwork, then peel swiftly upward. For intricate patterns, try a sugar scrub mixed with olive oil and vanilla—it exfoliates while dissolving pigments.
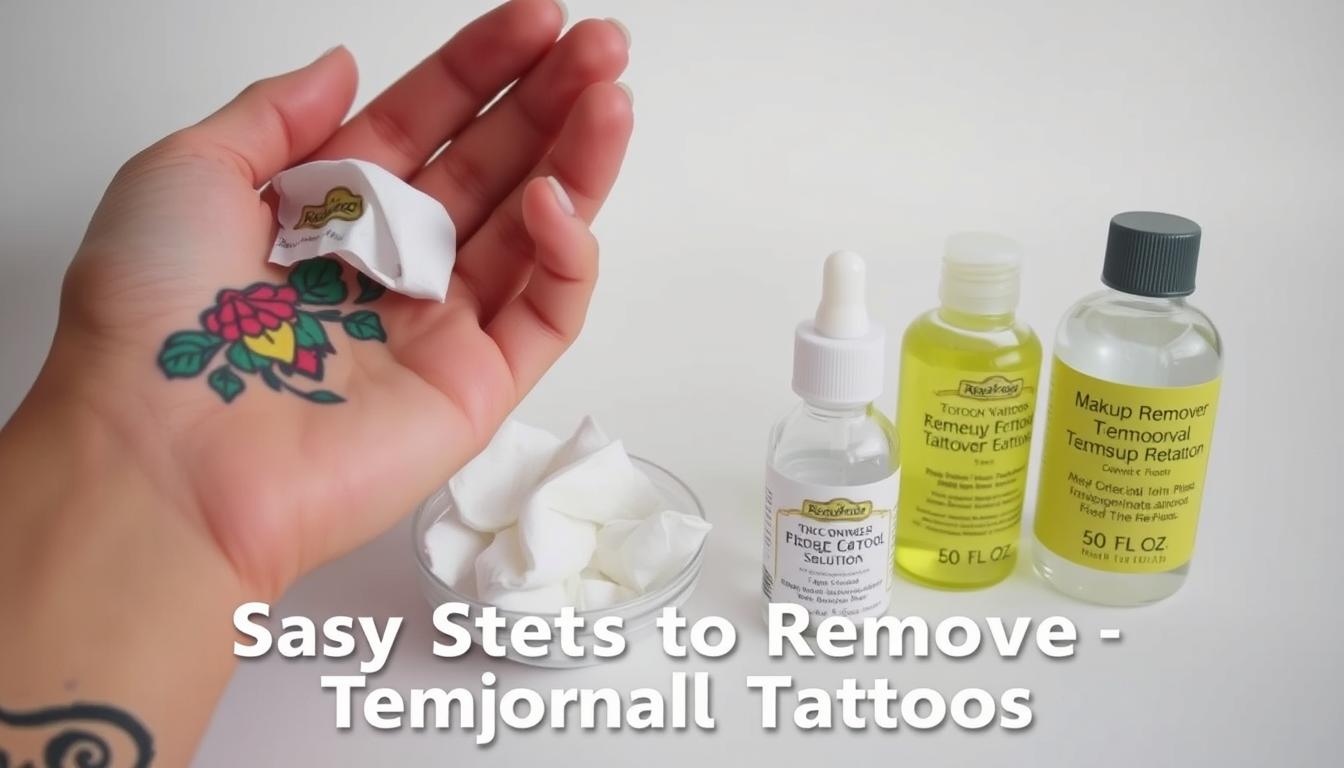
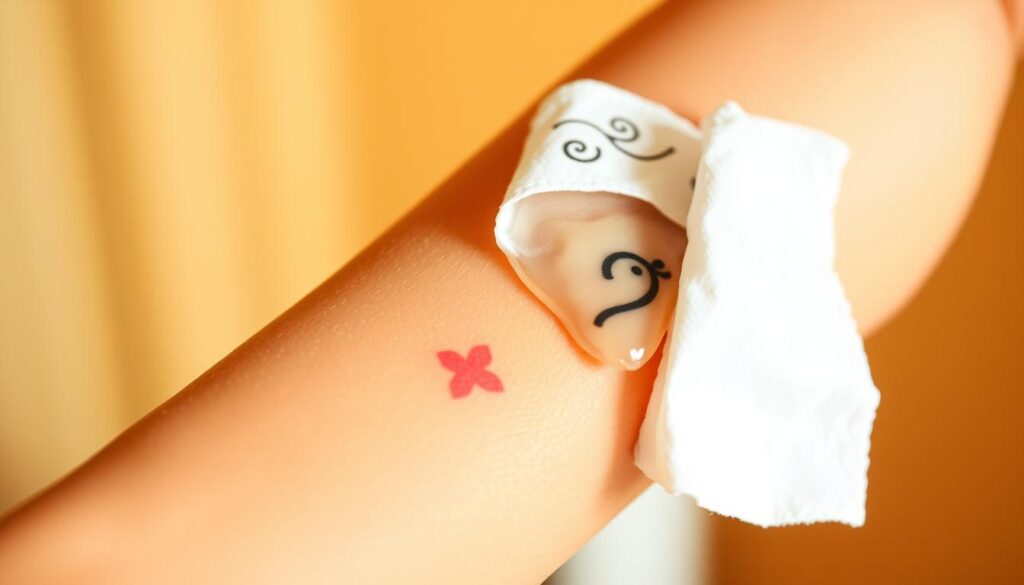
Makeup remover wipes offer convenience for sensitive zones. Alcohol-based varieties lift metallic inks without harsh rubbing. Cold creams provide another option: slather a thick layer, wait five minutes, then wipe away with a soft cloth.
Exfoliation, Cold Creams, and Moisturizing Tips
Hairspray might surprise you. Spray lightly, let dry, then gently buff the area. Follow any method with mild soap and warm water to eliminate residue. Your skin deserves pampering after this process.
Always apply fragrance-free lotion post-removal. Soothe redness with cool compresses or aloe vera gel. These steps maintain your skin’s readiness for new creative expressions!
Conclusion
Your skin deserves more than just clean slates—it thrives when cared for thoughtfully. Whether dissolving stubborn ink with gentle coconut oil or speeding through alcohol-based wipes, every method prioritizes your body’s comfort. Natural solutions like sugar scrubs nourish while cleaning, turning maintenance into self-care moments.
Quick approaches work wonders when time matters. Press a makeup remover pad against metallic designs for thirty seconds—watch pigments lift without friction. Always follow with soap and warm water to eliminate lingering residue. This simple step keeps your canvas fresh for new expressions.
Post-removal hydration proves crucial. Fragrance-free lotion replenishes moisture after any process. Your creative freedom stays limitless when skin health comes first. Now you’re ready to experiment boldly, knowing easy refresh options await.
Embrace the balance between vibrant self-expression and mindful care. Your journey with body art just became endlessly adaptable—and completely worry-free.
