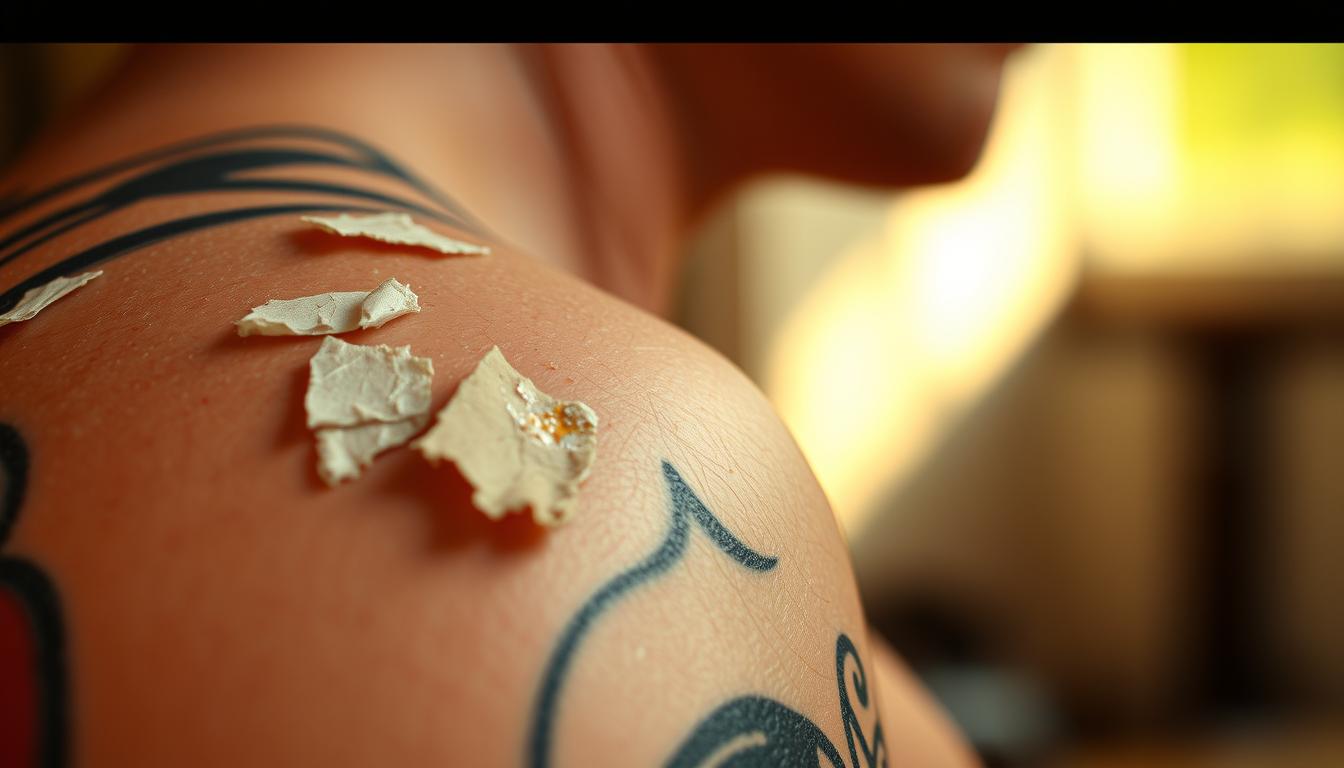
Does your fresh ink look like it’s shedding its skin? Before panic sets in, let’s uncover why this happens. Your body’s natural healing process kicks into high gear after needle meets skin, and peeling is part of that journey. But how do you know if it’s healing properly—or if trouble’s brewing?
New artwork goes through a transformation during recovery. The top layer of skin naturally exfoliates, taking dead cells with it. This typically begins around day 5-7, once protective wraps come off. Temporary dullness occurs as these cells linger, but vibrant colors re-emerge once shedding completes.
Proper aftercare makes all the difference between a crisp design and faded disappointment. While light flaking is expected, excessive scabbing or oozing signals red flags. We’ll guide you through distinguishing normal recovery from warning signs that need professional attention.
Key Takeaways
- Skin shedding is a natural phase of ink healing
- Peeling usually starts 5-7 days after application
- Temporary dullness fades as dead cells shed
- Gentle moisturizing supports healthy recovery
- Watch for severe redness or pus as warning signs
Understanding Tattoo Peeling and the Healing Process

Fresh ink acts like a biological masterpiece in progress. Your body initiates cellular repairs the moment needles stop buzzing, creating a fascinating dance between art and science. This isn’t just surface-level recovery—it’s a full-scale regeneration project.
Your Skin’s Repair Mode Activated
Needles deposit pigment into the dermis—the skin’s resilient second layer. Microscopic channels created during this process trigger your immune system. White blood cells rush to seal these openings while locking ink into place.
Flakes vs. Crusts: Know the Difference
Healthy recovery shows as:
- Rice paper-like peeling (natural exfoliation)
- Mild itchiness without inflammation
- Subtle color shifts as dead cells shed
Scabs form when aftercare fails. Thick crusts develop from dehydration or irritation, risking ink loss if disturbed. Licensed artist Mia Torres notes:
“Proper moisturizing creates ideal conditions for skin renewal—like nurturing a delicate seedling.”
Resist the urge to scratch or pull loosening skin. Your design’s longevity depends on patience during this critical phase. Apply fragrance-free ointments sparingly to support the healing process without suffocating pores.
Are Tattoos Supposed to Peel?

Watching your body art flake might seem alarming at first. Rest assured—this fluttering of dead cells signals your skin’s renewal system working exactly as designed. Like sunburn recovery without the sting, this phase confirms your immune response is sealing pigment securely beneath the surface.
The magic happens around day 3-5. Damaged outer layers detach while fresh tissue forms underneath. Those inky flakes? They’re just stained cellular debris—your actual design remains untouched in the dermis. Artist Leo Martinez explains:
“Clients often panic when they see color flecks coming off. But that surface-level shedding is like wiping dust off a painting—the masterpiece stays intact.”
Healthy regeneration shows these signs:
| Normal Process | Warning Signs |
|---|---|
| Rice paper-like flakes | Thick, cracked scabs |
| Mild dryness | Oozing or pus |
| Temporary dullness | Swollen red borders |
Keep moisturizing with unscented lotion to support natural exfoliation. Your vibrant colors will re-emerge once this healing stage concludes—usually within 7-10 days. Remember: picking at loose skin risks pulling out trapped ink particles.
Recognizing Normal Tattoo Peeling Symptoms

That delicate confetti-like dusting on your new body art? It’s nature’s bandage removal service. Your freshly inked masterpiece goes through predictable changes as it transitions from open wound to permanent artwork.
Spotting Healthy Flaking Patterns
Normal shedding resembles sunburn recovery without the redness. Expect:
- Translucent flakes smaller than pencil erasers
- Faint color specks in shedding skin
- Mild dryness like winter-chapped hands
“Think of it as your body’s way of clearing scaffolding,” explains dermatologist Dr. Elena Ruiz. “The temporary top layer served its purpose – now it’s exit time.”
Healing Timeline Demystified
Day 3-7 brings the confetti phase. By day 10, most flaking subsides. Larger designs might shed longer – like a snake losing its skin in sections. Keep this comparison handy:
| Normal Recovery | Concerning Signs |
|---|---|
| Paper-thin flakes | Thick yellow crusts |
| Subtle itch | Burning sensation |
| Dull finish | Shiny oozing patches |
Moisturize like you’re preserving ancient parchment – gentle pats of unscented lotion keep dead skin cells supple. Resist scratching even when it feels like ants parading under your epidermis. Your future self will thank you for preserving those crisp lines.
Spotting Signs of Infection or Allergic Reaction

Is your healing tattoo causing more concern than confidence? While some irritation is expected, certain symptoms demand immediate attention. Your body’s response can reveal whether you’re experiencing typical recovery or facing complications.
Redness, Swelling, and Other Warning Signs
Healthy healing shows fading pinkness, not angry crimson borders. Watch for these danger signals:
- Heat radiating from the design days after application
- Swollen tissue extending beyond inked areas
- Yellow/green discharge with sour odor
Dermatologist Dr. Sarah Nguyen warns:
“Persistent throbbing pain paired with fever means stop Googling and start dialing – your healthcare provider needs to see that.”
Differentiating Between Normal Peeling and Problems
Confused about what’s typical? This comparison clarifies:
| Expected Healing | Potential Trouble |
|---|---|
| Mild itchiness | Burning sensation |
| Translucent flakes | Thick cracked scabs |
| Temporary dullness | Oozing pustules |
| Localized tenderness | Fever over 100.4°F |
Allergic reactions often appear as raised bumps spreading beyond tattoo lines. Unlike normal peeling, these rashes feel rough like sandpaper. If antihistamines don’t help within 24 hours, seek medical care.
Remember: Infections rarely improve without treatment. When in doubt, get it checked out. Your health – and artwork’s survival – depend on swift action.
Tattoo Aftercare Tips for a Smooth Healing Journey

Your fresh body art deserves VIP treatment during its delicate recovery phase. Think of it as nurturing a living canvas – every choice impacts its final brilliance. Let’s break down the essential steps to preserve your ink’s vibrancy while supporting your skin’s natural renewal.
Proper Cleaning Techniques
Clean hands only touch your healing design. Wash gently with lukewarm water and fragrance-free antibacterial soap, using circular motions. Rinse thoroughly – leftover soap residue can cause irritation. Pat dry with paper towels instead of cloth to avoid lint transfer.
Moisturizing and Protecting Your New Ink
Apply unscented lotion when skin feels tight – about 2-3 times daily. Tattoo artist Jamie Rivera advises:
“Less is more with moisturizers. A pea-sized amount should cover most designs – greasy layers suffocate pores.”
Avoid swimming pools and direct sunlight for 3 weeks. If outdoors, use physical barriers like loose clothing rather than sunscreen during initial healing.
Stick to this routine religiously:
- Morning: Cleanse + moisturize
- Evening: Repeat + check for dryness
- After sweating: Gentle rinse
Choose products labeled “for sensitive skin” or “tattoo-specific.” Petroleum-based ointments work for first 3 days, then switch to lighter water-based creams. Your skin will thank you with faster recovery and bolder color retention.
Caring for Your Tattoo During the Peeling Stage

Your healing body art needs gentle TLC as it sheds its temporary outer layer. This delicate phase determines whether your design emerges crisp or blurred. Treat it like a butterfly’s wings – handle with care, and you’ll witness stunning results.
Do’s for Maintaining Healthy Tattooed Skin
Dress smart: Opt for loose clothing made from breathable cotton. Baggy tees prevent friction while shielding your ink from dust. Artist Noah Carter advises:
“Imagine wearing clouds – soft fabrics protect without suffocating. Tight jeans? That’s sandpaper on fresh art.”
Keep moisturizing sessions brief but consistent. Apply unscented lotion in rice-grain amounts when skin feels taut. Pat – don’t rub – excess product away.
Don’ts to Avoid Damaging Your Tattoo
Scratching is sabotage in disguise. If itching strikes, tap the area lightly instead. Avoid these common missteps:
- Using terrycloth towels (lint traps)
- Shaving over flaking skin
- Soaking in baths or pools
Make sure workout gear isn’t rubbing against peeling areas. Sweat + friction = irritation cocktail. Your design deserves better!
Managing Itching and Discomfort While Healing
That persistent itch as your ink heals? Don’t worry—it’s your skin’s way of rebuilding. Mild irritation often peaks when fresh layers form under shedding skin. Keep calm and resist the scratch—your future vibrant design depends on it.
Effective Soothing Methods
Cool compresses work wonders for fiery sensations. Wrap ice packs in clean cloths and press gently for 5-minute sessions. Our Tattoo Numbing Spray offers targeted relief with lidocaine—its antiseptic properties support your body’s natural healing process while calming stubborn itchiness.
Moisturize smartly with fragrance-free creams. Apply pea-sized amounts when skin feels tight, patting instead of rubbing. Avoid tight clothing that traps heat—breathable fabrics prevent sweat buildup that worsens irritation.
Distract your fingers with stress balls or fidget toys when temptation strikes. Remember: scratching risks pigment loss and delays recovery. Your patience now ensures crisp lines and bold colors later.