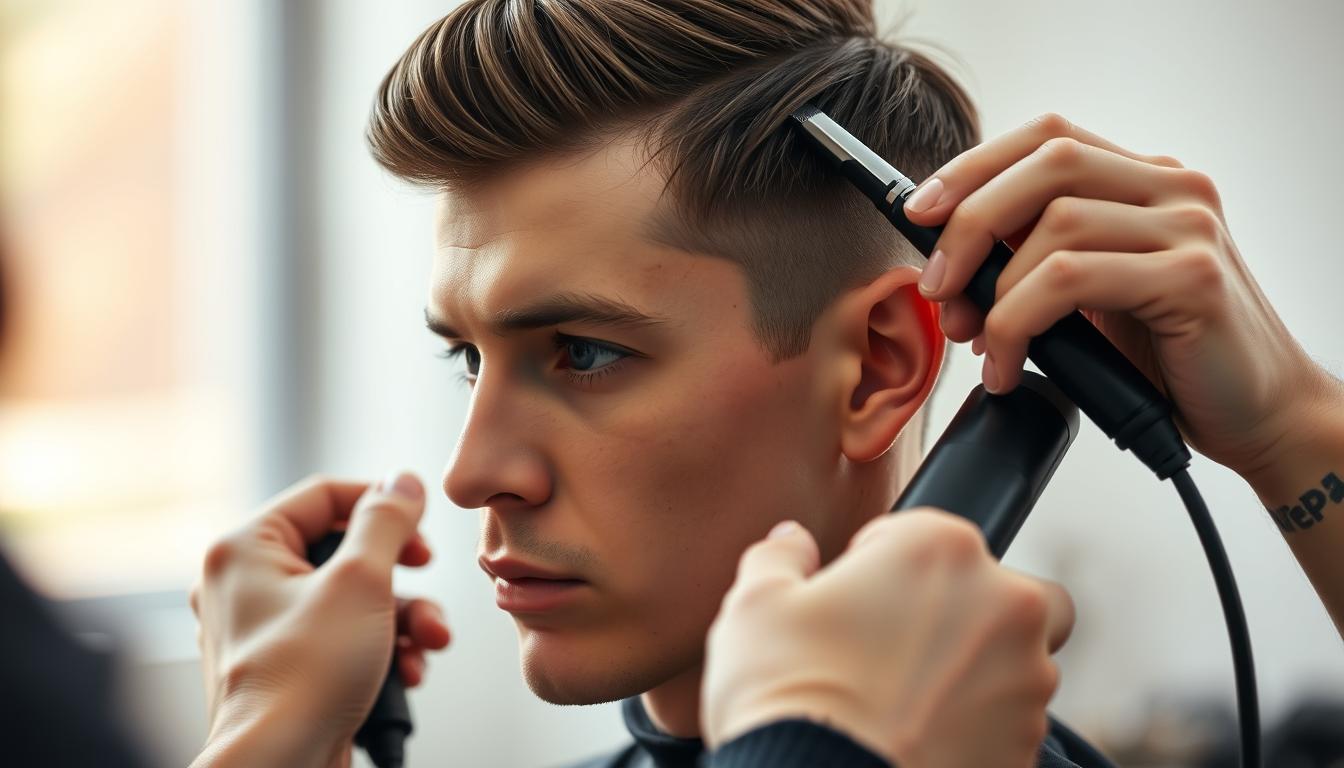
What if achieving a salon-quality haircut at home isn’t as complicated as you think? For years, many believed professional grooming required expensive tools and years of training. Yet with the right approach, your bathroom mirror can become your personal styling studio.
This guide simplifies DIY grooming by breaking down complex terms into clear steps. You’ll discover how understanding your tools—like choosing the best guard size or adjusting blade speed—creates polished results. Proper preparation matters more than you realize: clean, dry strands and strategic sectioning set the stage for success.
Your face shape and growth patterns play a crucial role, too. Curly textures demand different techniques than straight locks, while oval faces shine with tapered fades. We’ll show you how to adapt methods for your unique features, saving both time and money.
Key Takeaways
- DIY grooming saves money while offering salon-level convenience
- Tool mastery prevents uneven results and frustration
- Face shape analysis ensures flattering styles
- Sectioning strategies simplify complex trims
- Regular maintenance keeps your look sharp between sessions
Introduction to Your DIY Clipper Cut Journey

Self-styling isn’t just a trend—it’s a skill that rewards you every morning. When you manage your grooming routine, you gain control over your appearance and schedule. No more waiting weeks for appointments or settling for styles that don’t match your vision.
Understanding the Empowerment of a DIY Haircut
Mastering home styling builds confidence beyond saving money. You’ll create looks that fit your lifestyle, whether you prefer weekly touch-ups or monthly transformations. Imagine fixing uneven edges before work or adjusting lengths for summer—all without leaving home.
Many feel intimidated by terms like “taper” or “blending.” But with practice, these become tools in your arsenal. Start with simple trims and gradually experiment with layered styles as your skills grow.
What You Will Learn in This Guide
This roadmap covers everything from tool selection to advanced techniques. First, you’ll discover how to:
- Match hairstyles to your face shape
- Use sectioning methods for precise results
- Maintain sharp lines between trims
| DIY Advantage | Salon Limitation | Your Benefit |
|---|---|---|
| Immediate adjustments | Fixed appointment times | 24/7 convenience |
| Custom lengths | Standard guard sizes | Personalized look |
| No service fees | Recurring costs | Long-term savings |
By the end, you’ll transform uncertainty into expertise. Your mirror becomes a canvas, and every trim reinforces your independence.
Essential Tools for a Successful Clipper Cut

Your home styling station becomes a precision workshop with the right equipment. Professional results start with intentional tool selection and workspace preparation—two factors that separate rushed jobs from polished finishes.
Choosing the Right Hair Clippers and Guards
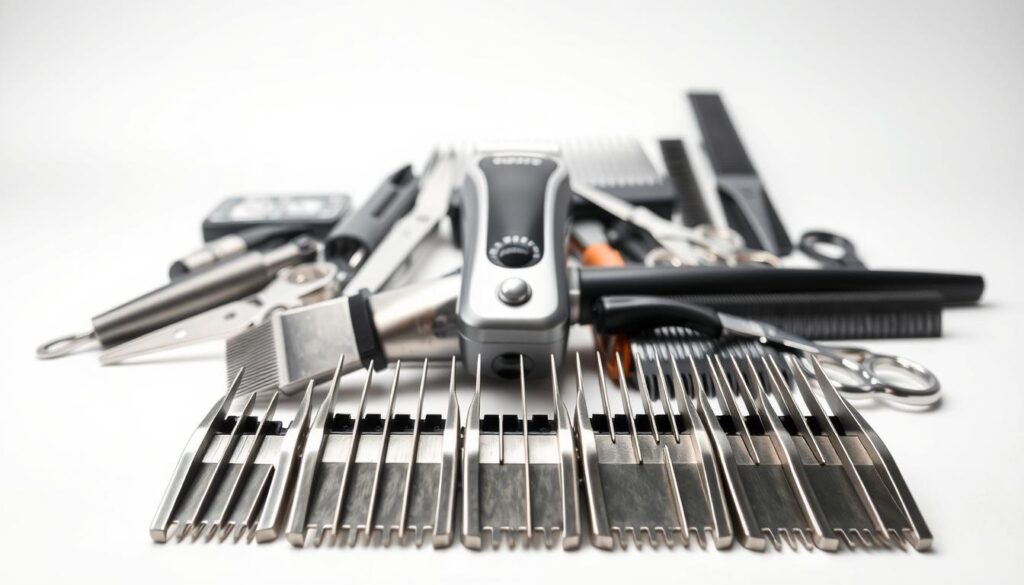
Invest in a durable model like the Wahl Elite Pro, known for consistent motor performance. Multiple attachment guards (size #1 to #8) let you switch lengths mid-style. Thicker hair? Opt for blades with adjustable taper controls.
Guards act as your safety net. Start with longer sizes to avoid over-trimming. Remember: strategic guard selection prevents accidental buzz jobs. A complete clipper kit often includes these essentials.
Additional Accessories and Setup Tips
Three non-negotiable extras: a fine-tooth comb, water spray bottle, and handheld mirror. Damp hair responds better to trimming—mist sections lightly before cutting. The dual-mirror system reveals hidden angles behind ears.
Lay newspapers under your feet for quick cleanup. Wear an old button-up shirt; it shields clothes without restricting movement. Position near an outlet to maintain battery life during detailed work.
Preparing for Your Clipper Cut
Your perfect style begins with thoughtful groundwork. A well-organized space and proper strand prep turn chaotic snips into controlled artistry. These steps ensure every movement serves your vision.
Setting Up Your Cutting Station
Position your workspace near an outlet with bright, natural lighting. Keep tools organized: guards, combs, and cleaning brushes within arm’s reach. A handheld mirror helps inspect the back of your head without awkward twisting.
Lay down a towel to catch fallen strands—sweep-ups take seconds instead of minutes. Test your equipment’s power and lubrication before starting. Smooth-gliding blades prevent tugging and uneven results.
Pre-Cut Hair Preparation Techniques
Run dry fingers through your hair to map its growth pattern. Feel resistance? That’s your natural grain direction. Mist strands lightly and comb with this flow to flatten cowlicks and unruly sections.
Always trim against the grain for uniform length. Starting at the neckline, work upward in small sections. This method captures shorter hairs first, creating seamless transitions between lengths.
Understanding Your Hair and Face Shape
Your hairstyle acts like a frame for your features—it either highlights your best angles or clashes with them. Recognizing your natural hair behavior and bone structure unlocks personalized styling that works with your body, not against it.
Mapping Your Natural Growth Patterns
Push facial hair aside and trace your head’s outline on a mirror using soap. This reveals your true face shape without distractions. Notice where your hair grows thickest or thinnest—these patterns influence how lengths lay.
Curly textures often spiral outward, creating volume. Straight strands fall flat unless layered. Adjust your approach based on these traits. For example, cowlicks near the crown require shorter trimming to avoid unruly spikes.
Matching Styles to Facial Structure
Round faces thrive with added height on top and tapered sides. Square jawlines? Keep sideburns neat and hair above the ears to emphasize symmetry. Oblong shapes benefit from fuller sides to balance length.
Oval faces offer flexibility—experiment with fades or textured crops. Triangular profiles need volume at the crown to offset narrower foreheads. Your head shape guides every decision, ensuring your look complements rather than competes.
Achieving the Perfect Clipper Cut
Transforming your look starts with systematic techniques anyone can master. Whether you’re trimming a basic style or refining edges, these methods ensure balanced results every time.
Step-by-Step Technique for All Skill Levels
Begin at the nape of your neck using a #8 guard. Glide upward in steady motions, letting the tool do the work. Cover the back and sides first—this creates a foundation for blending.
Switch to a #6 guard for tighter areas near the ears. Move from bottom to top, overlapping each stroke slightly. Check both mirrors to confirm even coverage before progressing.
| Area | Guard Size | Direction | Pro Tip |
|---|---|---|---|
| Neckline | #8 | Upward | Start conservative |
| Sides | #6 | Bottom→Top | Overlap strokes |
| Top | No guard | Front→Back | Use comb guide |
For the crown section, remove the guard and hold strands vertically. Trim from forehead to crown using a comb as a length guide. This adds texture while maintaining control.
Reassess your work under bright light. Run fingers through the hair to feel for uneven patches. Minor adjustments often make the difference between good and flawless results.
Decoding Clipper Guard Sizes and Cutting Lengths
Your styling success hinges on understanding the numbers behind your tools. Attachment combs act as precision rulers, dictating exactly how much hair remains after each pass. These plastic guides create uniform results by maintaining consistent distance between blades and scalp.
How Attachment Combs Impact Your Cut
Each guard size corresponds to specific measurements. Lower numbers like #1 (3mm/⅛ inch) create military-short styles, while #8 (25mm/1 inch) preserves length for textured looks. The barrier effect prevents accidental over-trimming—especially crucial around hairlines.
Three key factors determine guard selection:
- Desired style longevity (shorter = faster regrowth)
- Hair thickness (fine strands need tighter guards)
- Blade sharpness (dull tools require size adjustments)
Guard Size References and Hair Lengths
This conversion chart simplifies planning:
| Guard Size | Millimeters | Inches | Best For |
|---|---|---|---|
| #2 | 6mm | ¼” | Neat sideburns |
| #4 | 13mm | ½” | Weekend casual |
| #6 | 19mm | ¾” | Office-ready styles |
Always start with higher-numbered guards and work downward. This progressive approach lets you adjust lengths gradually. For blended fades, alternate between two adjacent sizes—#3 to #2 creates seamless transitions.
Remember: 1 inch equals 25.4mm. Knowing both measurements helps when discussing styles with barbers or friends. Keep your guard chart visible until these numbers become second nature.
Exploring Different Styles: Buzz, Crew, and Fade
Three signature styles dominate modern grooming: buzz, crew, and fade. Each offers distinct advantages based on your lifestyle and facial features. Let’s break down when and how to execute these popular looks.
When to Opt for a Buzz Cut
Square or oval face shapes shine with this ultra-short style. Start with a #4 guard—it leaves enough length to avoid scalp exposure while maintaining crisp lines. Active individuals love its wash-and-go simplicity: no styling products needed.
Gradually experiment with shorter guards (#1-3) once comfortable. Military personnel and athletes often choose this look for its practicality. Just remember: consistent touch-ups every 2-3 weeks keep it looking intentional, not overgrown.
Creating Crew and Fade Hairstyles
The crew cut balances professionalism with personality. Use a #4 guard on sides/back, leaving the top 1-2 inches longer. This creates natural volume for casual tousling or sleek comb-overs.
Fades demand more skill but deliver striking results. Blend three guard sizes (#1→#3→#5) from neckline to temples. The gradual transition adds depth, making it ideal for angular jawlines.
| Style | Guard Sizes | Best Face Shapes | Maintenance |
|---|---|---|---|
| Buzz | #1-#4 | Square/Oval | Low |
| Crew | #4 (sides) | Round/Triangular | Medium |
| Fade | #1-#5 combo | Angular/Oval | High |
Pro tip: Always trim dry hair for accurate length assessment. Fades require frequent mirror checks—blend upward in diagonal motions to avoid harsh lines.
Mastering the Fade with Clipper Techniques
Ever wondered how barbers achieve those seamless fades you admire? This advanced technique transforms basic trims into head-turning styles through strategic guard progression. Your tool becomes an artist’s brush when you understand how different lengths interact across the sides and back.
Blending Sides with Varying Guard Sizes
Start with a #0 guard at the base of your neckline—this creates the shortest length for contrast. Move upward in half-inch sections, switching to #1 then #2 guards as you approach the temples. Overlap each stroke by 30% to erase harsh lines between sections.
The sides of your head demand precise pressure control. Use diagonal motions with a #3 guard to soften transitions near the ears. Finish with a #4 guard above the parietal ridge, blending into longer crown hair. Check both mirrors frequently to maintain symmetry.
| Guard Size | Placement Area | Blending Tip |
|---|---|---|
| #0 | Neckline | Anchor point for fade |
| #2 | Mid-sides | Overlap with #1 edges |
| #4 | Upper sides | Feather into crown |
Three secrets to flawless fading:
- Work against natural growth patterns for tighter blending
- Clean blades after each guard change to prevent snagging
- Use flicking motions at transition zones
“The magic happens in the overlap—where lengths whisper rather than shout.”
With patience, you’ll create gradients that look barber-sharp. Remember: better to make four light passes than one heavy sweep. Your reflection will soon showcase a fade that rivals professional work.
How to Use the Taper Lever for Precision
Precision lies in the details most overlook. Your tool’s taper lever acts like a microscopic adjuster, refining lengths beyond standard guard sizes. This feature bridges the gap between fixed measurements, letting you sculpt gradual transitions invisible to the untrained eye.
Open vs. Closed Taper Settings
In the closed position, the blade stays closest to your skin—ideal for crisp edges. Flip the lever down to open it, creating a 1/16-inch difference that softens harsh lines. Think of it as shifting gears: closed for sharp corners, open for seamless blends.
Mastering this adjustment transforms basic trims into art. Use open settings when fading from {{the}} sides to longer tops. Closed positions define necklines without over-trimming. The taper lever gives barber-level control, turning subtle shifts into polished results.
