Wondering why so many people are choosing this subtle, show-or-hide option for self-expression?
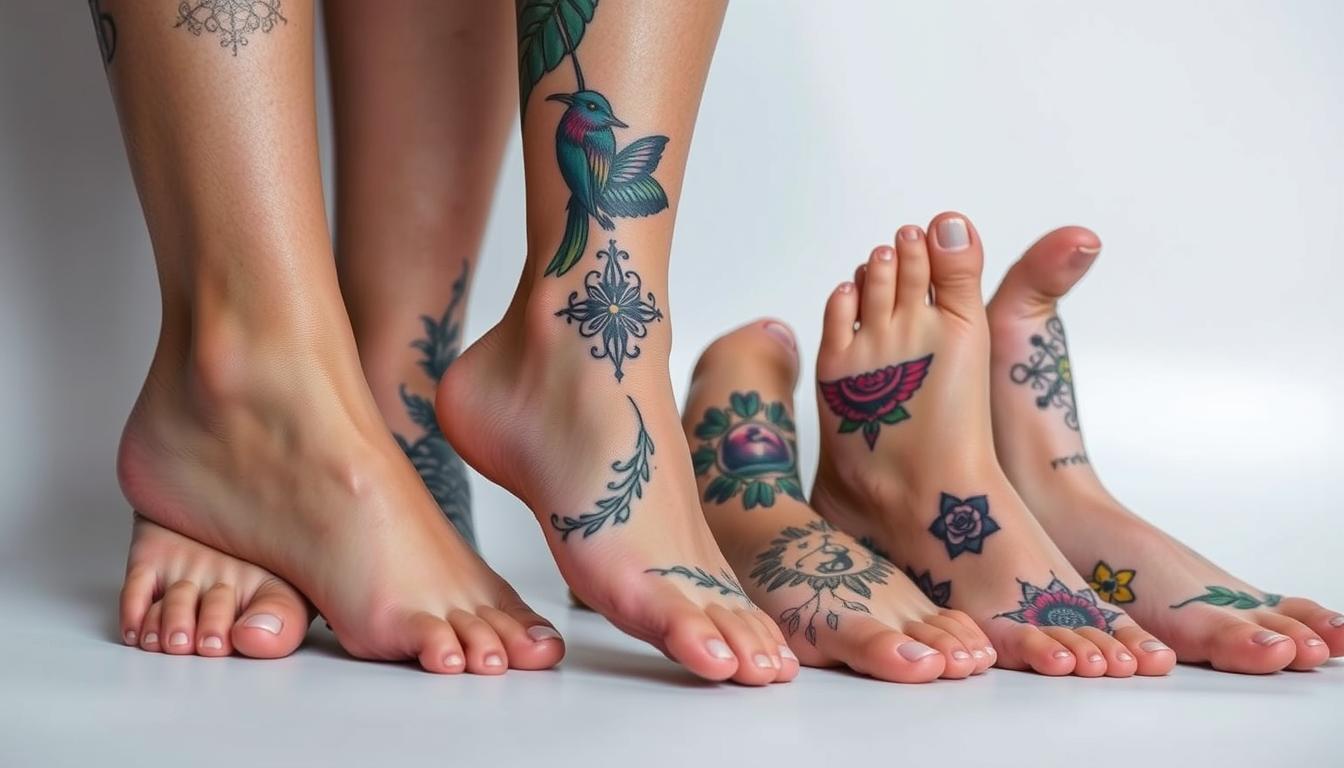
Foot tattoos are one of the top five requested placements at Holistic Ink, with over 30% of first-time clients picking this spot. The appeal is clear: easy concealment for work and big impact in sandals. Artists love the unique canvas that moves with your body and highlights delicate designs.
Expect trade-offs: most report pain around 7–9/10 and healing that needs extra care. Friction from shoes and sun means black and grey ink often lasts longer than color.
This guide will walk you through fresh ideas, placement strategy, aftercare tips, and timing so your piece heals well and looks great for years. Whether you prefer florals, script, geometric lines, waves, or mandalas, you ’ll find design advice that suits all ages and styles.
Key Takeaways
- Discreet and stylish placement with high demand in the U.S.
- Popular aesthetics: florals, script, geometric, waves, and mandalas.
- Higher pain and longer, more careful healing than arm pieces.
- Black/grey generally outlasts color due to friction and sun.
- Choose experienced artists for crisp lines and fewer complications.
- Plan timing, footwear, and aftercare to protect the work for years.
Foot tattoos in 2025: why this placement is trending and what to expect
Many people now treat a small inked design on the foot as a “personal secret” they can share or hide.
Social feeds pushed elegant minimalism into the spotlight this year. Sandal season and stricter dress codes encouraged small marks that stay private at work but pop on weekends. That cultural shift is a big reason for the surge.
Realistic expectations: the top foot is usually the sharpest in pain, while the side faces extra fading from shoe friction. The ankle is often kinder for a first tattoo and for younger ages trying ink for the first time.
Healing takes longer here. Reduced circulation and constant movement slow repair, so expect full settle in 1–3 months. Plan for a few days of lighter walking and months of cautious care to protect results for years.
Sun exposure rises in warm months, so placement choices change how much sunscreen effort you need. Summer complicates aftercare; fall, winter, or early spring often give better healing windows.
“Book a placement consult to map lower-pressure zones and plan the days after your session.”
Think in months, not days. A short consultation and a paced breathing plan during your session will cut pain and improve long-term outcomes. For questions about removal or next steps, see this guide on tattoo removal options.
- Trend drivers: minimalism, sandals, workplace-friendly ink.
- Plan for extra healing time and sun protection.
- Consultation and placement mapping improve results.
Inspiring foot tattoo designs and ideas you’ll want to steal

Designs that echo the foot’s movement tend to age better and look more intentional. Start with motifs that follow bone lines and natural curves for a flatter, cleaner fit.
Floral and mandala ideas: Delicate stems and petals that curve along the top or side create a soft, flattering silhouette. Mandalas and sacred geometry anchored at the midfoot expand outward with symmetry; crisp linework and dot-work hold up well over time.
Water-inspired and script picks: Waves, shells, or small sea creatures suit arch-to-toe flows and mirror motion. For script, choose short phrases with medium-weight lines and place them along the outside edge or above the arch to cut friction.
Bold blackwork and minimalist marks: Geometric blocks, abstract dot-work, and micro botanicals use negative space for lasting contrast. Collaborate with an experienced artist to set scale, stroke weight, and spacing to reduce crowding and blur.
- Keep high-detail focal points away from tight shoe contact.
- Let secondary shapes taper toward the toes for balanced flow.
- Collect 5–10 references and let ink artists translate them into a durable composition.
“Test visibility with different shoes so the best parts peek through when you want them to.”
Smart tattoo placement on the foot: top, side, toes, ankle
A clear placement plan makes healing easier and results last longer. Think of three things: your pain tolerance, the footwear you wear daily, and sun exposure for the top foot. These guide a smart choice before you book.
Top of foot vs. side: pain, sun exposure, and shoe friction
Top foot gives a clean showcase and often holds detail best, but it usually scores highest for pain and sun exposure. Expect sharper discomfort and more sunscreen needs.
The side faces more rubbing from shoes and straps. That increases fading and touch-ups. Choose bolder lines and avoid tiny details where seams meet the skin.
Toes and ankle: visibility, risk, and healing realities
Toe work is small, quick, and visible, but movement and edge wear mean more frequent touch-ups. Use simple, thicker strokes for longevity.
The ankle is the lowest-risk option for first-timers. It heals cleaner and keeps line integrity better than many other spots.
Best placement by foot shape
High arches suit centered top compositions—about 75% of high-arched clients choose that area. Flat feet do well with flowing side pieces. Wide feet benefit from slight wraparounds. Narrow feet look best with lengthwise designs.
“Tape a stencil, wear your usual shoes, and walk a few minutes to spot hot zones before the session.”
| Area | Pros | Cons | Best for |
|---|---|---|---|
| Top | Showcase, crisp detail | Higher pain, sun exposure | High arches, detailed pieces |
| Side | Natural flow, hides in shoes | Shoe friction, faster fading | Flat feet, flowing designs |
| Ankle / Toes | Lower pain (ankle), quick sessions (toes) | Toes need touch-ups; ankle near seams | Beginners, small visible marks |
- Map your shoes: find seams, straps, and lace pressure points.
- Consider skin thickness over bony ridges—ask your artist for stronger line weight there.
- Pick placement based on your style priorities: aesthetics, footwear, or minimal pain.
Designing ink that moves with your foot

Designs that follow your foot’s natural lines age more gracefully and move with you.
Start by tracing tendons and bony landmarks. Map arcs, petals, or waves along these cues so the piece looks intentional when you flex. Place focal elements away from deep creases to reduce distortion.
Avoid long straight strokes over high-motion zones like toe joints and midfoot creases. Break linear elements into segmented arcs or dot-linked lines to keep form when skin folds.
Flow, line direction, and working with natural contours
Use bold-to-fine transitions to soften areas that bend and keep central details crisp for years. Contour-hugging shading and dot gradients help maintain smooth visual flow as the skin shifts.
Balance negative space so the composition breathes. Crowded ink on small surfaces blurs faster, especially with thinner skin over bone.
Testing placement in motion: standing, flexing, walking
Do a movement test with the stencil: stand, flex, and walk while the artist adjusts millimeters, not centimeters. Photograph the test in different shoes to spot friction hot-spots.
“Small compositional tweaks now keep the piece looking intentionally placed as your gait and footwear change over years.”
- Trace tendon lines and place arcs where the skin stretches naturally.
- Segment long lines and use slightly larger strokes over high-motion areas.
- Collaborate with your artist and artists on millimeter adjustments before inking.
- Photograph stencils in shoes to check visibility and pressure points.
| Design Goal | Technique | Why it Helps |
|---|---|---|
| Flow with contours | Place elements along tendons/bones | Reduces distortion when flexing |
| High-motion protection | Segment lines; larger stroke weight | Prevents micro-blur over years |
| Visual balance | Negative space + dot gradients | Keeps composition clear on small skin areas |
Color vs. black & grey: choosing tones that last on feet
Choosing between vivid color and classic black-and-gray changes how long a design stays crisp.
Black & grey wins for longevity. On this placement, grayscale typically holds 30–40% longer than full color. Friction, sun, and faster skin renewal accelerate pigment loss, so bold blacks keep contrast the best.
Color can work with a plan. Pick saturated mid-to-dark tones and stronger linework. Avoid pale pastels in high-rub zones; lighter hues like yellow or sky blue fade fastest.
Longevity, touch-ups, and maintenance expectations
- Realistic refresh cycles are measured in years, not weeks; touch-ups depend on wear and personal style.
- Color pieces may feel more sensitive during healing; careful aftercare reduces patchy settling.
- Use SPF, moisturize, and pick shoes that limit scuffing to extend vibrancy.
- Heavier stroke weight and denser shading help color read clearly as it softens with ages.
“If longevity is the top priority, black & grey wins; if color is essential, budget for touch-ups and extra care.”
Trending foot tattoos for women, men, and everyone

Design preferences now split into soft, jewelry-like washes; bold, high-contrast pieces; and timeless unisex symbols.
Women’s styles
Watercolor abstracts and fine-line botanicals are hot for 2025. These pieces drape from the ankle across the top, reading like delicate jewelry.
Single-needle symbols, micro botanicals, and ankle-wrapping vines give a subtle, wearable look that flatters many ages. Curate 3–5 reference images and bring them to your artist for a custom composition.
Men’s styles
Bold geometric blackwork, classic nautical outlines, and tribal-inspired dot-work remain popular. High-contrast lines hold up better against friction and time.
Choose thicker strokes and simpler shapes for clarity as the piece ages. Ask ink artists about stroke weight and placement to match your gait and shoe habits.
Unisex winners
Waves, mountains, moon phases, mandalas, meaningful dates, and animal silhouettes work for any style. These motifs scale easily to arch height and foot length.
Dot-work adds depth while respecting the small planes of the skin. Avoid tight lace paths and sandal strap rub zones for fine linework.
“Consult an artist to match motif size, stroke weight, and shading to your anatomy and lifestyle.”
- Ankle-wrapping vines taper for visibility and workplace discretion.
- Mix micro symbols with negative space to prevent clutter.
- Bring references but let artists adapt them to your feet and tone.
| Audience | Top motifs | Why it works |
|---|---|---|
| Women | Watercolor, fine-line botanicals, ankle vines | Reads like jewelry; flatters curves; delicate |
| Men | Geometric blackwork, nautical, tribal | High contrast; ages well; bold clarity |
| Unisex | Waves, mountains, mandalas, dates | Timeless symbols; easy to scale; inclusive |
For more women’s inspiration, see cool ideas for women.
Pain, healing, and how much time you’ll need off your feet
Plan for sharper sensations on the top of the foot and slower repair times than other spots.
Pain scale and why the top hits harder
Clients commonly report pain around 7–9/10. Thin skin, little padding, and many nerve endings over bone make sensations feel intense.
Perception varies by ages and sensitivity. The ankle bone and inner curve near the malleolus are often the keenest spots.
Healing timeline: days, weeks, and months
Typical stages: Days 1–3 swelling and redness; Days 4–7 itching; Days 8–14 flaking; Days 15–30 surface repair; 1–3 months for full settle. Overall, expect about 20–30% longer healing than upper-body work.
Factors that affect repair
Reduced circulation, constant micro-movement from walking, footwear friction, and aftercare discipline all change how fast you heal.
- Take 48–72 hours off your feet when possible to limit swelling.
- Wear supportive, non-rubbing shoes and keep the area aired when safe.
- Skip high-impact workouts and hot, sweaty environments during early weeks.
“Patience now prevents cloudy lines and patchy color later.”
| Stage | Typical signs | Recommended action |
|---|---|---|
| Days 1–3 | Swelling, soreness | Rest, ice briefly, gentle cleaning |
| Days 4–14 | Itch, peeling | Moisturize; avoid picking |
| Weeks 3–12 | Settle and fading | SPF, touch-up planning |
Foot tattoo aftercare and long-term maintenance

Proper care in the first two weeks sets the tone for how vivid and crisp your design will stay.
First days to two weeks: washing, ointment, swelling control
For the first days, wash gently twice daily with fragrance-free antibacterial soap. Pat dry with a clean towel and apply a thin layer of tattoo-safe ointment 3–4 times daily.
Elevate the area when possible to reduce swelling and comfort. Avoid soaking in pools, baths, or the ocean. If you must wear shoes, choose clean, loose cotton socks and breathable footwear.
Prevent fading: SPF, moisturizers, exfoliation, and touch-up cadence
Sun exposure fades color fast. Use SPF 50+ on all exposed days once healed to protect lines and shading.
Daily moisturizers keep skin supple; apply a thin amount so pores breathe. Gentle exfoliation is safe only after full healing to remove dull buildup.
Expect touch-ups every 2–3 years for crisp outlines, especially with color or high-wear placements.
Tattoo-safe skincare products and what to avoid
Choose fragrance-free, alcohol-free products like After Inked Tattoo Moisturizer and PurSan Vegan Cleanser (no parabens, colorants, or alcohol; antimicrobial PCMX).
- Avoid petroleum-heavy ointments during early healing.
- Do not pick flakes or peel scabs; this causes patchy pigment loss.
- Skip hot, sweaty classes and high-heat environments during the first weeks.
“Keep a simple checklist on the fridge: wash, pat dry, thin ointment, elevate — repeat twice daily.”
Best time of year to get a foot tattoo in the United States
Timing your session around cooler months often improves comfort and long-term results.
Why summer stacks the deck against fresh ink: Higher sun exposure, sweat, water activities, sandals, and longer walking days combine to raise healing complications by about 35%. Hot months increase irritation and fading, making aftercare harder.
Fall, winter, and early spring advantages
Cooler weather means covered footwear, less UV, and lower sweat. That helps surface repair and reduces scuffing during the crucial first weeks.
Book in early spring if you want your new foot piece settled before sandal season. Aim for at least 4 weeks before weddings or trips so you have time for surface healing and quick touch-ups.
Plan around vacations, events, and dress codes
Check your calendar and pick a window when you can wear loose, breathable shoes. In harsher winters, plan short rides instead of long walks right after the session to limit rubbing.
“Set a reminder for SPF once healed — sun exposure spikes again in late spring and summer.”
- Pack breathable socks, spare bandages, and a minimalist aftercare kit for trips.
- Allow days and weeks of reduced activity after your session to protect results for years.
- With smart timing and disciplined aftercare, seasonality becomes an advantage, not a hurdle.
For a clear healing timeline and more aftercare tips, see how long does a tattoo take to.
Footwear and lifestyle tips while your tattoo heals

Your shoe choices in the first week shape how crisp and even your new design heals.
First 3–5 days: minimize contact. Aim for open-back slides or ultra-loose sneakers that avoid pressure over the ink. About 65% of healing complications link to inappropriate footwear, so choose wisely.
For weeks 1–2 favor breathable materials and clean cotton socks to keep skin drier and reduce friction. Check for moisture build-up and swap socks promptly to prevent irritation.
Shoes, socks, and practical hacks
Use slides or shoes with roomy toe boxes to avoid rubbing. Loosen laces and reroute straps away from the healed area.
Office-friendly workarounds: pack alternate shoes, schedule short air breaks, and use a breathable cover only when closed shoes are required for safety.
Activities to pause
Avoid high-impact exercises for 2–3 weeks. Skip running, jumping, hot yoga, and swimming for at least two weeks.
Limit long standing in the first week. Instead, take short, slow walks to keep circulation without overloading the area.
“Conscious footwear choices now save clarity and saturation later.”
- Bring a small aftercare pouch: lotion, spare bandage, and clean socks for commutes or shifts.
- Monitor straps and seams; reroute them to reduce pressure points.
- Gentle mobility is good—avoid pounding the area while it tenderly heals.
Risks, infections, and staying safe with foot ink
Because this area sees lots of friction and motion, a clear safety plan matters more than you might expect.
Common risks to watch for
Blowouts happen where skin is thin over bone and lines spread under the surface. Friction fade from shoes and pressure-point slow healing in high-contact spots are also common.
Aging and daily wear change how pigment sits. For many ages, conservative line weights and extra spacing help long-term clarity.
Infection prevention and practical routine
Wash hands before touching the area. Clean gently with mild soap, pat dry fully, and wear fresh socks daily to limit bacteria. Avoid public pools, hot tubs, and lakes until the site is fully healed.
Fungal risks: covered, sweaty feet can develop tinea. Give the area air time and swap damp footwear to reduce that chance.
“Consistent, calm aftercare is the strongest tool for safe, clean healing and long-term results.”
- Avoid tight or abrasive shoes during the first weeks to prevent micro-tears.
- Contact your tattoo artist quickly for bandage tweaks or early concerns.
- Expect slight touch-ups over time—this part sees unique motion and wear.
| Issue | Signs | Action |
|---|---|---|
| Infection | Spreading redness, warmth, yellow-green discharge, fever | See a doctor; keep area clean and avoid self-medicating |
| Friction fade | Pale, patchy color where shoes rub | Swap shoes; plan touch-up when healed |
| Blowout | Soft blur beyond lines | Discuss repair options with experienced tattoo artists |
If you’re worried about overall risks or want a broader safety read, check are tattoos bad for you for more context.
Conclusion
The right placement and care turn a small design into a lasting, personal statement.
Foot tattoos blend privacy and impact when you plan placement, pick durable tattoo designs, and accept realistic pain and healing timelines. Start small for your first tattoo to see how your body heals before adding more.
Expect early stages over days and weeks: swelling and soreness, then flaking, then surface repair. Use SPF 50+, fragrance-free moisturizers, and schedule touch-ups every 2–3 years to keep lines crisp as you age.
Keep a shortlist of tattoo ideas and book a consult to tailor size, stroke weight, and placement to your anatomy and lifestyle. Remember: footwear choices are part of the art—protect your new foot piece in the first weeks. With planning and steady care, your new work will carry your story for years.