
Learn a timeless plait that keeps hair neat and looks polished fast. A french braid is a gathered three-strand plait that starts at the crown and moves to the nape, adding sections from the sides so all hair joins the pattern.
This approach tames shorter layers and spreads tension evenly across the scalp, which makes it practical for daily wear and active days. Most people can braid hair on themselves, though length and texture change how easy it feels.
Prep is simple: detangle, section a triangular start at the crown, then divide and cross like a regular braid while adding hair as you go. Small tools like bobby pins help manage layers and loose ends for a smooth finish.
Related styles include inverted and fishtail versions that also start at the top and travel to the ends. With one foundational type of plait, you can adapt the look for workouts, work, or dressier events.
Key Takeaways
- The classic french braid is a three-strand plait that gathers hair from the crown to the nape.
- It controls shorter layers and spreads tension, making it practical for daily use.
- Basic prep—detangle, section, and add hair steadily—keeps the process simple for beginners.
- Bobby pins and gentle pulling fix loose sides and bumps for a polished look.
- Once learned, this style opens the door to many variations for different occasions.
What a French Braid Is and Why Beginners Love It
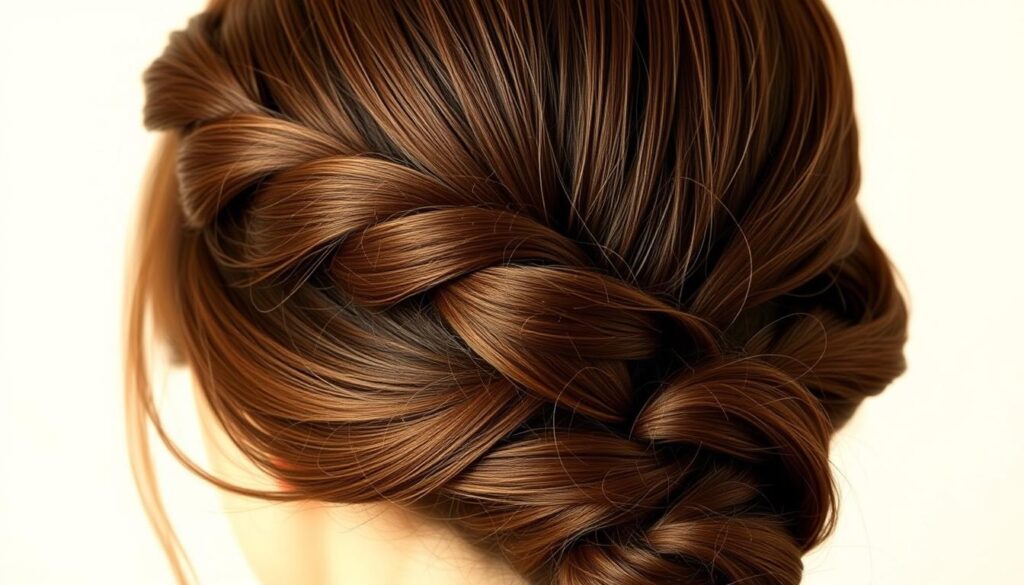
A french braid starts at the crown with three small strands and weaves downward, adding hair from each side as you cross the strands toward the nape. This top-down plait keeps shorter layers tucked in and creates a smooth, anchored shape along the head.
Unlike a simple three-strand braid that begins with all hair split at once, this type gathers sections hair gradually. That continuous gathering spreads tension across the scalp and prevents slipping, so the finished hairstyle reads neat and elegant.
- Works with three sections and one strand at a time to build control.
- Starts at the top crown and secures down to the nape neck for a firmer hold.
- Bobby pins help lock layers and loose pieces near the side or neck.
“The controlled structure means less slipping and a lasting look.”
Beginners find the moves familiar because you braid like a classic plait, with just one key change: continuous gathering. Master this style and you gain a versatile base for other braiding looks.
Prep and Tools: Get Your Hair and Sections Ready
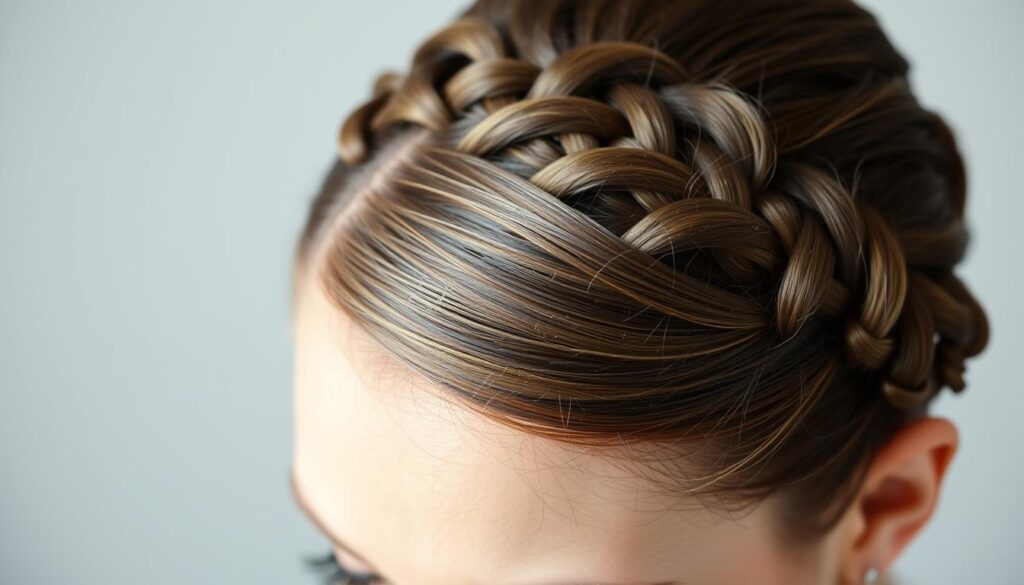
Gathering the right tools and prepping hair first makes the whole process smoother. Start with a tidy space and lay out a hair elastic, a fine-tooth comb, a dry texturizing spray, flexible-hold hairspray, and several bobby pins.
Work on slightly unwashed hair for better grip. If you washed it, mist a texturizing spray from roots to ends to add grit. Detangle gently so each section moves as a unit while you style.
- Part where you like—center or a little off—to guide how the top will feed into the weave.
- Gather a triangular section near the hairline that points toward the crown head; split it into three to start.
- Keep a band ready for the finish and pins to park stray pieces as you move toward the nape.
Lightly mist hairspray or texture before you begin so each section resists slipping. Decide if you want a sleek tail or a soft, fluffed end and prep accordingly. For a step-by-step DIY on a different cut that pairs well with this prep routine, check out wolf cut DIY tips.
How to Do a french braid Step by Step
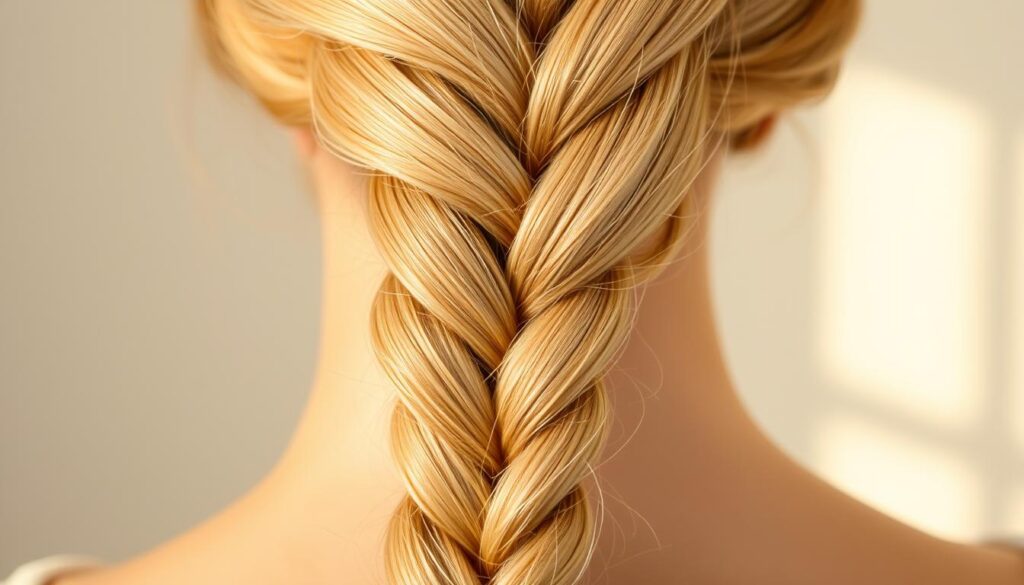
Form a small triangular start at the hairline, then draw it toward the crown to anchor the style. This gives a tidy base that keeps the pattern close to the scalp.
Create your first triangular section at the crown
Gather a triangular piece from the hairline and pull it up to the crown. Split that base into three neat strands so each strand stays defined.
Divide into three sections for a three-strand braid
Hold the three sections with light, steady tension. Start like a classic plait: cross the left strand over the center, then the right over the center.
Add small sections from the sides as you move toward the center
After two crossovers, add small sections from each side into the outer strands before crossing them into the center. Keep each add-in equal to follow the center line down the head.
Continue down the head to the nape, then braid to the ends and secure
As you near the nape neck, keep tension firm but comfortable. When no more hair can feed in, finish with a standard three-strand braid to the ends and secure with a snag-free elastic.
“Keep fingers close to the scalp and add equal bits from each side for a clean, even plait.”
- Tip: Use fingertips to guide each strand and smooth flyaways with a light hairspray.
Beginner Tips: Hand Position, Section Size, and Control
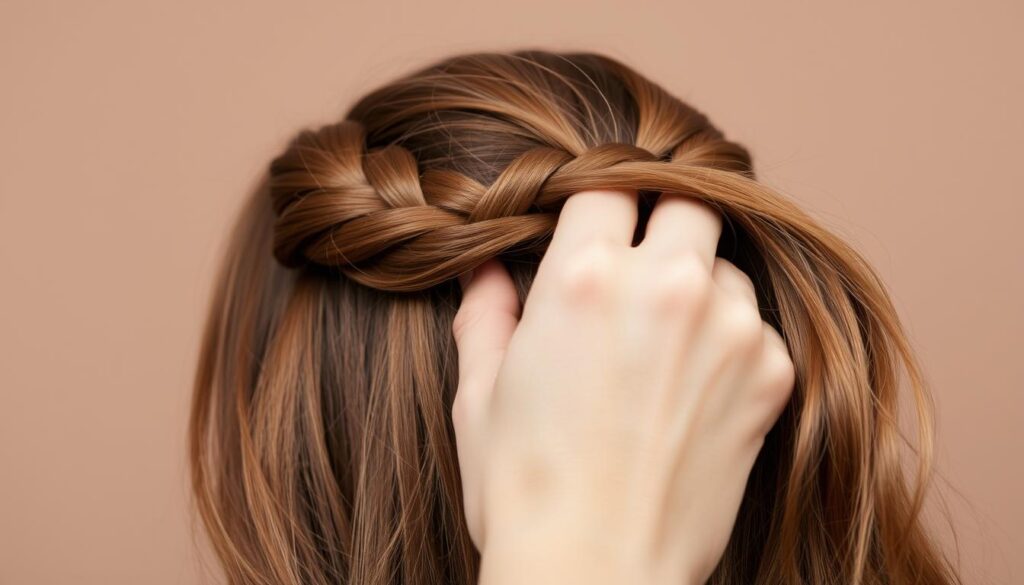
Good hand habits make braiding faster and the final look cleaner. Start with detangled hair and a clear center line so each add-in follows the same path. Calm, steady motions beat quick tugs.
Mastering hand positioning
Hold all three strands in one hand to free your other hand for smooth add-ins. Use the pads of your fingers to separate each strand and keep tension at the center. Keep elbows lifted and close to your head for efficient movement.
Pick up half-inch sections for balance
Aim for small sections—about a half-inch—when you grab from the side head. Even pick-ups help the braid hair lay flat from the top to the nape.
- If a piece slips, pause and reset tension rather than forcing it.
- Work close to the scalp without pulling too tight for comfort and hold.
- Reapply a light mist of texturizing spray if strands start to slide.
| Tip | Why it helps | When to use | Result |
|---|---|---|---|
| One-hand hold | Keeps tension steady | While adding sections | Cleaner center line |
| Half-inch pick-ups | Ensures balance | Throughout the top | Uniform look |
| Finger pads for separation | Reduces snags | On layered hair | Smoother finish |
“Small, consistent steps make a huge difference.”
With practice, these moves speed up your french braiding and give a neat, lasting look.
Styles and Variations: From Classic to Dutch and Fishtail
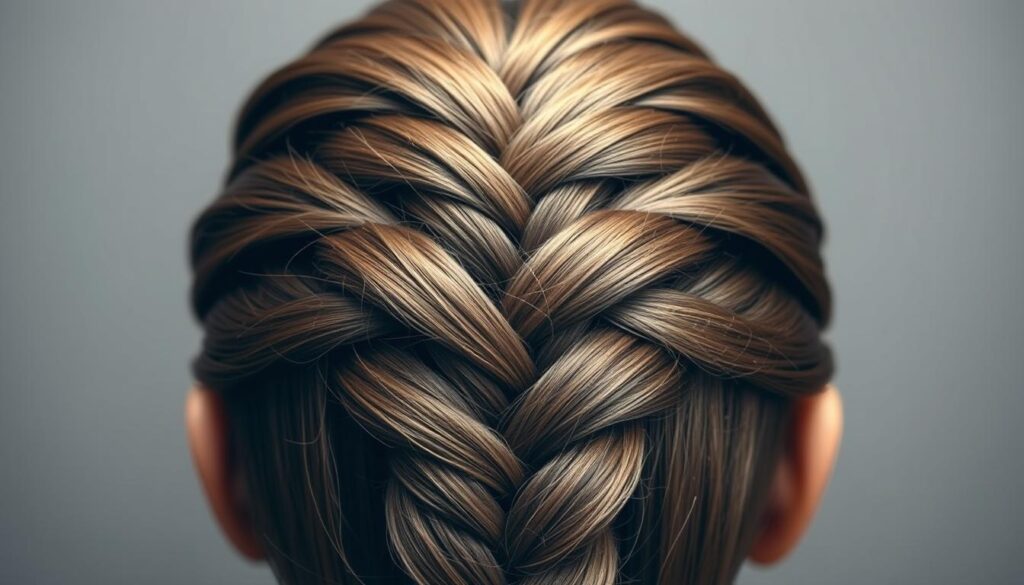
Swap the classic overhand weave for an underhand technique to get a raised, rope-like finish. This simple change creates a dutch braid that sits on top of the head and adds instant texture to your hairstyle.
Dutch technique for a raised finish
Cross each outer strand under the center instead of over it. The result is a pronounced, rope-like pattern that looks sporty and neat.
Fishtail vs. classic three-strand
A fishtail braid uses only two main sections and tiny pick-ups from each side. That method creates a sleek, woven silhouette that reads intricate without extra tools.
Wear it your way
One mastered plait opens many finish options. Wrap the tail into a top bun, split into twin pigtails, or stop at the nape and switch to a ponytail for easy polish.
- Try dutch braid crossings for a raised, rope-like look.
- Switch to a fishtail braid for a tighter, basket-weave effect.
- Create buns, pigtails, half-up styles, or ponytail finishes from a single start.
- Vary section size for chunkier or finer textures and adjust product for the hold you want.
“A small technique change can transform a simple plait into multiple looks for errands or events.”
Conclusion
End the look by keeping an even section flow and securing the tail with a reliable elastic band. Start with a clear part at the crown, pick up small, even sections down the side head, and keep steady hand placement as you work toward the nape.
Use a comb, texturizing spray, bobby pins, and a firm band for repeatable results. Work on slightly unwashed hair or mist with dry texture if needed. Finish with a standard braid to the ends and secure at the neck.
With steady practice this method becomes second nature. Try tighter tension for workouts or a looser finish for casual outings. One neat routine unlocks many hairstyle options from the same start.
