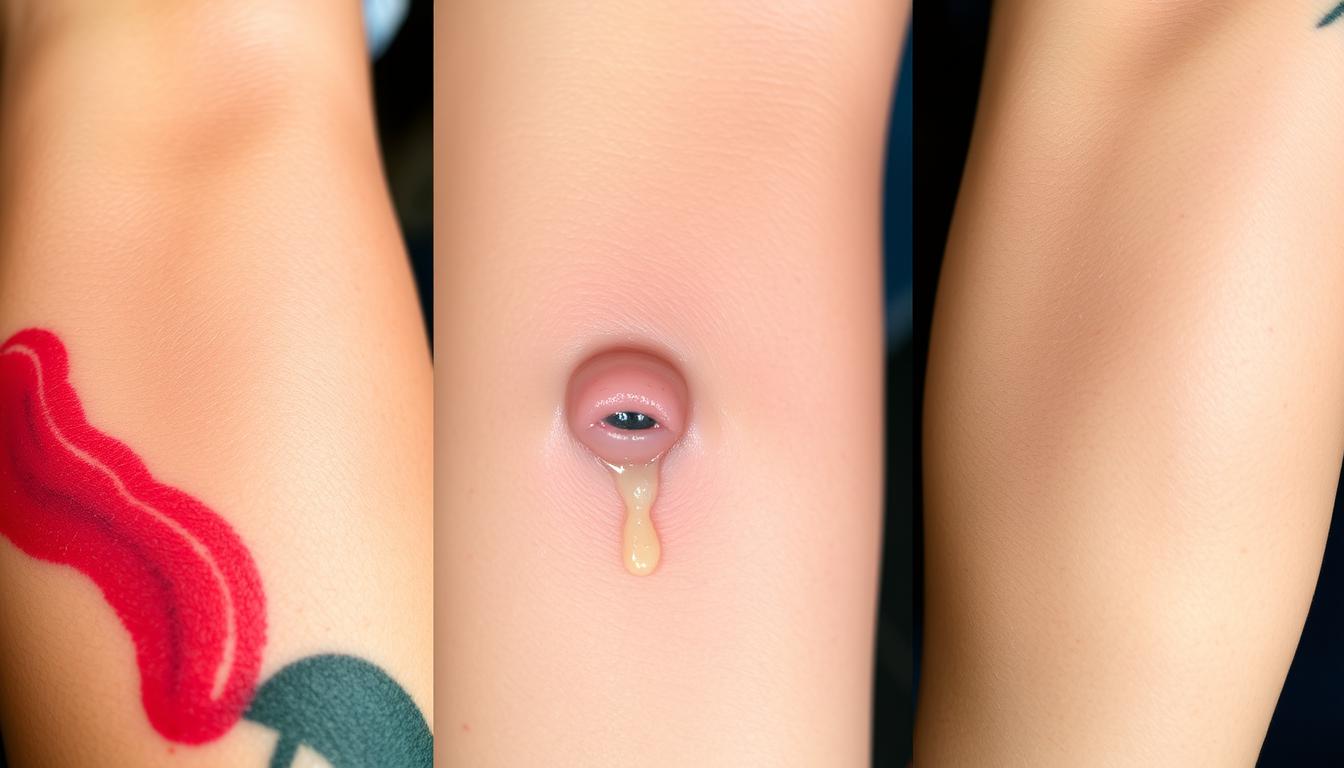
Is your new tattoo truly healed when the scabbing stops? Many people assume their ink is ready to flaunt after a few weeks, but the reality might surprise you. The journey from fresh artwork to fully settled skin involves hidden layers of recovery most never consider.
Your body works overtime after getting inked. While the surface may seem normal in 14-21 days, deeper tissue repair continues for months. Factors like design complexity, placement areas, and your skincare routine dramatically impact this timeline. Neglecting aftercare during these invisible phases could lead to faded colors or infections.
Four distinct recovery stages guide your skin’s transformation. Each demands specific attention, from managing initial swelling to maintaining moisture as pigments settle. Understanding these phases helps prevent common mistakes – like exposing delicate areas to sunlight too soon.
Key Takeaways
- Surface healing finishes in 2-3 weeks, but deeper layers require up to 6 months
- Size, body placement, and aftercare habits affect recovery speed
- Complex designs with color gradients heal slower than simple linework
- Four healing stages dictate different care requirements
- Proper moisturizing prevents scarring and color loss
Understanding the Tattoo Healing Process
Your skin becomes a biological construction zone after needlework. Three distinct layers – epidermis, dermis, and hypodermis – each play roles in securing your design. The magic happens in the dermis, where ink becomes trapped between collagen fibers and defensive cells.
Phases of Skin Recovery
Your body launches a three-stage repair mission:
| Phase | Duration | Key Activity |
|---|---|---|
| Inflammation | Days 1-6 | Macrophages attack ink particles |
| Proliferation | Weeks 1-3 | New tissue forms over punctures |
| Remodeling | Months 1-6 | Collagen reorganizes around pigment |
“That vibrant artwork is actually a controlled injury – your skin’s repair job determines its final appearance.”
What Impacts Recovery Speed?
Four elements control your healing process timeline:
- Body placement (elbows heal slower than calves)
- Needle depth (complex shading penetrates deeper)
- Immune response (smokers recover 30% slower)
- Aftercare consistency (moisture balance prevents scarring)
Remember: Those 3,000 weekly needle pricks create micro-channels that demand meticulous care. While surface redness fades quickly, full integration with your skin’s structure takes months of cellular teamwork.
how long does a tattoo take to heal? – A Closer Look
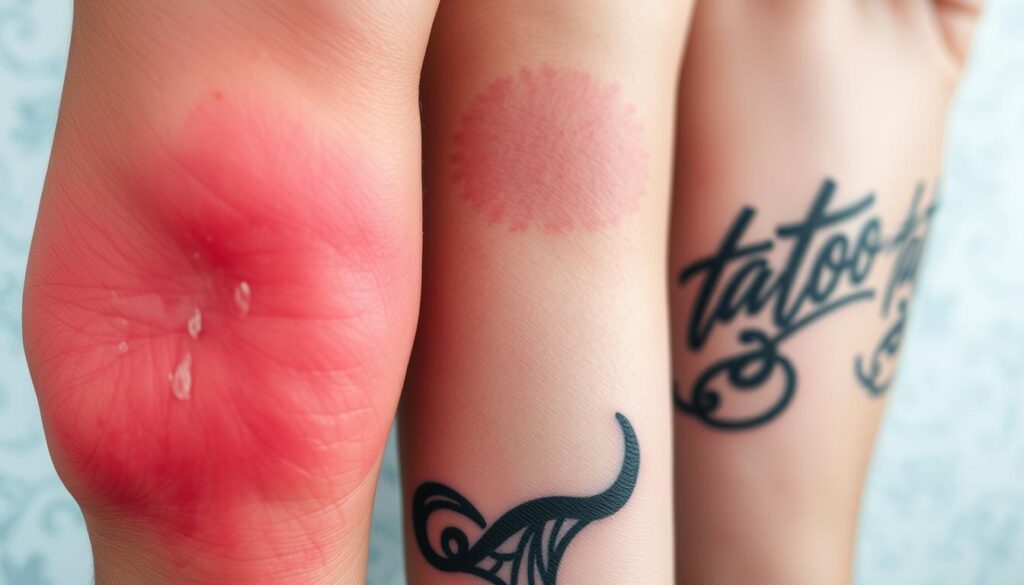
While your new design looks complete, under the surface, cellular teams are busy at work. The visible part of recovery wraps up in 2-4 weeks, but full integration with your skin’s structure takes much longer. This dual-phase process explains why aftercare matters long after scabs disappear.
Surface recovery and deep-layer restoration operate on different schedules:
| Healing Phase | Timeframe | Key Indicators |
|---|---|---|
| Epidermal Repair | 14-28 Days | No flaking, reduced redness |
| Dermal Stabilization | 3-6 Months | Color evenness, smooth texture |
Artists often notice clients mistake initial recovery for complete healing. “If your ink still feels raised or looks cloudy after four weeks, that’s normal,” explains veteran tattooist Mara Lin. Complex designs with shading or color gradients require extra time – sometimes double that of simple linework.
Three factors influence your personal timeline:
- Placement areas like joints or ribs experience more movement
- Larger color blocks need extended recovery periods
- Consistent moisturizing prevents delayed healing
Track progress through subtle changes in texture and vibrancy. Even when your skin looks settled, continue sun protection and hydration routines for optimal results.
The First Days: What to Expect After Getting Inked
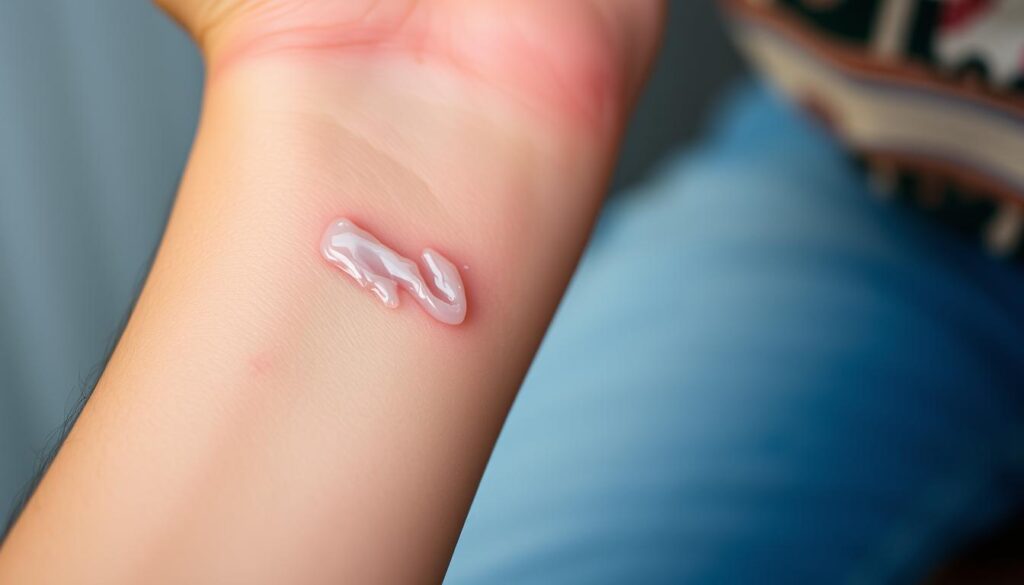
Fresh ink brings excitement – and some unexpected bodily reactions. Your skin transforms into a biological cleanroom during these critical first days, working to seal your new tattoo while fighting potential invaders.
Initial Reactions and Wound Care
That protective bandage acts like a temporary security system. Remove it too soon, and you expose raw skin to bacteria. Wait too long, and trapped moisture becomes a breeding ground. Most artists recommend 2-4 hours before gently washing with fragrance-free soap.
Expect three normal reactions during the initial 48 hours:
- Plasma-rich ooze forming a protective layer
- Mild swelling resembling a sunburn
- Tingling sensations as nerve endings react
“Think of your tattoo as a scrape that needs airflow,” advises Chicago-based artist Lena Choi. Open wound care principles apply: clean hands, breathable clothing, and zero submergence in water. Resist picking at dried plasma – it’s nature’s bandage.
Your body’s response peaks around day three. Redness should lessen if cared for properly. If heat persists or increases, consult your artist immediately. Remember: those first 72 hours set the stage for your design’s final appearance.
Week One: Managing Your Fresh Tattoo
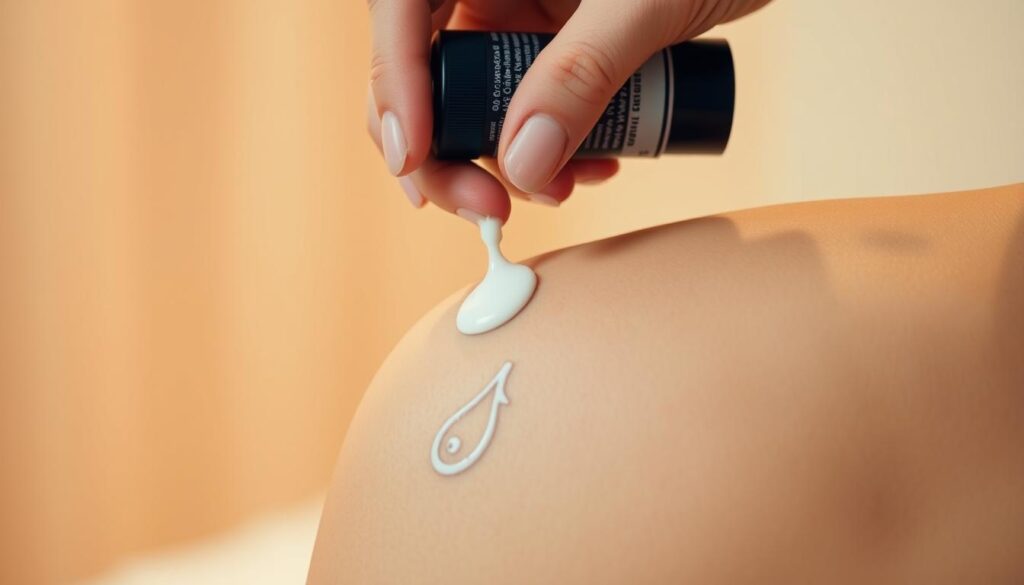
Your first week with new ink sets the stage for its lifelong appearance. Proper care during these initial days prevents complications and preserves your design’s clarity. Let’s break down the essential steps for protecting your investment.
Bandage Removal and Early Cleaning
Remove your artist’s bandage carefully using clean hands. Never re-wrap the area – oxygen flow helps seal the open wound. Wash gently with lukewarm water and fragrance-free soap 2-3 times daily.
Follow this cleaning routine:
- Scrub hands with antibacterial soap first
- Rinse using cup-poured water instead of direct shower streams
- Pat dry with paper towels – cloth fibers can irritate skin
Preventing Infection Right Away
Your fresh tattoo clean routine acts as an infection shield. Watch for unusual warmth or yellow discharge – these signal trouble. “Clients often mistake normal redness for danger,” notes artist Jax Morrow. “True infection shows spreading inflammation, not localized soreness.”
Three protective measures:
- Avoid gyms, pools, and pet contact
- Apply thin layers of aftercare ointment
- Wear loose clothing that doesn’t rub the area
Consistent aftercare prevents 80% of healing issues. If redness spreads beyond the design edges, contact your artist immediately. Remember – patience now means vibrant artwork later.
Week Two: Navigating Itching and Flaking
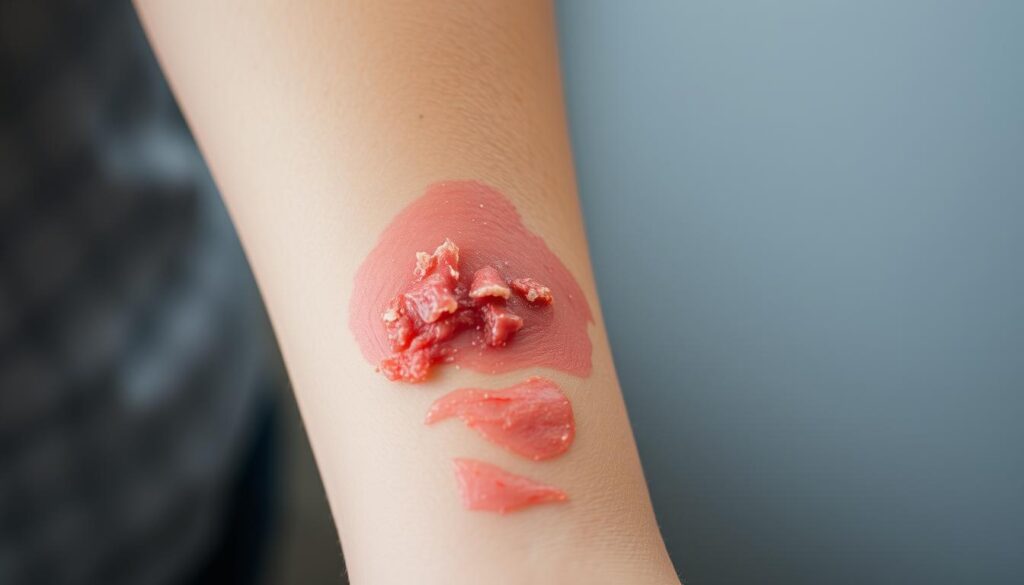
That persistent itch isn’t just a test of willpower – it’s your skin rebuilding itself. Around days 7-14, you’ll notice fine scabs forming and flakes resembling sunburn peeling. This marks your body’s transition from acute repair to long-term maintenance.
Taming the Itch Without Picking
Scratching feels tempting, but friction removes pigment cells trapped in healing layers. Instead:
- Pat the area with clean fingertips
- Use ice packs wrapped in paper towels
- Apply cooling aloe vera gel (alcohol-free)
Damaged scabs lead to patchy ink retention. Artists report 40% of touch-ups stem from premature picking. “Treat flakes like delicate lace,” advises Miami tattooist Rosa Mendez. “Let them detach naturally during washing.”
Moisturizing and Gentle Cleansing
Hydration balances repair without suffocating pores. Follow this daily routine:
| Step | Product Type | Frequency |
|---|---|---|
| Cleanse | pH-neutral soap | 2x daily |
| Moisturize | Water-based lotion | 4-5x daily |
| Protect | Mineral sunscreen | Before sun exposure |
Flakes often trap dead cells and excess pigment. Gently massage in circular motions during washing – no picking edges. If colors appear muted, don’t panic. True vibrancy emerges after dermal stabilization completes in later months.
Weeks Three and Four: Transitioning to a Closed Wound
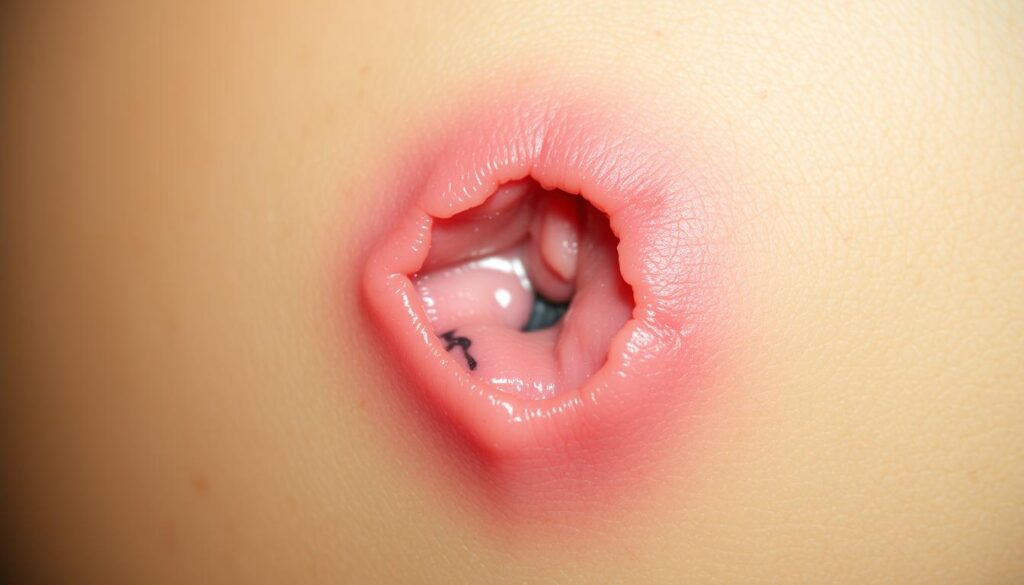
Your skin enters its final stretch of surface repair during this phase. While visible changes slow down, crucial cellular activity continues beneath the surface. This period marks your body’s shift from active wound management to long-term maintenance.
Exfoliation and Color Revival
That frustrating itch finally starts fading as your skin forms a protective barrier. You might notice a milky haze over your design – this temporary film consists of dead cells and excess pigment. “Don’t panic if colors look muted,” advises Nashville artist Trey Coleman. “It’s like looking through frosted glass – the clarity returns naturally.”
Three key developments occur:
- Flakes detach during gentle washing
- Dryness signals reduced inflammation
- Skin texture smooths out gradually
Switch to lighter moisturizers as your open wound becomes sealed. Water-based lotions now work better than thick ointments. You can safely:
- Apply SPF 30+ sunscreen
- Wear fitted clothing
- Resume light exercise
Remember – while the surface appears fully healed, deeper layers still reorganize. Avoid scrubbing or soaking the area. True vibrancy emerges over months as collagen fibers lock pigments into place.
Months of Healing: Deep Skin Recovery
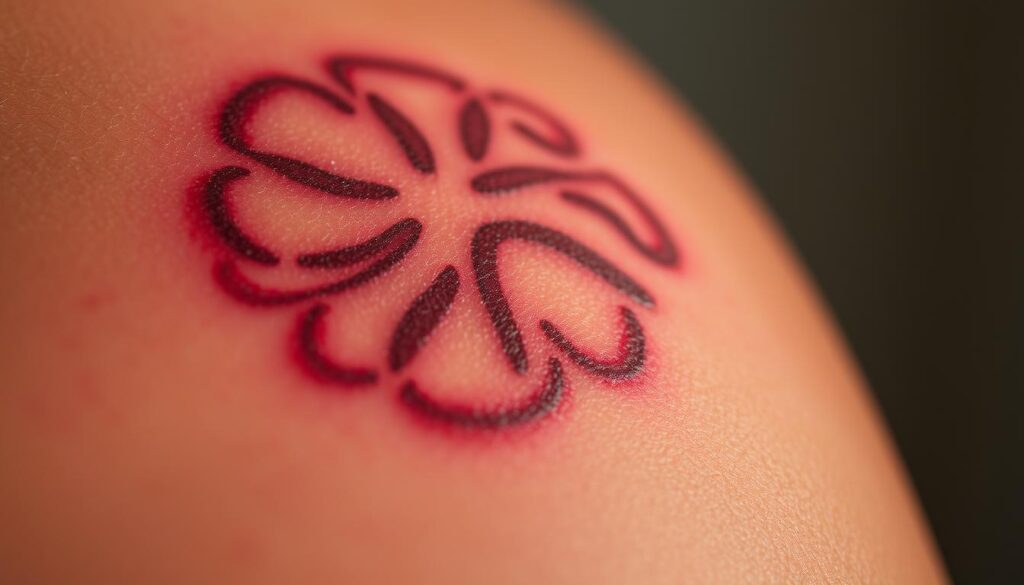
Your skin’s secret renovation project continues long after surface wounds vanish. While the top layer appears smooth and vibrant, deeper cellular crews work tirelessly beneath. This behind-the-scenes restoration determines your tattoo’s final look and longevity.
The Hidden Transformation
Three critical developments occur during this phase:
- Collagen fibers tighten around pigment particles like natural scaffolding
- Macrophages (your body’s cleanup crew) digest excess ink
- Melanin production stabilizes, preventing color distortion
“The magic happens when you’re not looking – that’s when your skin locks the art into place.”
Compare surface versus deep recovery progress:
| Aspect | Surface Layer | Dermal Layer |
|---|---|---|
| Healing Time | 2-4 Weeks | 3-6 Months |
| Visible Changes | Flaking stops | Colors intensify |
| Care Focus | Infection prevention | UV protection |
You might notice subtle improvements like:
- Enhanced color saturation as fluids fully dissipate
- Smoother texture from collagen reorganization
- Sharper edges as skin stabilizes
Pro tip: Artists recommend waiting 4-6 months before touch-ups. This allows complete pigment settlement – early adjustments often lead to overworked skin.
Aftercare Essentials for a Healthy Healing Process
Your healed design’s longevity starts with smart daily habits. Consistent care prevents fading and keeps colors crisp for years. Let’s explore the two pillars of successful maintenance.
Daily Cleaning Routines
Gently wash your artwork with lukewarm water and fragrance-free soap each morning. Pat dry using paper towels – rubbing disrupts settled pigments. Over-cleaning strips natural oils, so limit sessions to twice daily unless exposed to dirt.
The Right Ointments and Products
Switch to water-based lotions after week three. Look for ingredients like shea butter or oat extract that soothe without clogging pores. Avoid petroleum-based products – they trap bacteria and delay deep-layer recovery.
Hydration remains crucial even after visible healing. Apply SPF 30+ sunscreen before outdoor activities – UV rays break down ink molecules faster than you’d expect. Remember, great aftercare doesn’t stop when scabs disappear. It’s what keeps your body art looking fresh through seasons and sunsets.
