What if a simple grooming task could transform your relationship with your feline companion? While many pet owners dread claw maintenance, regular trims offer surprising benefits beyond protecting your sofa. Proper care keeps your pet healthy and strengthens trust between you both.
Scratching posts only do part of the work. Overgrown claws can curl into paw pads, causing pain and infections. Gentle trimming prevents these issues while saving your skin from accidental scratches during playtime.
This guide simplifies the process with practical tips. You’ll learn to recognize when it’s time for a trim, choose the right tools, and create calm sessions. With patience, this routine becomes a bonding experience rather than a battle.
Key Takeaways
- Regular trims prevent painful overgrowth and protect household items
- Proper techniques reduce stress for both owner and pet
- Early training creates positive associations with grooming
- Sharp claws can damage furniture and cause accidental injuries
- Consistent care improves your cat’s mobility and comfort
Understanding Your Cat’s Nail Anatomy

Knowing what’s beneath those sharp tips makes grooming safer and less stressful. Feline paws hide a precise arrangement of claws that serve vital functions, from climbing to self-defense. Let’s explore their structure to build your confidence in handling this essential care task.
Claw Structure and Dewclaws
Your furry friend has 18 claws total—five on each front paw and four on the back. Front paws feature a unique inner claw called a dewclaw, positioned higher up. These shorter claws don’t touch the ground but act like thumbs during climbing or gripping toys.
Identifying the Quick and Its Importance
The quick is the pink area visible in light-colored claws, packed with nerves and blood vessels. Cutting into this sensitive part causes pain and bleeding, so focus on the clear tip extending past it. Dark claws require extra caution—trim tiny bits gradually to avoid mishaps.
Dewclaws need special attention since they don’t wear down naturally. Regular checks prevent overgrowth that could curl into the paw pad. With practice, you’ll spot the safe trimming zone quickly, keeping sessions calm and efficient.
Essential Tools for Cutting Cat Nails

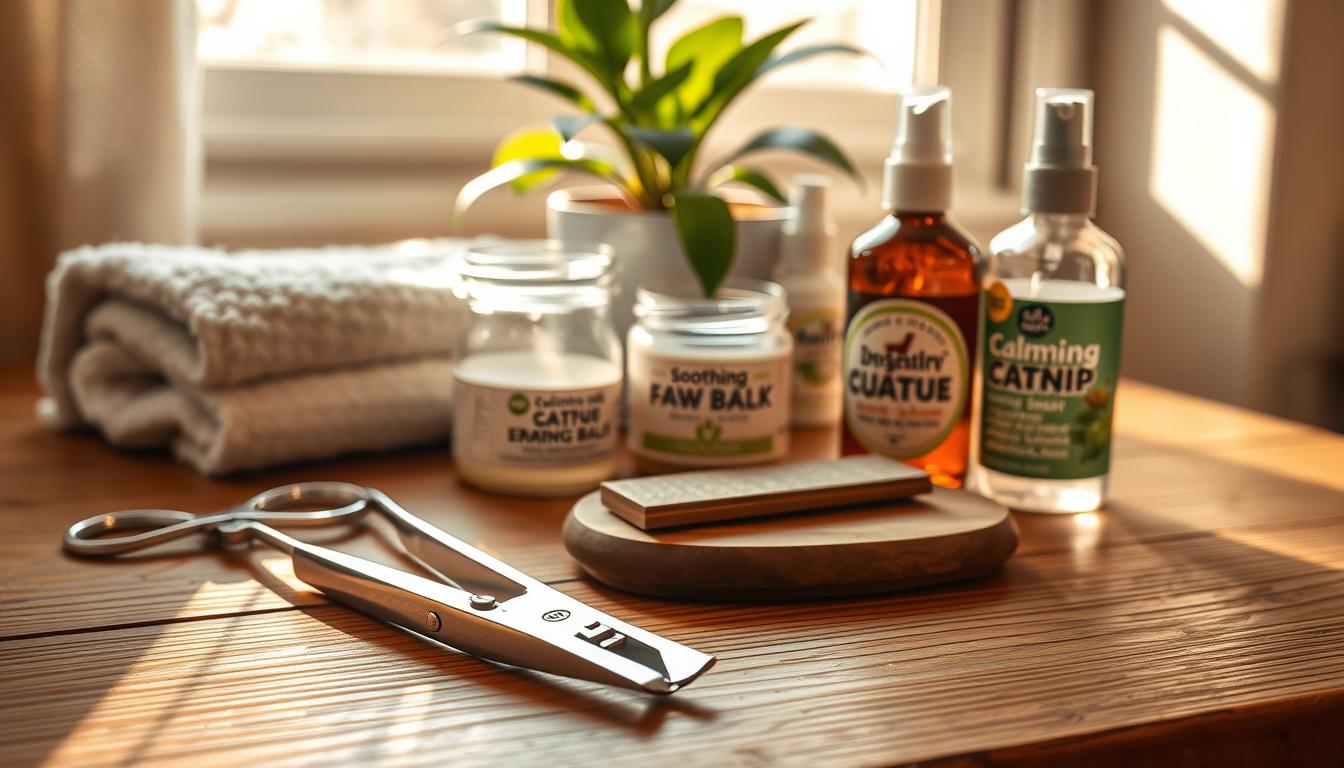
The right equipment turns a daunting task into a smooth routine. Proper tools minimize risks while making the process quicker and more comfortable for everyone involved. Whether you’re new to grooming or refining your technique, understanding your options helps create positive experiences.
Types of Clippers and Grinders
Scissors-style clippers work like miniature shears with notches to cradle each nail securely. Many owners prefer their familiar design and precise control. Guillotine models use a sliding blade mechanism that stays sharper longer, though positioning the claw correctly requires practice.
Pliers-style options excel at handling thick claws thanks to their spring-loaded leverage. For sensitive felines, grinders gently file edges without sudden pressure. Note that motorized devices may startle noise-averse pets during their first few uses.
| Tool Type | Best For | Considerations |
|---|---|---|
| Scissors-Style | Precision trimming | Easy handling |
| Guillotine | Durable sharpness | Nail alignment |
| Pliers-Style | Thick claws | Spring mechanism |
| Grinder | Smooth edges | Noise sensitivity |
Additional Safety Supplies
Always keep styptic powder within reach to instantly stop bleeding from accidental nicks. Pair it with soft towels for gentle restraint and quick cleanups. Treats reward cooperation, while a cozy blanket provides familiar comfort during sessions.
Apply light pressure when holding paws to avoid startling your companion. With these essentials prepared beforehand, you’ll handle surprises calmly and maintain trust throughout the process.
How to Cut Cat Nails Safely

Mastering nail care transforms grooming from a chore into a trust-building ritual. Focus on creating a calm environment where your furry companion feels secure. Gentle restraint and precise movements prevent accidents while reinforcing positive associations.
Proper Positioning and Holding Techniques
Settle your pet in the crook of your arm with paws facing upward. Face them in the same direction as your body for better control. Use your non-dominant hand to cradle one paw while keeping clippers ready in the other.
Apply light pressure between the top pad and toe beans to extend claws naturally. This method keeps your pal comfortable while exposing the trimming area. Always work on one paw at a time, releasing tension between nails if needed.
Step-by-Step Trimming Process
Angle clippers at 45 degrees to match the claw’s natural curve. Remove just 2 millimeters from the clear tip, avoiding the pink quick. Check each nail before snipping—dark claws require extra caution.
| Action | Purpose | Safety Tip |
|---|---|---|
| Paw Support | Prevents sudden movements | Use flat palm under footpad |
| Controlled Pressure | Exposes nail safely | Avoid squeezing joints |
| Angled Cut | Maintains natural shape | Prevents splintering |
| Frequent Breaks | Reduces stress | Watch for tense body language |
Reward cooperation with treats after each successful step. If your companion struggles, pause and resume later. Consistent practice helps both of you develop confidence in the process.
Tips for a Stress-Free Nail Trimming Session

Creating a calm grooming routine builds confidence for both you and your furry companion. Focus on techniques that minimize anxiety while maintaining control. These methods turn necessary care into moments of connection rather than conflict.
The Secure Wrap Technique
An agitated pet often relaxes when gently swaddled in a thick towel. This “purrito” method provides gentle pressure that mimics comforting hugs. Leave one paw exposed at a time while keeping other limbs snugly wrapped. Many pets settle faster when movement feels limited but not forced.
Reward-Based Cooperation
High-value treats work wonders during grooming sessions. Offer small bites after each successful nail trim to build positive associations. Pair snacks with soft praise to reinforce calm behavior. Over time, your companion may start associating the clippers with delicious rewards.
| Strategy | Benefit | Timing |
|---|---|---|
| Towel restraint | Reduces squirming | Pre-session setup |
| Treat intervals | Encourages participation | After each nail |
| Quiet space | Lowers stress triggers | Throughout process |
Silence background noises like TVs or loud appliances before starting. Short 5-minute sessions spread over days often yield better results than marathon attempts. With patience and this advice, you’ll transform claw care from stressful to manageable.
When and How Often to Trim Your Cat’s Nails

Timing matters as much as technique when maintaining your pet’s claws. Regular trims prevent discomfort and mobility issues, but frequency depends on lifestyle and age. Watch for subtle cues to determine the ideal schedule for your furry friend.
Signs of Overgrown or Problematic Nails
Claws that get long often curve sharply or catch on fabrics. Listen for clicking sounds on hard floors when your companion walks. Visible protrusion beyond the paw fur during rest usually means they need trim sessions soon.
Severe cases cause claws to pierce paw pads, leading to infections. Check dewclaws weekly—these inner nails don’t wear down naturally. Immediate attention prevents painful complications requiring veterinary care.
Establishing a Regular Trimming Schedule
Most indoor pets benefit from nail trims every 3 weeks. Active outdoor explorers might only need monthly sessions. Adjust based on these factors:
- Age: Senior pets often require more frequent care
- Activity: Climbers and scratchers maintain claws naturally
- Health: Arthritis reduces self-grooming behaviors
Mark your calendar but stay flexible. Some claws get long faster than others. Pair inspections with cuddle time to make monitoring feel routine rather than clinical.
| Cat Type | Trim Frequency | Special Notes |
|---|---|---|
| Kittens | 2-3 weeks | Builds lifelong comfort |
| Outdoor Adults | 4-6 weeks | Check for damage |
| Seniors | 2-3 weeks | Monitor mobility changes |
Consistent care preserves your pet’s health and household surfaces. When claws stay at safe lengths, everyone enjoys smoother interactions—no more surprise scratches during lap time!
Alternative Solutions and Complementary Care Options
Maintaining harmony between your furniture and feline instincts requires smart strategies. While regular maintenance remains essential, these approaches help redirect natural behaviors and provide backup support when home sessions prove challenging.
Using Scratching Posts and Deterrents
Scratching posts serve as your first line of defense against shredded upholstery. Offer three key variations to satisfy different preferences:
- Sisal-wrapped vertical towers for stretching
- Cardboard horizontal pads for claw conditioning
- Carpeted angled surfaces for angled scratching
Place these near favorite furniture targets. A post beside the sofa works better than one hidden in a back room. For persistent cases, apply citrus-scented sprays to off-limits areas. Transparent adhesive strips can protect surfaces temporarily while training continues.
Considering Professional Grooming Services
Veterinary clinics and groomers offer stress-free solutions for resistant pets. Many provide:
- Quick trim sessions during routine checkups
- Demonstrations using specialized restraint tools
- Nail caps application for extreme cases
Major pet retailers like Petco often include grooming packages with claw maintenance. Your veterinarian can identify underlying health issues contributing to excessive scratching. These services complement home care rather than replacing it entirely.
Combining these methods with consistent maintenance creates a win-win situation. Your furniture stays intact while your companion enjoys healthy outlets for natural behaviors.
Alternative Solutions and Complementary Care Options
Patience becomes your greatest ally when working with reluctant felines. Building trust takes time, especially if your companion views paw handling as unsettling. Start with brief daily touch exercises before introducing tools.
Working With Nervous Companions
Wrap your pal in a soft towel if they squirm excessively, exposing one claw at a time. Pair each gentle touch with their favorite treat to create positive links. Stop immediately if they show distress—forcing contact breeds long-term resistance.
Navigating Low-Visibility Claws
For dark claws, trim tiny slivers every 3 days instead of larger portions. Shine a flashlight behind the nail to spot the quick’s shadow. If you nick the sensitive part, apply cornstarch with steady pressure for 60 seconds.
Keep sessions under 5 minutes and always end on a positive note. With consistent advice from your vet and gradual practice, even the most resistant pets learn to tolerate essential care routines.