Ready to learn a classic inside-out braid that stays neat all day? This simple guide shows a friendly, step-by-step approach for any beginner who wants a polished look without fuss.
Start by brushing out tangles and using a smoothing product to tame flyaways. The dutch braid is an inside-out version of a french braid, so you cross strands under instead of over.
Work in clean sections, add hair evenly, and keep tension steady. That way the braid builds neatly along the scalp and resists frizz in heat or humidity.
Optional clip-in extensions can boost fullness and length while staying hidden if placed along the braid path. Finish with pancaking or a light mist of hairspray for volume and hold.
Key Takeaways
- Brush and smooth hair first to reduce flyaways.
- Use a center part and neat sections for an even braid.
- Cross strands under while adding hair to form the inside-out braid.
- Extensions can add fullness without revealing the extra hair.
- Finish with pancaking and light hairspray for a natural hold.
What Are Dutch Braids and Why Beginners Love Them

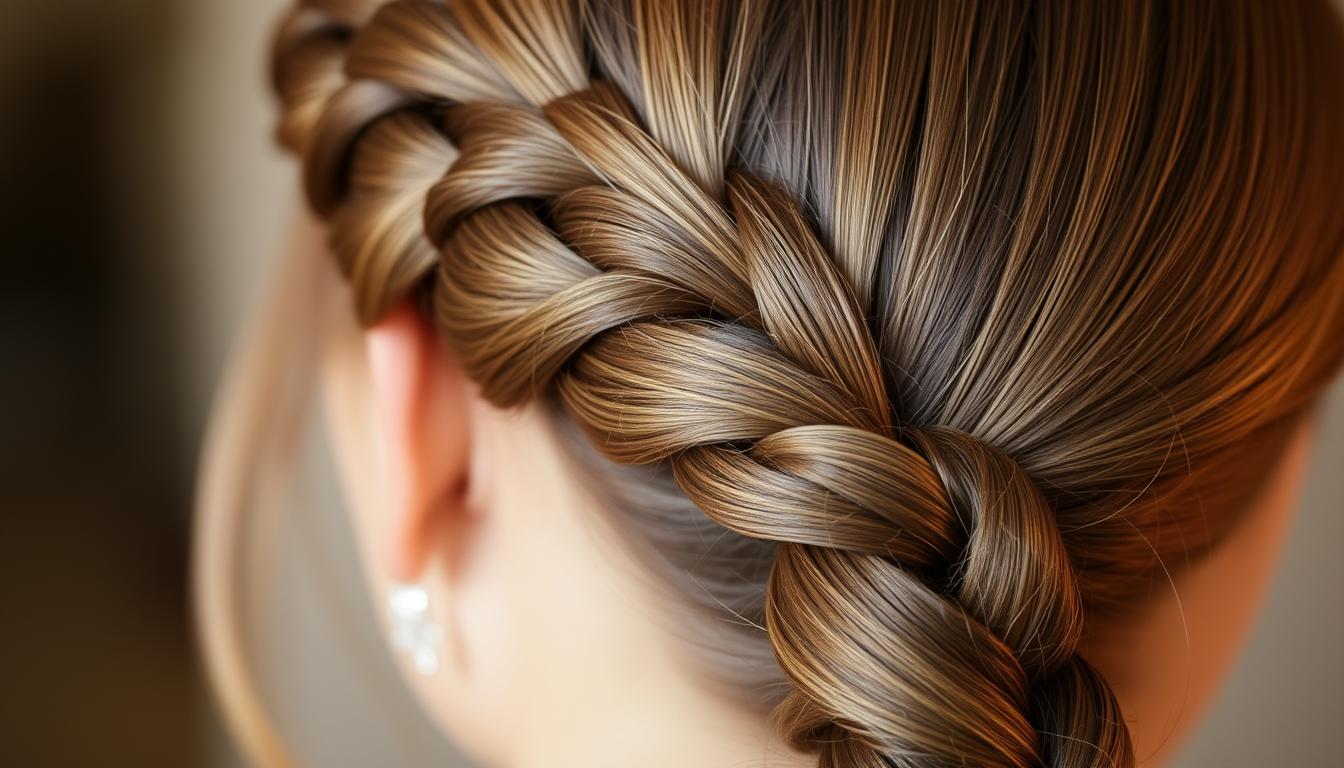
Start by picturing the braid as three moving lanes that swap under one another as you add hair. This simple mental image makes the process easier to learn and follow. The inside-out pattern creates a raised, defined look that shows up on straight and wavy hair.
The core difference is where the strands cross. A french braid crosses over; the dutch braid crosses under. That underhand motion lifts the braid off the head and makes the pattern pop.
Beginners like this style because progress is visible as you add sections. Name your pieces as front section, middle section, and back section so your hands stay confident.
- It’s durable for a busy day, workouts, and humidity.
- Use clip-in extensions along the braid path so the braid hides clips; reclip any visible ends up into the braid.
- Start with a center or side part—both place the braid neatly and change the final look.
Step-by-Step: Dutch Braids

Start by prepping and parting the hair so each tiny piece feeds smoothly into the braid. Brush hair well, remove tangles, and smooth the top with a light spray or cream to tame flyaways.
Part hair with a clean center line from the forehead to the back head. Clip one side away so you can focus on the working side.
Section and begin
Pick a small section near the hair front and split it into three equal parts: front section, middle section, and back section.
Core motion
Start crossing under: pass the front section under the middle, then pass the back section under the middle. This underhand move lifts the braid off the scalp for a raised look.
Adding hair and alignment
Each time a piece crosses under, add a small section hair to that piece before crossing under again. Keep additions level with the active stitch so the braid stays even along the head’s curve.
Follow the natural line of the head. If the braid drifts, change the angle of your next additions to bring it back centered.
Finish and repeat
Continue to the nape, then braid the rest to the end and secure with a small elastic. Release the clipped side, brush hair, and repeat the same steps to match position and tension for symmetry.
Optional and set
For fuller results, discreetly add extensions along the braid line so the braid covers the weft. At the end, slide the elastic down slightly, apply plumping powder from bottom to top, gently pancake the braid, and mist with hairspray to set.
| Step | What to do | Tips |
|---|---|---|
| Prep | Brush hair, smooth top with product | Use light cream for control, avoid heavy residue |
| Part | Create center part from front to back head | Clip one side to focus |
| Section & Braid | Pick small section, split into three, cross under | Add small sections evenly; keep tension steady |
| Finish | Braid to nape, secure, repeat other side | Pancake, plump, and spray for lasting hold |
Beginner Tips, Tools, and Everyday Style Ideas

Start by laying out essentials — this saves time and keeps your hands free while braiding. A simple kit speeds up practice and helps you focus on clean sections and steady tension.
Essential tools
Gather a brush, a comb, small elastics, bobby pins, and duck-bill clips. Add dry shampoo for grip, a bit of styling paste for flyaways, and a drop of conditioning oil on the lengths to add shine.
Tension and timing
Keep your grip snug but comfortable. Add hair right as a section crosses under so you don’t lose timing or create bumps.
Heat-free waves
For texture, put two loose braids in damp long hair before bed. Undo in the morning and mist with gentle hairspray for a soft, heat-free look.
Sporty to romantic
Wear a tighter braid for workouts or pancake the edges for a softer, romantic finish in the evening. If the line drifts to one side, adjust additions slightly to recenter without starting over.
- Brush hair thoroughly to avoid tangles and keep a comb handy for crisp parting.
- Keep elastics and clips within reach so your flow isn’t interrupted mid-braiding.
Conclusion
The secret to neat results is a steady underhand rhythm and small, even additions of hair. Follow the same step each time: split a clean front section, feed small pieces into the middle section, and cross under with purpose.
With basic tools and practice, you can nail this look quickly. The inside-out method is the close cousin of a french braid, so past braid experience helps the learning curve.
Finish smart: secure ends, pancake for volume, and mist to hold the hairstyle without stiffness. Try extensions for fullness or sleep in loose braids for no-heat waves.
Give it time and keep your kit handy — the process becomes faster and symmetry easier with each practice session.