What if you could transform your walls without leaving a single mark? More people than ever are rethinking how they decorate their living spaces, especially those who rent or love refreshing their home décor frequently. Traditional approaches often leave unwanted holes or risk damaging hidden wiring – but modern methods offer smarter ways to showcase your favorite pictures.
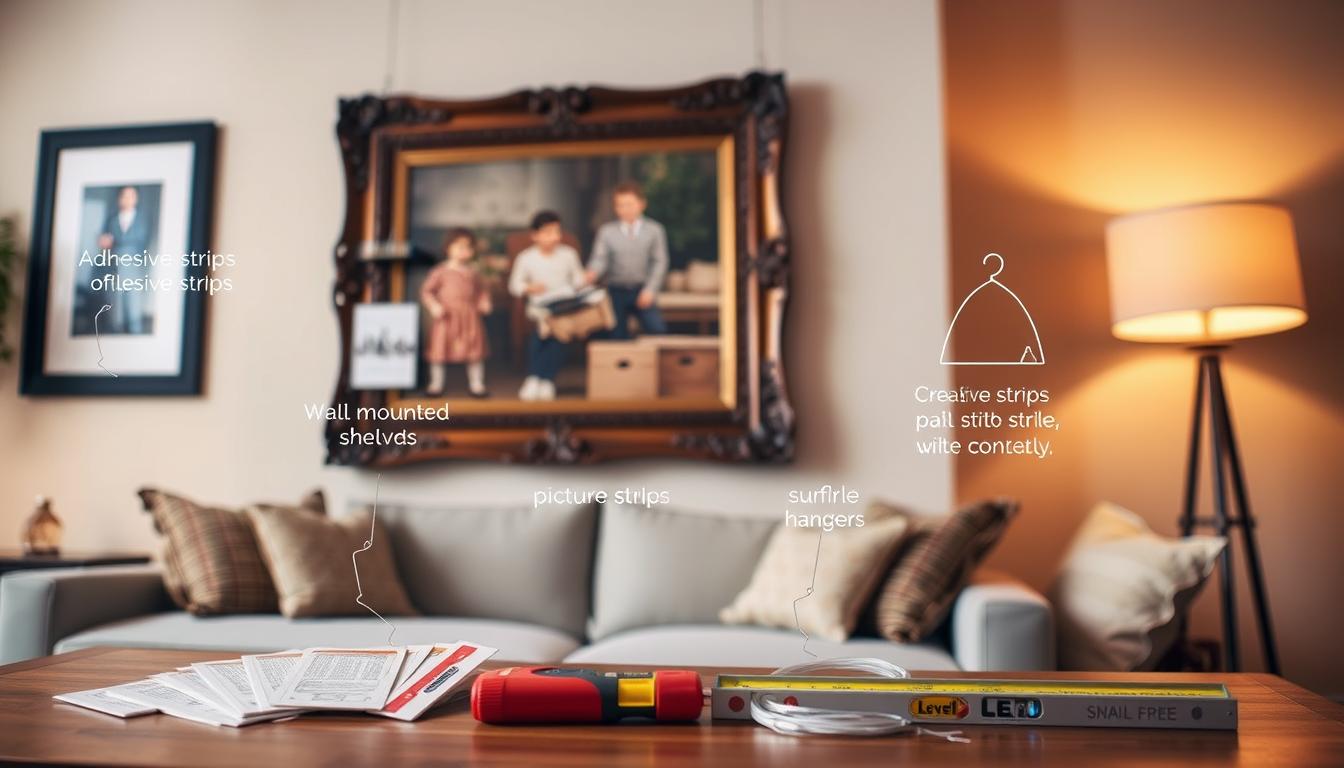
Adhesive strips like Command products have revolutionized wall displays. They hold frames securely while allowing easy removal – perfect for lightweight art or temporary arrangements. For heavier pieces, innovative press-in hooks support up to 150 pounds with minimal impact. These solutions let you experiment with layouts without commitment, turning your wall into a dynamic gallery.
Whether you’re avoiding landlord fees or protecting delicate surfaces, today’s alternatives balance practicality and creativity. You’ll discover options tailored to different weights, textures, and styles, ensuring your pictures stay perfectly placed. Ready to reimagine your space?
Key Takeaways
- Renters and frequent redecorators benefit most from damage-free hanging solutions
- Traditional nails can damage walls and hidden infrastructure
- Adhesive strips work best for lightweight frames up to 5 pounds
- Press-in hooks handle heavier artwork with barely visible holes
- Surface type and item weight determine the ideal hanging method
Creative No-Nail Techniques for Picture Hanging

Modern décor solutions let you showcase artwork while keeping surfaces pristine. Whether you’re styling a rental or refreshing layouts often, these methods blend strength with subtlety.
Command Strips and Hooks Mastery
Command strips offer precision for framed pieces. Match strip size to your frame’s weight – small ones handle 1-3 pounds, while larger options secure up to 16 pounds. Clean the wall with rubbing alcohol first, press firmly for 30 seconds, and wait an hour before hanging. This creates a bond stronger than most traditional adhesives.
For a floating gallery effect, try Command hooks. Position them slightly above your artwork’s top edge. The gap between the wall and piece adds depth, mimicking professional displays. These hooks work wonders for canvas pieces under 7.5 pounds.
Washi Tape and Lightweight Solutions
Transform plain posters into eye-catching features with patterned washi tape. Create borders, geometric shapes, or layered accents. Since it’s gentler than regular tape, it won’t peel paint – ideal for temporary kid’s room décor.
Remember: adhesive methods have limits. Use multiple strips for heavier frames, and always test weight capacity. When removing, pull straight down slowly to activate the release mechanism. This prevents residue and keeps walls flawless for your next design shift.
Exploring Picture Rail and Molding Methods

Unlock hidden potential in your walls with architectural features designed for flexible displays. Many older homes contain picture rail molding – a horizontal ledge near the ceiling often overlooked in modern décor. These rails offer a damage-free way to curate rotating collections.
Hanging Art from Picture Rails
Locate existing rail molding by checking 8-12 inches below crown details. Measure its width to choose compatible rail hooks. Thinner vintage rails work with S-shaped brass hooks, while wider profiles need adjustable clamp styles.
Attach picture wire to your frame’s back using screw eyes. Drape it over two hooks spaced wider than the artwork. This creates stability and lets you slide pieces along the rail for perfect spacing. Heavy frames? Double up hooks for extra support.
Customizing with Rail Molding and Hooks
No original rails? Install modern gallery systems with track-mounted clips. These aluminum tracks mount discreetly near ceilings, holding multiple artworks via hidden cables. Mix framed photos with woven tapestries by attaching them to matching wires.
The beauty lies in flexibility. Rearrange seasonal pieces in minutes or create staggered heights for dynamic walls. Unlike fixed hooks, this system grows with your collection while preserving walls completely.
Innovative Wall-Friendly Alternatives

Break free from traditional mounting with gravity-defying display options. These creative approaches turn any surface into a gallery while keeping walls spotless – perfect for renters and serial redecorators.
Leaning Art and Shelf Displays
Lean framed pieces against walls on mantels or bookshelves for effortless charm. Group smaller artwork in staggered heights on floating shelves to create visual rhythm. Slot vertical picture frames between books for a curated library look.
Large dressers and entertainment centers become instant galleries. Balance oversized canvases with decorative objects like vases or sculptural bowls. This method works especially well above fireplace surrounds.
Elevating with Easels and Mantles
Floor easels transform art into 3D installations. Position them in room corners or behind sofas as striking focal points. Tabletop versions let you rotate favorite pieces between rooms effortlessly.
Mantles offer prime real estate for layered displays. Prop a statement mirror behind smaller framed works for depth. Add texture with woven baskets or trailing plants beside your artwork.
Ceiling-Hung Approaches
Clip lightweight frames to drop ceiling grids using clear plastic hooks. For sloped walls, bullet hangers with swivel heads keep artwork level. Existing rail molding? Suspend pieces from nearly invisible monofilament lines.
These overhead solutions free up wall space completely. Create floating galleries above beds or dining tables for unexpected drama. Rotate seasonal pieces without ever touching your walls.
How to Hang Pictures Without Nails: Essential Tips and Tricks

Choosing the perfect display solution starts with understanding your unique needs. Three factors guide your selection: item weight, surface material, and desired arrangement flexibility. Master these elements to create secure, stylish installations that respect your space.
Matching Hangers to Your Environment
Adhesive strips shine for photographs under 5 pounds on smooth surfaces. For textured walls, try removable putty that molds into crevices. Heavy frames demand screw-in hooks with drywall anchors – they leave dime-sized holes that spackle easily.
Unique décor needs special solutions. Display ceramic plates using plate hangers with felt-lined grips. Create rotating galleries with clothespins clipped to taut wire strands. Push pins work for temporary displays, leaving marks smaller than pencil tips.
Smart Installation and Maintenance
Always test hangers on inconspicuous wall areas first. Distribute weight across multiple points for oversized pieces – four medium strips often outperform two large ones. When removing adhesives, heat them gently with a hairdryer to weaken the bond.
For glass surfaces, use suction-based systems rated for your artwork’s size. Clean mounting areas with rubbing alcohol to ensure maximum stickiness. Rotate displayed items seasonally to prevent adhesive fatigue and keep your arrangements fresh.
Conclusion
Your walls deserve protection while showcasing cherished art. The techniques we’ve explored let you display frames and artwork without permanent damage, whether you’re refreshing a rental or experimenting in your forever home. From Command strips to floating shelves, each solution adapts to your space and style.
Lightweight pieces thrive with adhesive hangers, while heavier items benefit from rail systems or strategic leaning. Renters appreciate completely mark-free methods, whereas homeowners might opt for minimal holes that spackle easily. Your chosen approach becomes part of the decor itself – visible wires add industrial flair, while hidden hooks keep focus on the gallery.
Now you can rotate pictures seasonally or reimagine entire walls in minutes. These wall-friendly strategies prove that protecting surfaces and expressing creativity aren’t mutually exclusive. Your next art arrangement is just a damage-free experiment away.