What if your at-home manicure could rival a salon’s glossy perfection? Many assume flawless results require expensive appointments, but celebrity experts disagree. With the right approach, polished, professional-looking nails are closer than you think—and they won’t drain your wallet.
Top manicurists working with A-list clients reveal that success lies in patience and precision. Rushing leads to smudges or uneven layers, while proper prep ensures colors pop and last. This guide breaks down every detail, from choosing tools to mastering smooth strokes.
You’ll learn why skipping base coats or using thick polish layers creates frustration. Discover insider tricks to avoid dents and spills, even if you’re new to DIY manicures. Plus, unlock creative freedom with easy nail art methods that turn heads.
Key Takeaways
- Salon-quality results at home save time and money long-term
- Proper preparation prevents common errors like smudging or chipping
- Thin, even polish layers matter more than expensive products
- Celebrity techniques adapt easily to everyday routines
- Advanced designs become simple with step-by-step guidance
Preparing Your Nail Station for a Flawless Manicure

Your perfect manicure starts long before the polish bottle opens. Celebrity artists swear that strategic prep work makes all the difference. Dedicate time to create a distraction-free zone—it’s the secret to crisp lines and zero smudges.
Selecting a Well-Lit and Clean Workspace
Natural light or a bright lamp helps spot uneven polish instantly. Choose a flat surface where your hand rests naturally—kitchen tables often work better than couches. Wipe the area with alcohol to remove dust that could stick to wet layers.
Essential Pre-Painting Rituals
Eat that snack now! Once polish dries, opening chip bags becomes a disaster. Tie back hair, queue up a podcast, and place your drink within arm’s reach. Pro tip: Lay out every tool you’ll need—this saves time and prevents frantic searches mid-process.
Set a timer between coats to avoid impatience-induced dents. These simple steps transform your space into a mini salon, letting you focus on flawless results without interruptions.
Essential Tools and Materials for a Salon-Quality Manicure
Salon-worthy results begin with your toolkit. While creativity matters, the right products transform messy streaks into glossy perfection. Professional manicurists keep their kits stocked with reliable essentials—no exceptions.
Choosing the Best Nail Polish and Brand Recommendations
Covergirl, Essie, and Milani polishes dominate pro kits for good reason. Their formulas glide evenly without clumping, offering one-stroke opacity in vibrant shades. Sephora by OPI adds depth to collections with limited-edition hues that resist chipping.
Cheap polishes often require 4+ coats. Premium options? Two thin layers deliver rich color. Test bottles for smooth brush handles—they prevent wobbles during application.
Gathering Your Base, Top Coats, and Cleanup Essentials
OPI’s Natural Nail Base Coat creates a sticky canvas that locks polish in place. Follow with Sally Hansen Insta-Dri Top Coat—it seals edges while adding 12-day shine. Keep cotton swabs dipped in acetone nearby for quick fixes.
Swap cardboard files for glass versions. They shape nails faster and won’t fray like emery boards. Round out your kit with cuticle sticks and clippers that snip—not tear—for flawless prep work.
Step-by-Step Prep Work for Perfectly Ready Nails

Flawless color starts with what’s underneath. Celebrity manicurists compare nail prep to priming a canvas—skip it, and your masterpiece won’t stick. This process eliminates hidden oils and textures that sabotage polish longevity.
Trimming, Filing, and Buffing Your Nails
Always shape nails when they’re bone-dry. Water weakens the structure, causing splits during filing. Use a glass file in single-direction strokes—sawing back-and-forth creates microscopic cracks.
Buff gently with a four-way block. This removes ridges and natural oils that cause peeling. Pro tip: Buffed surfaces reflect light better, making even basic shades look luxe.
Cleaning with Nail Polish Remover and Prepping Cuticles
Soak hands in warm water for 3 minutes post-shower. Cuticles soften naturally, letting you push them back without force. Never cut live skin—it invites infections and uneven growth.
Wipe each nail with nail polish remover, even if bare. This degreases the surface so base coats adhere properly. For intricate pink-and-white designs, clean edges matter twice as much.
Buffing’s secret power? It creates a velvety texture that locks polish in place. Combined with thorough cleansing, your manicure becomes chip-resistant armor rather than temporary decor.
How to Paint Nails: Essential Techniques and Tips

Ever wonder why salon polish looks airbrushed? The magic happens in how you handle the brush. Celebrity artists swear by two rules: strategic loading and intentional placement. Nail the basics here, and you’ll skip messy edges forever.
Loading Your Brush and Applying Thin Coats
Pull the polish brush out slowly, wiping excess on the bottle’s far side. This removes 80% of the blob that causes cuticle floods. Dab the near side once—just enough to eliminate drips without stripping all color.
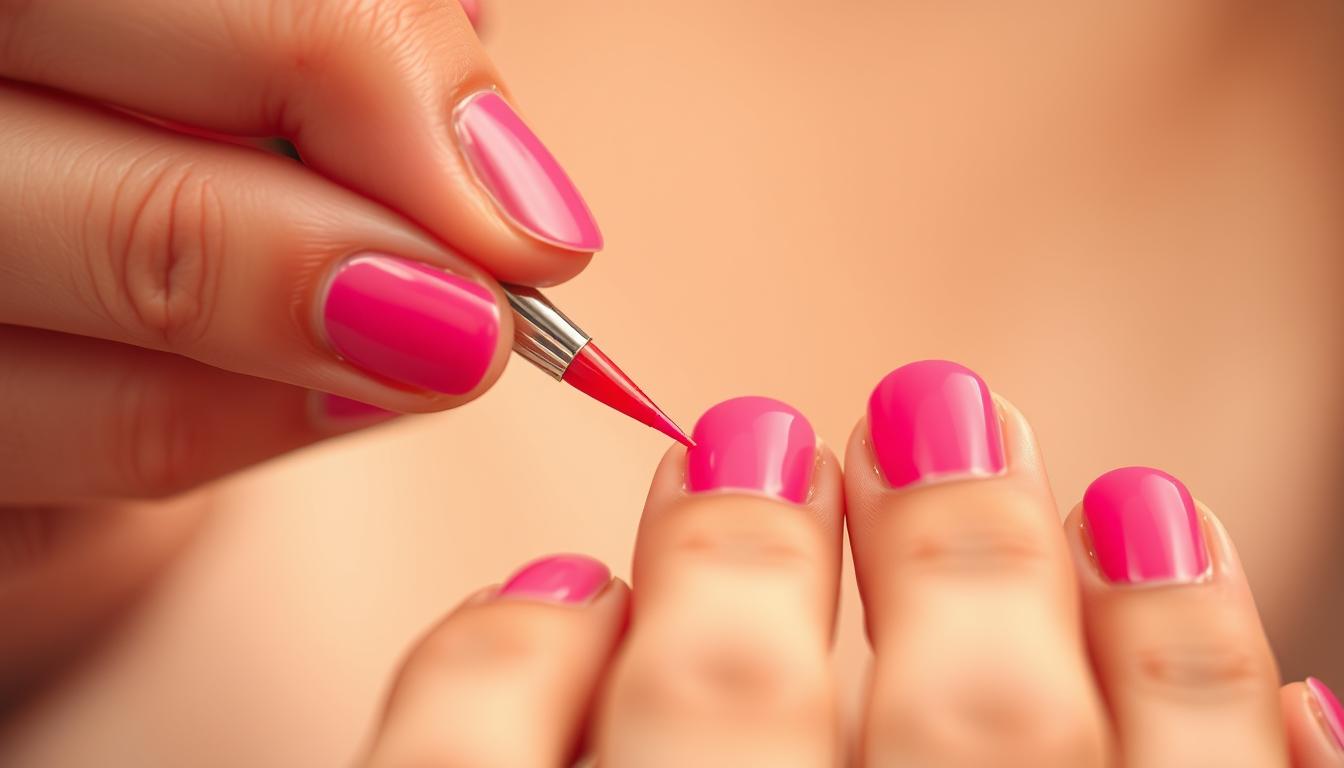
Start halfway between your cuticle and nail tip. Press the bristles flat, then drag toward the free edge. This spreads polish evenly, avoiding thick pools. Use three strokes: center, left, right. Thin coats dry faster and prevent smudges from impatient gestures.
Maintaining a Hairline Space Near the Cuticles
Leave a microscopic gap between polish and skin. It creates a crisp line that looks professional and reduces cleanup. If polish creeps too close, dip an angled eyeliner brush in acetone to erase errors instantly.
Pro tip: Rotate your hand so nails face downward slightly. Gravity pulls polish toward the tip, giving you better control near the base. Combined with proper brush loading, this technique delivers salon-sharp edges every time.
Achieving the Perfect First and Additional Coats

Patience between coats transforms streaky beginnings into glossy perfection. While your first layer might look like a disaster, strategic layering creates depth that rivals salon results. The key? Treat each coat as a building block rather than a race to coverage.
Timing Your Drying Process Between Coats
Wait 8 minutes between layers—most polishes dry enough during this window. Test readiness by gently tapping nails together. If they stick, wait another 2 minutes. Humidity and polish formulas affect drying speed. Gel-like brands often need 10+ minutes.
Building Full Opacity with Multiple Thin Layers
Three thin coats beat one thick glob every time. Sheer colors like Essie’s Ballet Slippers need extra layers, while OPI’s saturated hues cover in two. Streaks disappear as you add coats—trust the process.
| Polish Type | Average Coats Needed | Drying Time Between Layers |
|---|---|---|
| Sheer/Cream | 3 | 7-9 minutes |
| Metallic/Shimmer | 2 | 8-10 minutes |
| Quick-Dry Formula | 2 | 4-6 minutes |
Rushing causes dents and smears. Let each layer bond completely before adding the next. This amount of waiting makes the difference between chipped polish tomorrow and chip-free nails all week.
Mastering the Top Coat Application for Long-Lasting Results

Your top coat isn’t just glossy icing—it’s the guardian angel of your manicure. While color grabs attention, this clear layer determines whether your polish survives coffee spills or becomes a chipped mess by tomorrow. Apply it strategically, and you’ll unlock 5+ days of flawless wear.
Applying the Top Coat Beyond the Edge of Your Nail
Swiping the brush across your nail tip seals the deal—literally. After covering the entire colored surface, glide the top coat over the free edge. This creates a waterproof barrier where chips usually start, especially on styles like stiletto nails.
Techniques to Seal in Your Color and Prevent Chips
Work quickly but precisely. Quality formulas like Seche Vite harden within minutes, trapping underlying layers as they cure. Missed spots? They’ll peel first. Rotate your hand to check coverage from all angles before the coat dries.
Pro tip: Apply within 10 minutes of your last color layer. Fresh polish bonds better with the top coat, creating a unified shield. For extra durability, reapply every 3 days on high-stress nails.
Quick Tips for Precise Touch-Ups and Cleanup
Even pros need quick fixes sometimes—here’s how to handle slip-ups like a boss. Minor mistakes don’t mean starting over. With the right tools, you’ll salvage nearly any mishap in seconds.
Q-Tips vs. Eyeliner Brushes: Edge Perfection
Dip a cotton swab in remover and roll it gently near your nail edges. For surgical precision, use a flat eyeliner brush. Make sure bristles are slightly stiff—dip the angled side in acetone, then swipe remover-dipped strokes around cuticles.
Rescuing Smudges and Flooded Zones
Fresh smudged polish? Press a damp fingertip lightly over the area to smooth it. Let dry fully before adding another coat. Cuticle floods disappear with toothpicks: carve outward from the skin using tiny upward flicks.
Post-application cleanup elevates DIY results to salon-tier sharpness. Keep tools handy, work swiftly, and make sure edges stay crisp. Your secret? Patience beats perfectionism every time.