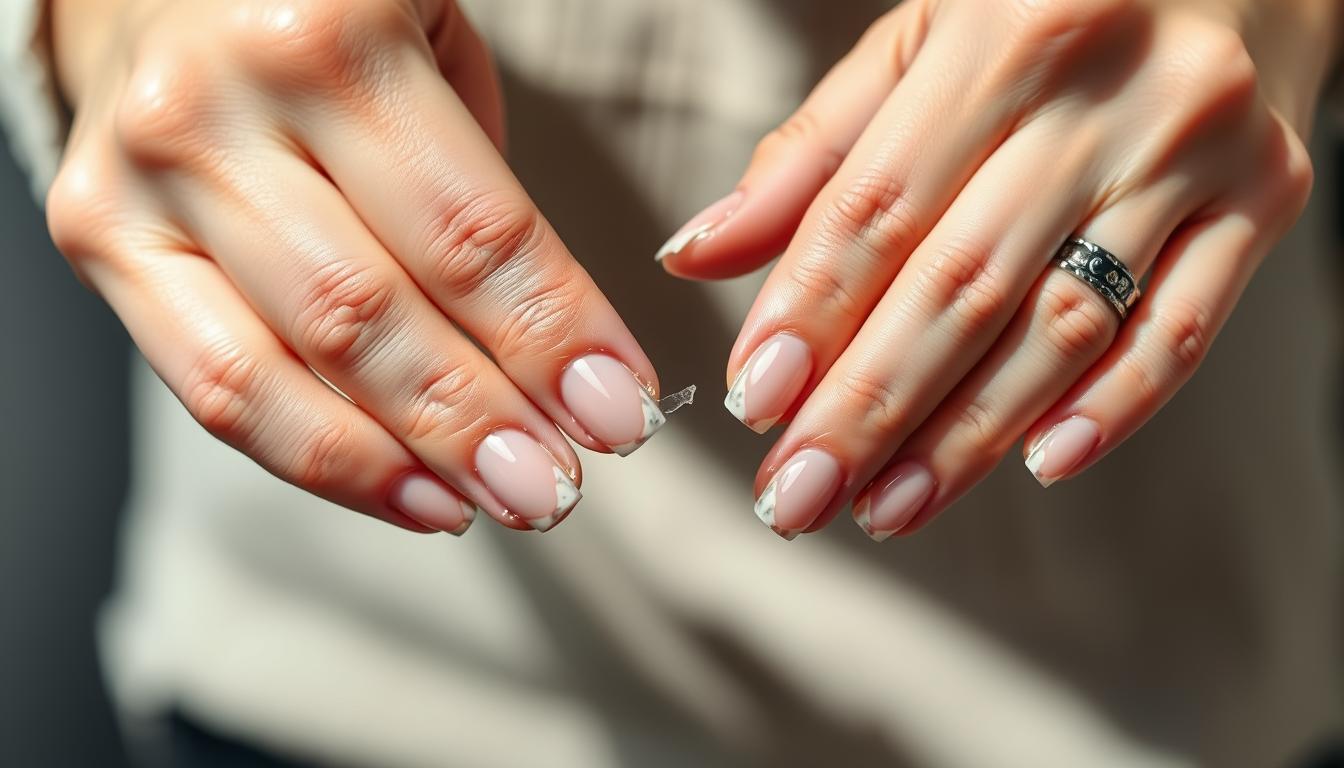
Ever wondered if your salon-quality gel manicure could vanish without a trip to the nail tech? You’re not alone. Many assume professional removal is the only safe option, but with the right tools and techniques, refreshing your look can be as simple as your morning coffee routine.
This guide reveals two proven methods to tackle stubborn gel polish. The first uses common household items like acetone and aluminum foil, while the second relies on specialized removers designed for quick results. Both approaches prioritize your natural nail health—when done correctly.
Why does technique matter? Rushing the process or skipping steps can lead to peeling, cracking, or weakened nails. Proper removal ensures your fingertips stay strong and ready for your next creative design. You’ll also discover workspace tips to avoid spills and stains, plus product recommendations that nail artists swear by.
Key Takeaways
- Two effective removal methods: acetone soak and specialized gel remover
- Salon-quality results achievable in 5-20 minutes
- Essential tools include cotton pads, nail files, and cuticle oil
- Prevents damage to natural nail beds when done properly
- Saves up to $30 per salon visit
Understanding Gel Manicure Removal

The secret to flawless gel removal lies in understanding its chemistry. Unlike traditional polish, gel formulas transform under UV light into a resilient shield. This bond ensures chip-free wear but demands smart strategies when it’s time for a change.
Why Gel Polish Clings So Tightly
UV lamps activate photoinitiators in gel polish, creating unbreakable polymer chains. These microscopic structures fuse with your natural nail surface, explaining why peeling causes splintering. Acetone penetrates these bonds through saturation, not force.
Preserving Your Canvas
Safe removal keeps your nail bed intact for future designs. Rushed methods strip layers, leaving thin, brittle surfaces. Proper techniques maintain thickness, letting you switch between short pink acrylic nails and gel styles effortlessly.
| Factor | Gel Removal | Regular Polish |
|---|---|---|
| Time Required | 10-20 minutes | 2-5 minutes |
| Key Tool | Acetone soak | Polish remover |
| Damage Risk | High if rushed | Low |
Quality removers contain moisturizers to counteract acetone’s drying effect. Pro tip: Softer gel brands dissolve faster, reducing filing time. Your patience pays off in healthy, ready-to-paint nails.
Essential Tools and Preparations for Gel Nail Removal

Having the right tools at hand is half the battle in successful gel removal. Your toolkit determines whether the process becomes a 15-minute breeze or an hour-long struggle. Let’s break down what you really need before starting.
Must-Have Supplies
100% pure acetone outperforms regular polish remover every time. Pair it with lint-free cotton balls—their texture holds moisture better than pads. Tear aluminum foil into 3-inch squares while your nail file waits nearby. A 180-grit file gently breaks the gel’s top layer without scratching.
Don’t forget the cleanup crew: an orangewood stick nudges softened polish away, while cuticle oil replenishes moisture. Dab petroleum jelly around your nails first. This barrier stops acetone from parching your skin.
Workspace Setup Secrets
Choose a spot with open windows or strong airflow—acetone fumes pack a punch. Lay towels under your elbows to catch drips. Bright lighting helps spot leftover gel fragments. Keep supplies in arm’s reach so you’re not scrambling mid-process.
| Tool | Purpose | Pro Tip |
|---|---|---|
| Acetone | Dissolves gel bonds | Warm it slightly for faster action |
| Cotton balls | Hold acetone against nails | Soak thoroughly—no dry spots |
| Foil squares | Secure cotton in place | Reuse if undamaged |
| Nail file | Break gel seal | File in one direction only |
Pre-cut all foil pieces first. Stack them like poker chips beside your acetone bottle. Twist cotton balls into tight spheres—they’ll stay put under wraps. With everything staged, you’ll glide through removal like a pro.
Step-by-Step Guide: how to remove gel nails at home

Your next salon-worthy transformation begins with proper polish removal. Whether you choose classic acetone or modern solutions, these techniques keep your natural nails strong while swapping styles.
Traditional Acetone Method Instructions
Start by gently filing each nail’s surface until the glossy finish disappears. This creates tiny channels for acetone penetration. Soak cotton balls in pure acetone—squeeze out excess liquid to prevent drips.
Wrap each fingertip tightly with foil after placing soaked cotton on nails. Set a timer for 10 minutes. When edges begin lifting, use a cuticle pusher at 45° angle to glide off softened layers. Buff gently to smooth remaining residue.
Using a Gel Polish Remover Alternative
Specialized removers offer faster results without foil. After filing, brush thick layers onto each nail. Wait 5 minutes—you’ll see edges curl naturally. Push polish sideways with light pressure, reapplying formula if needed.
| Steps | Traditional Method | Alternative Method |
|---|---|---|
| Time Required | 12-15 minutes | 5-7 minutes |
| Key Tool | Aluminum foil wraps | Brush-on formula |
| Skin Protection | Petroleum jelly barrier | Built-in moisturizers |
Both approaches work best when you avoid scraping. Stubborn spots mean more soaking time—never force separation. Finish with cuticle oil to replenish moisture lost during the process.
Common Pitfalls and Tips to Protect Your Skin and Nails

Your skin and nails deserve VIP treatment during gel removal—here’s how to avoid common missteps. Smart strategies prevent irritation and keep your natural nail beds strong. Let’s explore ways to sidestep chemical overload and mechanical stress.
Smart Acetone Management
Full-hand soaking in acetone baths dries out your skin around nails faster than desert air. Instead, use cotton balls soaked in pure acetone. Wrap them tightly with foil to concentrate the solution exactly where needed.
Create a moisture barrier first. Slather petroleum jelly around your cuticles and skin around each nail. This blocks acetone from leaching oils from delicate areas. Always follow up with cuticle oil post-removal.
Nail Preservation Rules
Peeling lifted polish seems harmless but steals layers from your natural nail plate. Treat stubborn spots by reapplying acetone instead of picking. Electric files? Leave those to professionals—one slip grinds into sensitive layers.
- Do: Buff gently in one direction
- Don’t: Scrape resistant gel patches
- Do: Take 5-minute breaks if polish resists
- Don’t: Ignore tingling or redness
Healthy removal feels like sliding off a sock—effortless. If you feel resistance or discomfort, pause. Your nails will thank you with faster recovery and better polish adhesion next time.
Nail Aftercare and Post-Removal Maintenance

Your freshly bare nails need TLC after saying goodbye to gel polish. Proper care restores strength and creates the perfect canvas for your next color adventure. Let’s explore techniques to keep your tips looking salon-fresh between manicures.
Buffing Techniques for a Smooth Nail Surface
Grab a 180-grit buffer block and work in one direction only. Light strokes erase ridges without thinning your natural nail plate. Stop when surfaces feel smooth—over-buffing creates weak spots that bend or tear easily.
Hydration and Cuticle Oil Application Tips
Massage cuticle oil into nail beds immediately after removal. The oil acts like a moisture magnet, reversing acetone’s drying effects. Reapply 2-3 times daily using the “dot and press” method—place drops along cuticles, then gently push toward fingertips.
| Step | Tool | Benefit |
|---|---|---|
| Buffing | Buffer block | Removes micro-imperfections |
| Hydration | Cuticle oil | Prevents peeling skin |
| Protection | Nail strengthener | Adds flexible armor |
Keep a cuticle oil stick in your bag for quick touch-ups. Well-moisturized nails resist chipping better when you apply new polish. Remember: hydrated hands mean longer-lasting manicures and fewer touch-up sessions!
Conclusion
Mastering DIY gel polish removal puts fresh styles at your fingertips—literally. Whether using cotton balls with acetone or specialized solutions, both methods deliver salon-worthy results when executed carefully. Your success hinges on respecting the process: rushing leads to regrets, while patience preserves nail strength.
Quality tools make all the difference. Pure acetone and proper filing techniques protect your fingers from damage. If doubts arise mid-removal, pause—professional help remains a smart alternative. Those preferring natural growth can expect six months of careful edge maintenance.
Post-removal care completes the journey. Hydrate with cuticle oil daily and buff gently to maintain smooth surfaces. With practice, this home routine becomes second nature, freeing you from salon schedules.
You’ve got this! Every successful home session builds confidence. Healthy nails and creative freedom? That’s the ultimate way to shine.