What if the secret to flawless nail care isn’t just about applying products—but removing them the right way? Many beauty enthusiasts focus on perfect manicures, only to damage their natural nails during cleanup. Sound familiar?
Whether you’re fixing press-ons or handling accidental spills, sticky residue can turn a fun nail session into frustration. This guide offers simple solutions tailored to your needs. Discover gentle techniques that protect your skin and nails while dissolving stubborn adhesives.
You’ll learn why certain household items work better than others and how to avoid common mistakes. From olive oil to specialized removers, every method is explained step-by-step. No more guessing games or risking brittle nails!
Key Takeaways
- Multiple techniques exist for dissolving adhesives without harm
- Household items like acetone alternatives can be effective
- Proper prep minimizes skin irritation during the process
- Timing matters—patience prevents damage
- Aftercare keeps nails strong post-removal
Understanding Nail Glue and Its Effects

Ever wondered why some adhesives stick better but aren’t safe for nails? The answer lies in their chemical recipes. Let’s break down what makes these products unique—and why using the wrong type risks your nail health.
What Nail Glue Is Made Of
Nail glue relies on cyanoacrylate, a fast-bonding compound. Unlike superglue, it’s blended with flexible polymers and moisturizers. This mix creates durable bonds while protecting your natural nail surface.
Nail Glue vs. Household Adhesives
While both use similar chemicals, concentrations matter. Household adhesives pack 90-100% cyanoacrylate—great for fixing ceramics, harsh on skin. Nail formulas use 50-70%, plus additives for safer removal.
| Feature | Nail Glue | Superglue |
|---|---|---|
| Key Ingredient | Ethyl cyanoacrylate | Methyl cyanoacrylate |
| Flexibility | High (bends with nails) | Low (rigid bond) |
| Skin Safety | Non-irritating additives | Harsh on contact |
| Removal Difficulty | Designed for dissolution | Requires solvents |
This tailored formula explains why peeling off press-ons carelessly causes damage. The right removal methods break bonds gently, keeping your nail bed intact. Next, we’ll explore tools to make this process stress-free.
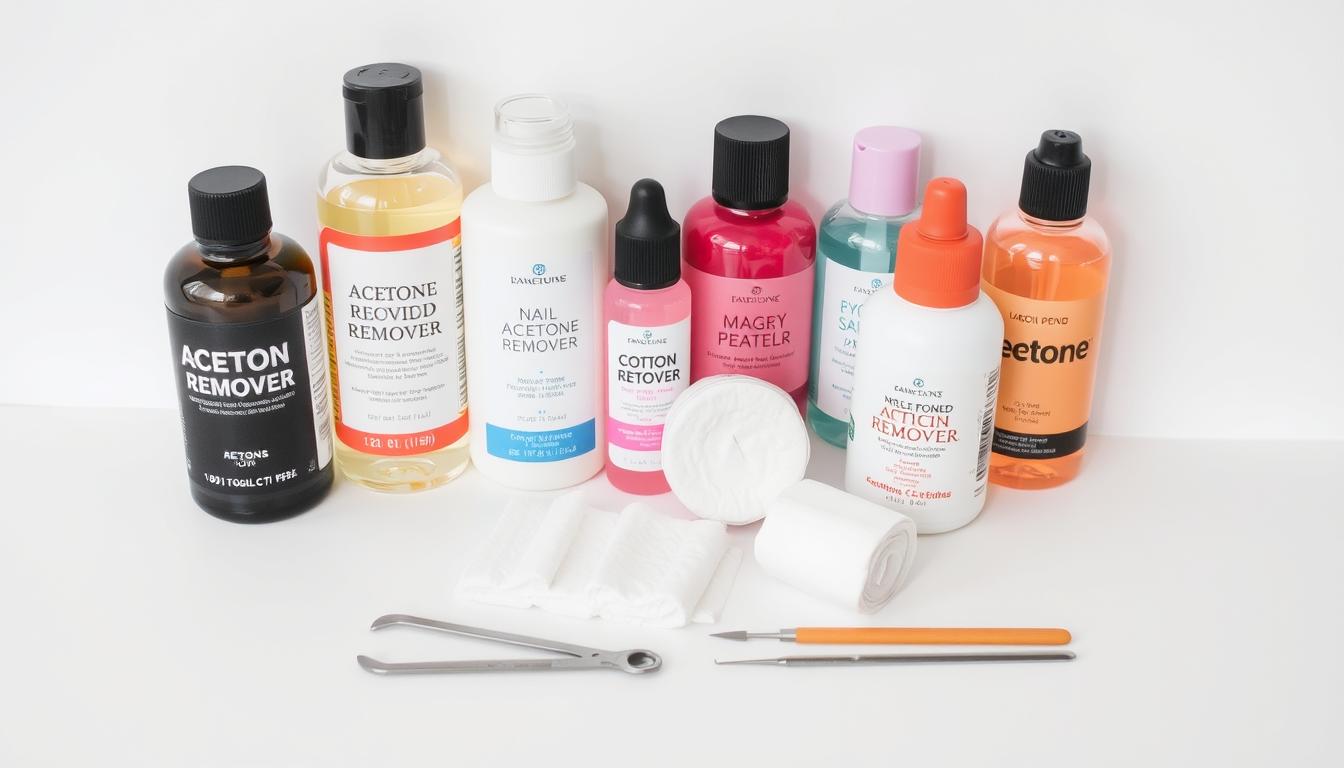
Preparation: Gathering Supplies and Protecting Your Nails

Proper preparation separates successful nail care routines from accidental damage. Having the right tools within reach ensures you’ll dissolve adhesives efficiently while keeping your skin and natural nails healthy. Let’s build your toolkit step by step.
Essential Tools and Ingredients
Your success starts with these six items. Acetone leads the list as the fastest solvent, while warm water offers a gentler approach for sensitive hands. A shallow bowl makes soaking easier, and cotton pads help apply solutions precisely.
| Must-Have Item | Purpose | Alternatives |
|---|---|---|
| 100% acetone | Dissolves tough bonds | Acetone-free remover |
| Petroleum jelly | Creates protective barrier | Vitamin E oil |
| Cuticle oil | Restores moisture | Coconut oil |
Safety Precautions and Skin Protection
Defend your skin before starting. Apply petroleum jelly around each nail bed—this shields delicate areas from drying agents. Work near an open window or fan to avoid inhaling strong fumes.
| Step | Protection Benefit | Tip |
|---|---|---|
| Barrier application | Prevents irritation | Reapply every 10 minutes |
| Ventilation check | Reduces fume exposure | Use desk fan if needed |
| Pre-soak in water | Softens adhesive | 5-minute soak ideal |
Finish by pushing back cuticles gently with an orange stick. This simple step creates space to work without tearing delicate tissue. Now you’re ready to tackle sticky situations safely!
Safe Techniques: How to Remove Glue on Nails

Stuck choosing between gentle care and quick results? Two trusted methods dominate the beauty world for dissolving stubborn bonds. Let’s explore which suits your needs best.
Warm Soapy Water vs. Acetone Methods
Warm soapy water works like a soothing spa treatment for your hands. Ideal for sensitive skin, this approach softens adhesives gradually. Fill a bowl with comfortably hot water and mild dish soap—the bubbles help break down residue.
Acetone acts as a power cleaner for tough jobs. It penetrates glue bonds faster but can dry skin. Always use pure acetone for effectiveness, not diluted versions. Protective balm around cuticles is crucial here.
Step-by-Step Removal Overview
For the gentle method:
- Soak nails in warm soapy water 15-20 minutes
- Gently buff softened residue with a file
- Rinse and apply nourishing oil
When speed matters:
- Dip cotton in acetone, press on nail for 10-15 minutes
- Wipe away dissolved glue with light pressure
- Immediately moisturize skin and nails
Combine both techniques if needed—start with water soaking, then target stubborn spots with acetone. This layered approach saves time while protecting your natural nail surface.
Step-by-Step Removal Methods for Various Situations

Different nail types demand unique approaches. Let’s explore tailored strategies that preserve your natural nails while tackling adhesives.
Press-On and False Nail Solutions
Start by trimming excess length with nippers. This prevents accidental tears. Follow these steps:
- Soak hands in warm soapy water for 10 minutes
- Lift edges gently using a wooden stick
- Slide cuticle pusher under lifted sections
- Wash with mild cleanser and pat dry
Residue responds well to cotton pads soaked in olive oil. Massage in circular motions for stubborn spots.
Gel Nail Protocol
These require stronger solvents. Always use pure acetone for effectiveness:
- File surface lightly to break seal
- Soak cotton balls in acetone
- Wrap each nail tightly with foil for 12 minutes
- Scrape softened residue sideways
“Rushing leads to layers peeling—work slowly like untying knots.”
Tool-Based Techniques
Mechanical methods complete the process:
- Buff remaining glue with 180-grit file
- Push cuticles back post-soak
- Apply vitamin E oil immediately
Finish with a protective base coat. This seals the nail surface against future adhesives.
Tips to Minimize Damage to Your Natural Nails

Ever made a nail care mistake that left your tips brittle? The real magic happens after adhesive removal. Smart aftercare transforms fragile nails into resilient canvases ready for your next masterpiece.
Post-Removal Care and Moisturizing Strategies
Start by cleansing with lukewarm water and mild soap. Pat dry gently—never rub. Lock in moisture immediately with these steps:
- Apply hand cream while skin remains slightly damp
- Massage cuticle oil into nail beds using circular motions
- Use hydrating masks weekly for deep nourishment
Hydrated nails bend instead of breaking. Keep a travel-sized cuticle oil in your bag for midday touch-ups.
Practices to Avoid Over-Stressing Your Nails
Aggressive habits create microscopic cracks. Steer clear of these common errors:
- Picking at lifted edges—invites peeling
- Using metal tools roughly—scratches surfaces
- Skipping base coats—exposes to chemicals
One salon pro shares:
“Treat nails like silk—handle with patience, and they’ll stay smooth for weeks.”
When washing hands post-care, choose sulfate-free cleansers. They clean without stripping natural oils. Combine these strategies, and your natural nails will thank you with lasting strength!
Dealing with Stubborn Nail Glue and Spills
Sticky situations happen to everyone—whether you’re fixing a last-minute manicure mishap or tackling craft project accidents. Let’s explore solutions for those tenacious spills that laugh at basic cleanup attempts.
Surface-Specific Cleanup Strategies
Different materials demand unique approaches. For leather couches or faux leather bags, mineral oil works wonders. Dab it on, wait 5 minutes, then wipe gently with a microfiber cloth. Clothing requires more caution—test acetone on hidden seams first to avoid dye bleeds.
| Surface | Solution | Time Needed |
|---|---|---|
| Upholstery | Petroleum jelly + soft brush | 10 minutes |
| Denim | Acetone-soaked cotton swab | 3-5 minutes |
| Wood | Olive oil + plastic scraper | 15 minutes |
Skin and Nail Rescue Tactics
When adhesives bond to your skin, reach for oil-based removers. Coconut oil breaks down residue without redness. Massage it in circular motions for 2 minutes, then rinse with cool water. For nails, a buffer becomes your best friend—use light, sweeping motions across the surface, never back-and-forth.
“Buffers should whisper across nails, not scratch. Imagine polishing a precious stone.” – Nail Artist Mia Torres
Persistent residue? Try this combo:
- Soak fingertips in warm milk (yes, really!) for 5 minutes
- Gently rub with a lemon wedge
- Apply aloe vera gel to soothe
Large spills on sensitive areas? Don’t play hero—visit a salon pro. They have industrial-grade solvents that dissolve bonds safely.
Additional Home Remedies for Dissolving Nail Glue
Tired of harsh chemicals but need to tackle sticky nails? Your kitchen holds surprising solutions. Natural oils and household staples offer gentle alternatives for dissolving stubborn adhesives while pampering your skin.
Natural Oils and Alternative Soaking Techniques
Olive oil becomes a hero when mixed with warm water. Soak fingertips for 10-15 minutes—the heat opens nail pores while oil breaks bonds. For spot treatments, coconut oil’s fatty acids soften residue in 5 minutes. Check this quick guide:
| Oil Type | Application | Soak Time | Best For |
|---|---|---|---|
| Olive | Warm water mix | 15 minutes | Full-hand treatment |
| Coconut | Direct massage | 5 minutes | Small glue spots |
| Mineral | Cotton pad compress | 8 minutes | Delicate skin |
| Petroleum Jelly | Thick layer | 12 minutes | Cuticle protection |
Pros and Cons of Home Remedies
While natural methods shine for safety, they demand patience. Compare their strengths against limitations:
| Advantages | Considerations |
|---|---|
| No harsh fumes | Longer wait times |
| Moisturizes skin | Multiple applications |
| Budget-friendly | Less effective on thick layers |
Beauty blogger Jenna Reyes notes:
“Oil soaks double as self-care moments—pair them with a podcast for best results.”
For quick fixes, combine oil with mild dish soap. The degreasing action lifts residue while keeping nails strong. Remember—gentle circular motions prevent surface scratches better than aggressive scraping.
Conclusion
Your nail care journey shouldn’t end with stubborn residue. With simple household staples like acetone or warm soapy water, dissolving adhesives becomes stress-free. Patience proves key—allow solutions time to break bonds gently without scraping.
For press-ons or spills, a 10-minute soak in bubbly water softens glue. Pair this with a cuticle pusher to lift edges safely. Always follow with moisturizing oils to restore flexibility.
Remember: quick fixes often backfire. Rushing leads to peeling layers. Instead, treat your nails like delicate silk. Gentle circular motions preserve surfaces better than harsh scrubbing.
Got tricky spots? A cotton pad soaked in olive oil works wonders. Keep hands protected with petroleum jelly barriers during the process. These small steps make maintenance effortless between manicures.
Now you’re equipped to handle sticky situations confidently. Healthy, strong nails start with mindful removal—and end with your next flawless style!