Have you ever struggled with stubborn adhesive clinging to your fingertips after a DIY manicure? There’s a reason traditional removal attempts often leave your hands feeling raw or your natural nails weakened. The secret lies in understanding the science behind adhesives and how they interact with delicate surfaces.
This guide focuses on gentle yet effective strategies for tackling accidental spills, press-on nail mishaps, or dried adhesive residue. You’ll explore options ranging from kitchen staples to specialized products, all while prioritizing the health of your skin and nails. Proper technique matters more than you might think—rushing the process often leads to frustration and damage.
Key Takeaways
- Discover gentle solutions that dissolve adhesive without harming natural nail beds
- Learn to choose between household items and professional-grade products
- Understand why timing and technique prevent irritation and brittleness
- Identify common errors that worsen sticky situations
- Master aftercare practices to restore moisture and strength
Understanding Nail Glue and Its Impact

That salon-perfect manicure at home comes with a catch—cyanoacrylate-based formulas create bonds stronger than regular polish remover can handle. This fast-drying adhesive works wonders for temporary enhancements but demands respect for your skin and natural nail layers.
Why This Adhesive Works So Well
Press nails stay put for days because nail glue forms flexible yet durable bonds. Beyond attaching artificial tips, it mends split natural nails and secures delicate embellishments. The convenience factor shines when you need quick fixes without salon visits.
| Application | Benefit | Consideration |
|---|---|---|
| Press-ons | Lasts 7-10 days | Requires acetone soak |
| Nail repairs | Saves broken nails | Can weaken edges |
| Art placement | Secures decorations | Leaves residue |
When Strong Bonds Become Troublesome
Leftover adhesive turns problematic when peeling starts. Rushed removal risks tearing nail layers or causing glue skin irritation. Watch for redness or stinging—these signal it’s time to pause and switch methods.
Oil-based products often help separate accidentally bonded fingers gently. For stubborn cases, diluted acetone works but requires moisturizing follow-ups. Remember: patience preserves your nail’s natural strength better than forceful scraping.
Importance of Knowing Proper Removal Techniques

Your natural nails deserve care that keeps them strong, not shortcuts that cause hidden harm. Gentle adhesive removal isn’t just about aesthetics—it’s about preserving your nail structure and preventing damage that accumulates over time.
Why Safe Removal Matters
Aggressive scraping weakens the surface, creating micro-tears that lead to splitting. These tiny openings become entry points for bacteria, increasing infection risks. Compromised edges struggle to retain moisture, resulting in brittleness.
Proper techniques protect the delicate growth matrix. Harsh chemicals can seep into this zone, disrupting healthy development. Patience allows adhesives to break down without tearing living layers.
Leftover residues trigger two problems: dried-out tissues and clogged pores. Redness often follows, especially with sensitive skin. Quick action with acetone or oils prevents reactions without abrasive rubbing.
Investing time in gentle methods pays off. Strong, intact surfaces grow faster and hold polish better. You’ll avoid costly salon repairs and maintain smooth cuticles between manicures.
Step-by-Step Guide on how to remove nail glue

Smart adhesive management begins with matching solutions to your unique scenario. Whether dealing with fresh spills or cured residue, your approach should balance effectiveness with care for delicate surfaces.
Choosing the Right Method for Your Situation
Evaluate three factors before starting: skin sensitivity, adhesive quantity, and available time. Sensitive cuticles thrive with oil-based options, while thick buildup may require acetone. Always patch-test new products on your wrist first.
Overview of Removal Techniques
Chemical solutions work fastest but demand caution. Acetone breaks bonds in 8-10 minutes—ideal for hardened glue under artificial tips. Natural alternatives like coconut oil take longer but nourish while dissolving residue.
| Method | Best For | Time Needed |
|---|---|---|
| Acetone soak | Stubborn buildup | 10-15 minutes |
| Warm oil massage | Delicate skin areas | 20+ minutes |
| Soapy soak | Fresh spills | 5-7 minutes |
Mechanical buffing suits small spots but requires light pressure. Combine methods when needed—soak first, then gently lift edges with an orange stick. Always follow with moisturizer to restore suppleness.
Preparing for a Safe and Gentle Removal Process

Successful adhesive management starts with smart preparation. Imagine your workspace as a mini spa station—organized, calm, and equipped with everything needed to protect your skin while tackling stubborn residues.
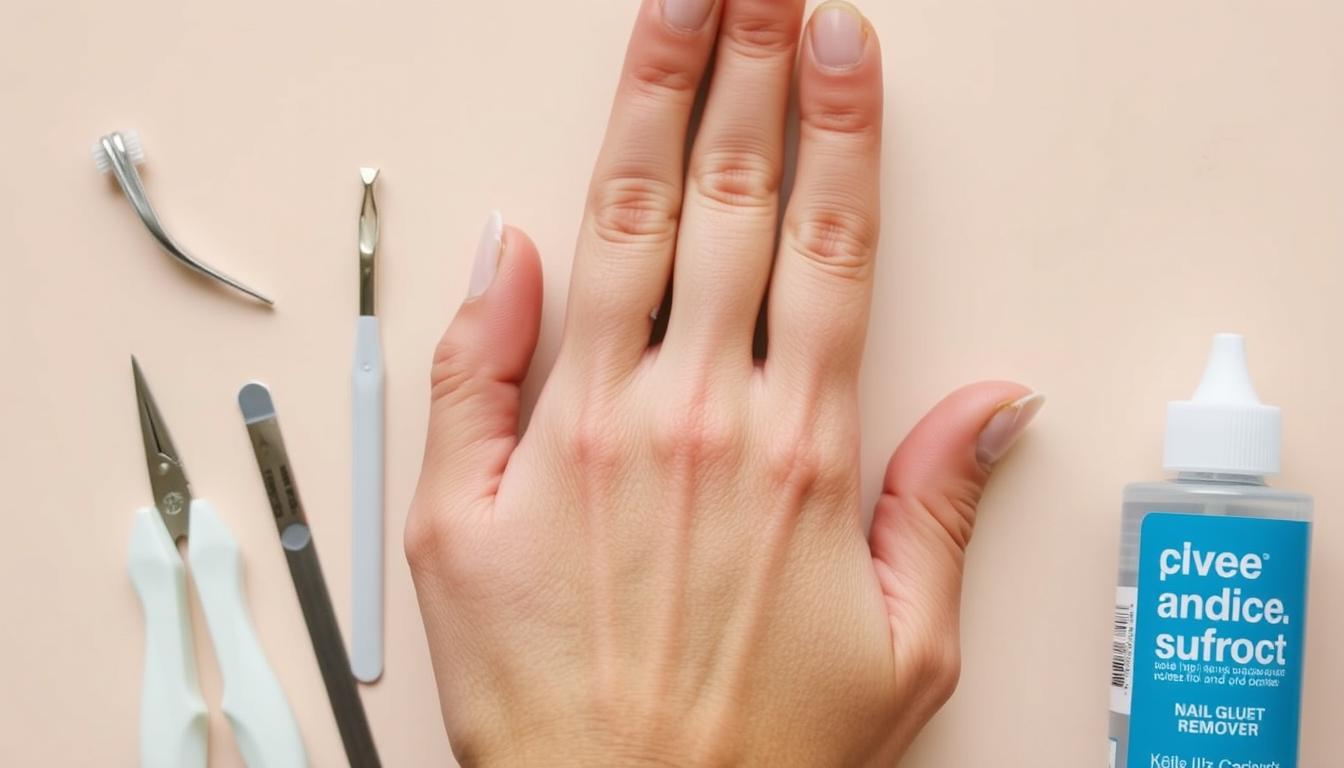
Essential Supplies and Tools
Gather these items before starting:
| Tool | Purpose | Safety Tip |
|---|---|---|
| Acetone | Dissolves hardened adhesive | Use in ventilated areas |
| Cotton pads | Application surface | Choose lint-free options |
| Petroleum jelly | Skin protection | Apply around cuticles |
| Warm water | Softens residue | Test temperature first |
Pre-Removal Precautions to Protect Your Skin
Create a moisture barrier by dabbing petroleum jelly around each nail bed. This prevents harsh chemicals from stripping natural oils. For those experimenting with pink and white nails, extra care preserves delicate designs.
Set up near a sink with running water. Pre-soak hands for three minutes to loosen bonds. Dry thoroughly before applying solvents—moisture dilutes their effectiveness.
Keep cuticle oil nearby for immediate hydration post-treatment. Proper lighting helps spot missed residues without over-scrubbing. Remember: preparation time directly impacts results and skin comfort.
Acetone-Based Removal Methods and Safety
Tackling stubborn manicure mishaps requires the right balance of power and care. Acetone shines as a heavy hitter against cured adhesive, but smart application ensures results without collateral damage.
Maximizing Solvent Efficiency
Nail polish remover with acetone works best when applied strategically. Soak cotton pads thoroughly and press them onto affected nails. Secure with foil wraps to prevent evaporation—this concentrates the dissolving action.
For skin contact, dip swabs instead of soaking entire areas. Target specific spots to minimize dryness. Reapply every 5 minutes until residues lift without scraping.
Protecting Your Natural Assets
Always prep skin with petroleum jelly before treatments. This creates a moisture barrier around cuticles and fingertips. Work in ventilated spaces to avoid inhaling strong fumes.
Post-treatment hydration is non-negotiable. Slather on thick creams or cuticle oil immediately after cleaning. Look for formulas with shea butter or jojoba to replenish stripped lipids.
Remember: acetone isn’t a daily solution. Reserve it for tough jobs and alternate with gentler methods for regular maintenance. Your nails will thank you with lasting strength and shine.