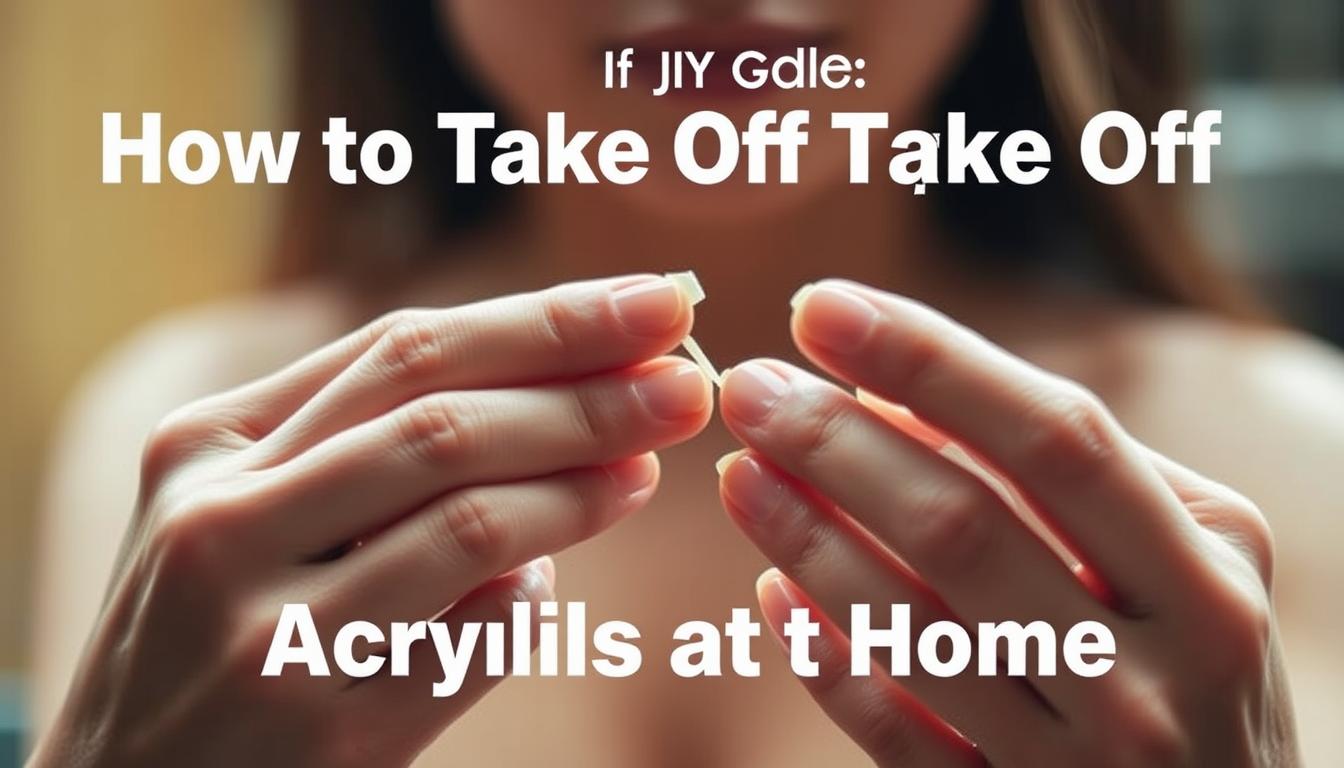
Ever wondered if you truly need a salon visit to remove stubborn acrylics? While professionals often advise against DIY removal, life doesn’t always follow the plan. Let’s explore how to tackle this safely when emergencies strike.
Removing acrylic enhancements yourself isn’t impossible, but it demands care. Rushing the process risks peeling, cracking, or damaging your natural nails. With the right tools—like acetone, a nail buffer, and cuticle oil—you can minimize harm. Patience is non-negotiable: expect to spend 60-90 minutes, especially if it’s your first attempt.
This guide covers salon-approved techniques, including soaking methods and gentler alternatives for sensitive skin. You’ll also learn post-removal steps to restore strength and shine. Whether you’re prepping for a new set or giving your nails a breather, we’ve got you covered.
Key Takeaways
- Salon removal is safest, but DIY methods work with proper tools
- Acetone-based soaking is effective but requires patience
- Avoid shortcuts like peeling—this damages natural nails
- Post-care hydration helps rebuild nail strength
- Non-acetone options exist for sensitive users
- Allocate 1-2 hours for the full process
Understanding Acrylic Nails and Their Removal

Acrylic enhancements have dominated nail trends for decades, but their staying power comes from science. These artificial layers combine liquid monomer and powder polymer—a chemical reaction creates a rock-hard shield over your natural nails. While perfect for acrylic pink and white designs, this bond makes removal a delicate operation.
What Are Acrylic Nails?
Technicians apply the liquid-powder mix with a brush, sculpting extensions that cure into durable shapes. Unlike press-ons, acrylics fuse to your nail bed through precise layering. This explains their popularity: they withstand daily wear while offering limitless style options.
Risks of Improper Removal
Rushing the process? You might face:
| Mistake | Immediate Effect | Long-Term Damage |
|---|---|---|
| Peeling acrylics | Nail surface tears | Ridges & splits |
| Prying with tools | Bleeding cuticles | Discoloration |
| Ignoring soak time | Weak, brittle nails | Keratin granulation |
Dermatologist Dana Stern notes: “Forced removal strips layers of keratin, leaving nails vulnerable to infections.” White patches and sandpaper-like textures signal this damage—issues requiring months to heal. Always prioritize gentle methods over speed.
Preparing Your Workspace and Tools

Proper preparation separates successful DIY projects from messy disasters. Gather these items first: nail clippers, a dual-grit nail file (100/80 grit works best), and a ceramic bowl. Don’t substitute regular polish remover—only 100% acetone breaks down acrylic bonds effectively.
Essential Tools for Removal
Your toolkit needs precision instruments. Metal cuticle pushers lift softened material without scraping. Cotton balls soaked in acetone deliver concentrated saturation. For stubborn edges, use a buffer after soaking—gentle strokes prevent surface scratches.
Nail artist Lena Tran advises: “Wrap acetone-soaked cotton in foil for maximum adhesion. This keeps heat trapped, speeding up the process.” Keep a towel nearby to wipe residue between steps.
Creating a Safe, Well-Ventilated Area
Acetone fumes can cause dizziness—always work near open windows. Lay down paper towels over a plastic tablecloth. If outdoors isn’t an option, position a fan sideways to direct vapors away from your face.
Organize tools left to right: clippers, file, acetone bowl, pusher. This workflow minimizes spills and keeps harsh products contained. Hydrate cuticles with oil afterward to counteract acetone’s drying effects.
Step-by-Step Removal Techniques

Mastering acrylic removal starts with strategic prep work—here’s your blueprint. Focused trimming and controlled soaking make all the difference between success and snapped nails.
Trimming, Filing, and Buffing Your Nails
Grab sharp clippers and shorten extensions to 2 cm above your nail bed. This prevents accidental tears. Pro artist Ashlie Johnson warns: “Skipping this step risks splitting the natural layers underneath.”
Next, swipe off any polish. Use a 100-grit file to thin the acrylics. Work in one direction—sawing motions create heat and friction. Leave a paper-thin layer to shield your natural nails.
| Technique | Benefit | Time Saved |
|---|---|---|
| Sharp clippers | Clean cuts | 3-5 minutes |
| Pre-soak filing | Reduces acetone exposure | 10+ minutes |
| High-proof acetone | Faster breakdown | 15 minutes |
Soaking and Softening the Acrylic
Pour 70-proof acetone into a bowl. Submerge cotton balls, then press them onto each nail. Sundays Studio’s Mytien Le suggests: “Wrap fingers in foil—it traps heat for better results.”
Wait 15-20 minutes. Gently test edges with a cuticle pusher. If resistance occurs, resoak for 5-minute intervals. Never force separation—this erodes keratin.
Pro tip: Buff residual acrylic after soaking. This prevents jagged edges from snagging fabrics or hair.
How to Take Off Acrylic Nails at Home

Acetone-based techniques remain the gold standard for dissolving stubborn enhancements. Let’s break down two proven approaches that balance efficiency with safety.
Effective Acetone Soak Methods
The foil-wrap technique works best for targeted removal. Soak cotton pads in pure acetone until they drip when squeezed—a key check recommended by nail artist Kristin Gyimah. Place them over each nail, then secure tightly with aluminum foil. This creates a sealed environment that accelerates breakdown.
Prefer multitasking? Try the bowl method. Submerge fingertips in acetone for 20-30 minutes. Gently rub nails against each other to loosen residue. Amy Le, a NYC-based technician, advises: “Add warmth with a heating pad under the bowl. Heat thins the acetone, letting it penetrate layers faster.”
| Method | Time Required | Best For |
|---|---|---|
| Foil Wraps | 10-15 minutes | Single-hand use |
| Bowl Soaking | 20-30 minutes | Full-hand treatment |
Precautions to Avoid Nail Damage
Never rush the process. Check softening progress by gently nudging acrylic edges with an orange stick. If resistance occurs, resoak for 5-minute intervals. Forced removal causes:
- Surface peeling
- White keratin spots
- Increased brittleness
Aftercare matters—hydrate with jojoba oil immediately post-removal. Those exploring solar nails should note: acetone-free removers won’t work for traditional acrylics. Always prioritize nail health over speed.
Alternative Methods Without Acetone
While acetone reigns supreme for dissolving acrylics, some prefer gentler approaches. Let’s explore options that minimize chemical exposure—but remember, these require extra time and realistic expectations.
Using Non-Acetone Removers
Alcohol-based removers offer a milder alternative. These formulas contain ethyl acetate or methyl ethyl ketone instead of acetone. They work by slowly breaking down the adhesive layer between your natural nail and acrylic. Plan for extended sessions—expect 45-60 minutes per hand versus acetone’s 20-minute timeframe.
| Method | Time Required | Effectiveness |
|---|---|---|
| Non-acetone soak | 50-70 minutes | Partial removal |
| Cuticle oil massage | Daily for 1 week | Edge lifting only |
| Hot water soak | 30+ minutes | Minimal separation |
Other DIY Removal Techniques
Some swear by warm olive oil baths or jojoba-based cuticle oils to soften bonds. While these hydrate nails, they rarely dissolve acrylic fully. Nail tech Molly Romah states: “These methods might help with grown-out edges, but there’s no way to completely remove acrylic nails without acetone.”
TikTok trends promoting dental floss or dish soap often backfire. These hacks can tear nail beds or push bacteria under lifted edges. For semi-cured enhancements, buffing with a 180-grit file works better than aggressive scraping.
If you choose non-acetone routes, pair them with weekly nail masks. Look for formulas with keratin and biotin to reinforce weakened layers. Remember—gentle approaches demand patience and perfect execution.
Post-Removal Nail Care and Recovery

Your nails just survived a marathon—now it’s recovery time. Acetone and filing leave them parched and fragile. Immediate hydration and targeted treatments help rebuild their strength while preventing splits or breaks.
Hydration and Moisturizing Steps
After removal, your natural nails lose moisture fast. Cuticle oil becomes your new best friend. Apply it around each nail bed, massaging into the skin. “Reapply every 2 hours for the first 48 hours,” advises nail tech Molly Romah. She recommends CND SolarOil for its fast-absorbing formula.
Pair oil with thick hand cream containing shea butter. Keep a travel-sized bottle in your bag—dry office air or winter weather demands constant care. Nighttime routines matter most: slather on cream before bed and wear cotton gloves.
Repair and Strengthen Your Natural Nails
Once hydrated, focus on rebuilding. OPI Nail Envy adds layers of protection with calcium and vitamins. For severe damage, CND RescueRxx Daily Treatment repairs cracks in 14 days. Tenoverten’s Nadine Abramcyk notes: “Full recovery takes 6-8 weeks. Avoid polish during this phase—let nails breathe.”
Weekly soaks in warm olive oil boost flexibility. If edges peel, use a glass file instead of clippers. Remember: healthy nails grow 1mm weekly. Patience pays off with stronger, shinier results.
Expert Tips and Tricks for a Smooth Process
Nail artists spill their best-kept secrets for stress-free removal. Timing is everything—if acrylic resists your cuticle pusher, it needs more soak time. Watch for edges lifting naturally without pressure. Forced prying creates ridges that take months to heal.
Avoiding Common Pitfalls
Rushing causes 90% of damage cases. Nail artist Monserrat Rodriguez warns: “White spots mean you’re scraping too hard.” If gel-like residue sticks after 25 minutes, rewrap fingers with fresh acetone cotton. Never reuse foil wraps—trapped bacteria risks infections.
Dental floss tricks? Only try this when acrylics lift significantly at the cuticle line. For stubborn sections, gently buff with a 180-grit file instead of digging. Pro tip: Apply cuticle oil to your pusher’s edge—it glides smoother across delicate nail beds.
When all else fails, professionals use heated acetone vapor. This dissolves acrylics in half the time without dehydration. Your nails deserve this care—book a salon visit if home methods frustrate you.