What if your furry friend’s comfort and health depend on a task you’ve been avoiding? Many pet parents underestimate the importance of maintaining their pup’s claws until problems arise. Regular care isn’t just about appearances—it’s a critical part of preventing long-term health issues.
Proper claw maintenance keeps your companion active and pain-free. Neglected nails can alter a dog’s posture, strain joints, and even lead to infections. With patience and the right approach, this routine becomes easier for both you and your pet.
You’ll save money on groomers while building trust with your four-legged family member. This guide breaks down professional techniques into simple steps anyone can follow. Let’s transform this chore into a stress-free bonding experience.
Key Takeaways
- Regular nail care prevents joint pain and mobility issues in dogs
- Proper tools and techniques make home grooming safer and easier
- Overcoming nail-trimming anxiety strengthens your bond with your pet
- Consistent maintenance reduces costly vet visits over time
- Identifying the quick prevents bleeding and discomfort during trimming
Introduction: Why Regular Nail Trimming Matters
Your pup’s paw health impacts their entire body. Just like humans need proper footwear, our four-legged companions rely on well-maintained claws for natural movement. Overgrown nails shift weight distribution, creating strain that travels up legs to hips and shoulders.
Benefits of Shorter Claws
Shorter nails let pets walk with their natural gait, reducing joint stress. You’ll notice better grip on hardwood floors and less accidental scratches during playtime. Properly maintained claws also prevent painful splits or breaks that could lead to infections.
| Feature | Healthy Nails | Overgrown Nails |
|---|---|---|
| Length | Align with paw pads | Extend beyond pads |
| Posture | Straight leg position | Sloped shoulders |
| Health Risks | Normal activity | Arthritis risk |
Warning Signs to Watch For
Listen for clicking sounds on tile or wood floors – this means claws touch surfaces first. Check if nails curve downward or appear red around the base. Some pets start licking their paws excessively when discomfort sets in.
Regular checks prevent minor issues from becoming major problems. Aim to maintain claws every 3-4 weeks, adjusting based on your companion’s activity level and breed.
Essential Tools for Dog Nail Trimming

The secret to stress-free grooming lies in selecting the best instruments. Quality equipment prevents slips, reduces anxiety, and ensures precise results every time. Let’s explore your options.
Clipper Options for Different Needs
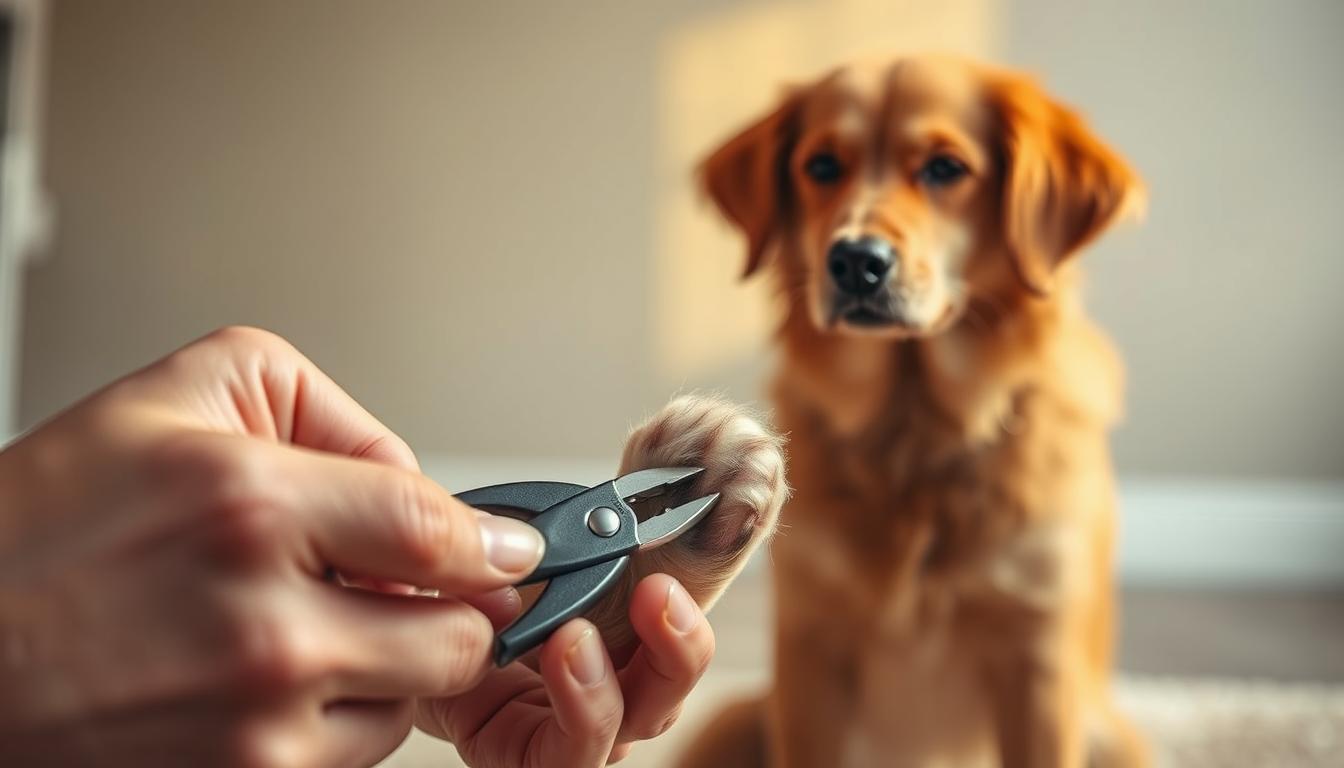
Scissor clippers work like regular scissors with curved blades. Perfect for small dogs or puppies, they offer control for delicate trimming. Plier-style versions handle thicker claws on larger breeds – their spring-loaded design makes tough jobs easier.
| Type | Best For | Key Feature |
|---|---|---|
| Scissor | Thin claws | Precision cutting |
| Plier | Thick nails | Heavy-duty spring |
| Guillotine | Not recommended | Risk of overcutting |
Power Tools for Nervous Pets
Rotary nail grinders gently file claws instead of cutting. Ideal for dark-colored nails where the quick isn’t visible. “Grinders let you remove layers gradually,” notes veterinarian Dr. Ellen Torres. “Just introduce the noise slowly for sound-sensitive companions.”
Keep styptic powder nearby for quick bleeding control. Pair your chosen tool with high-value treats and a non-slip mat. With these essentials, you’ll build confidence while keeping paws healthy.
Preparation and Safety Precautions

Proper preparation turns a nerve-wracking task into a smooth routine. Your companion’s comfort starts with thoughtful setup and gradual acclimation to grooming tools. These steps build trust while protecting both of you from accidental slips.
Creating a Calm, Well-Lit Space
Choose a quiet room with natural light or bright lamps. Overhead lighting casts shadows, making claw edges harder to see. Lay down a non-slip mat so your pet feels secure during sessions.
Keep treats within reach and play soft music if noise bothers them. Consistency matters – use the same spot each time to create familiarity. Avoid high-traffic areas where sudden movements might startle your companion.
Getting Your Companion Comfortable with Paw Handling
Start by gently massaging legs during cuddle time. Gradually work up to holding feet for 5-10 seconds while offering praise. For puppies, make toe-touching part of daily play.
Introduce clippers days before actual use. Let your pet sniff the tool, then lightly tap it against their paw pads. Reward calm behavior immediately with their favorite snack.
| Preparation Step | Benefit | Without Preparation |
|---|---|---|
| Controlled lighting | Clear visibility | Risk of overcutting |
| Paw desensitization | Reduced stress | Struggling motions |
| Tool introduction | Positive association | Fear responses |
Short practice sessions work best – aim for 3-5 minutes initially. Pair every interaction with upbeat verbal cues like “good paws!” to reinforce cooperation. Over time, these habits make grooming feel like just another bonding activity.
how to trim dog nails

Proper claw care balances precision with your companion’s comfort. The ideal length keeps paws healthy while avoiding the sensitive quick. Angle your cuts at 45 degrees to match the natural curve, creating a clean edge that won’t snag carpets or furniture.
Work in bright light to spot the pinkish quick in pale claws. For darker nails, make smaller cuts and watch for a chalky white center. Nervous pets benefit from multiple short sessions – reward calm behavior with high-value treats after each successful clip.
Dewclaws demand special attention. These thumb-like claws on the inner leg don’t wear down naturally. Check them weekly since neglected dewclaws can curl into skin, causing infections.
| Proper Technique | Common Mistake |
|---|---|
| Follow natural nail curve | Straight-across cuts |
| Frequent small trims | Removing large sections |
| Check between sessions | Waiting for clicking sounds |
Remember: It’s better to cut less more often than risk discomfort. Pair each grooming session with belly rubs or playtime to create positive associations. With patience, you’ll both feel more confident during claw care routines.
Step-by-Step Nail Trimming Process

Mastering claw care starts with proper technique. Follow these methods to maintain healthy paws while keeping your companion relaxed.
Securing the Correct Position and Handling the Paw
Position your pet comfortably on a stable surface. Never force legs into unnatural angles – let joints rest naturally. Gently grasp the paw using your thumb on top and forefinger beneath the toe pad.
Apply light pressure to extend the claw forward. “This method mimics professional groomers’ approach,” explains certified groomer Lisa Marano. “It gives clear visibility without causing tension.”
Trimming at a 45-Degree Angle and Avoiding the Quick
Angle clippers to match the claw’s natural curve. Make small cuts, checking frequently for the quick’s location. Pale nails show a pinkish center, while dark ones reveal a chalky white layer when near the sensitive area.
| Feature | Light Nails | Dark Nails |
|---|---|---|
| Quick Visibility | Pink center visible | Look for black dot |
| Cutting Technique | Single confident clip | Multiple small trims |
| Warning Sign | Reddish hue appears | Dark center emerges |
Stop immediately if you spot the quick’s indicators. For black claws, work in bright light and rotate the paw to examine the nail’s underside. Always err on leaving more length – you can always trim again later.
Managing Mistakes and Keeping Your Dog Calm

Even experienced pet parents occasionally nick the quick. What matters most is responding effectively to maintain trust and minimize discomfort. Preparation and composure turn accidents into teachable moments rather than traumatic events.
Essential Steps for Quick Recovery
Styptic powder becomes your best friend in these situations. This clotting agent stops bleeding within seconds while numbing pain with Benzocaine. Dab a small amount directly on the affected area using gentle pressure.
No styptic powder? Common kitchen items work in a pinch. Press cornstarch or flour against the nail bed for 60 seconds. While these alternatives help clotting, they lack pain-relieving properties. Keep a clean cloth handy to maintain pressure during the process.
| Method | Effectiveness | Pain Relief | Best For |
|---|---|---|---|
| Styptic Powder | Instant clotting | Yes (Benzocaine) | All situations |
| Cornstarch/Flour | Slower results | No | Emergency use |
| Direct Pressure | Gradual stop | Minimal | Mild bleeding |
Your energy directly impacts your companion’s stress levels. Speak softly and maintain relaxed body language. Reward calm behavior with favorite treats once bleeding stops. Most pets forgive mistakes quickly when handled with care.
Prevent future incidents by trimming smaller sections more frequently. Position claws under bright light to spot the quick’s subtle color changes. Regular maintenance sessions help you recognize warning signs like darkened centers in black nails.
Conclusion
Regular paw care becomes a shared journey between you and your companion. Consistent maintenance prevents joint strain while fostering trust through gentle handling. Those weekly sessions evolve from chores to bonding rituals that benefit your pet’s physical and emotional well-being.
Investing time in proper techniques pays dividends in vet bill savings and joyful playtimes. Many owners discover their four-legged friends actually enjoy the attention when approached calmly. Pair each session with praise and rewards to reinforce positive associations.
Dog grooming extends beyond aesthetics – it’s preventative healthcare. By mastering these skills, you ensure your pal moves comfortably through every life stage. Keep tools handy and celebrate small victories as you both grow more confident.
Remember: patience transforms necessary care into moments of connection. Your dedication today shapes their quality of life for years to come.