
Can a single arm change how the world sees you? When you plan a tattoo sleeve, you decide how your arm tells a story. A well-crafted piece can be bold or subtle, full or partial, and it can match the life you live.
You’ll learn how to pick theme, placement, and flow so your design looks intentional from shoulder to wrist. Think Japanese koi, dragons, florals, geometric lines, or mythic heroes—each idea reads differently on the arm.
We’ll cover practical tips: choosing full, half, quarter, or forearm placements, planning sessions, and budgeting realistically. You’ll also get aftercare advice—cleaning, moisturizing, and using SPF—to protect the beauty of your work.
Finally, learn how to credit your artist and share your piece online the right way. By the end of this guide, you’ll have clear ideas to bring to your next consultation.
Key Takeaways
- Decide between full, half, quarter, or forearm placement based on lifestyle and visibility.
- Pick a cohesive theme so multiple designs read as one strong narrative.
- Plan sessions and budget; full pieces often cost £1,000–£5,000 across visits.
- Protect your ink with cleaning, balm, and sunscreen for long-term color and contrast.
- Credit your artist properly when you post images to respect their work.
Your Quick Guide to This List of Sleeve Tattoo Designs, Trends, and Tips
This quick guide sorts popular designs, current trends, and clear tips so you can plan confidently.
How this guide is organized: you can jump to placements, best design ideas, flow strategies, color choices, trend notes, aftercare, and planning. Each entry shows how a concept looks on the arm and how it reads at a glance.
Below you’ll preview trends like High Seas, Nordic, Balinese, fine-line mysticism, blackwork, Irezumi, and black-and-grey dragons. You’ll also see placement ranges (shoulder to wrist, shoulder to elbow, shoulder to mid-bicep, elbow to wrist) and healing product notes like balm, lotion, and SPF.
“Designs work best when built top-down: block in focal points, then use fillers to guide the eye.”
- Quick notes on using references and image credit when you share inspiration.
- How working artists suggest planning focal points for daily view.
- Decide early whether you want a unified theme or a patchwork look.
| Category | What to Consider | Quick Outcome |
|---|---|---|
| Placement | Coverage range and visibility | Matches lifestyle and work |
| Style | Trend alignment (Irezumi, blackwork, etc.) | Distinct visual identity |
| Flow | Focal points and filler choices | Reads as one composed piece |
| Aftercare | Balm, lotion, SPF | Heals well and keeps long-term look |
Quick credit tip: when you post reference images, always credit the artist you found. That way you respect creators and make your consultation smoother.
Popular Sleeve Placements to Consider
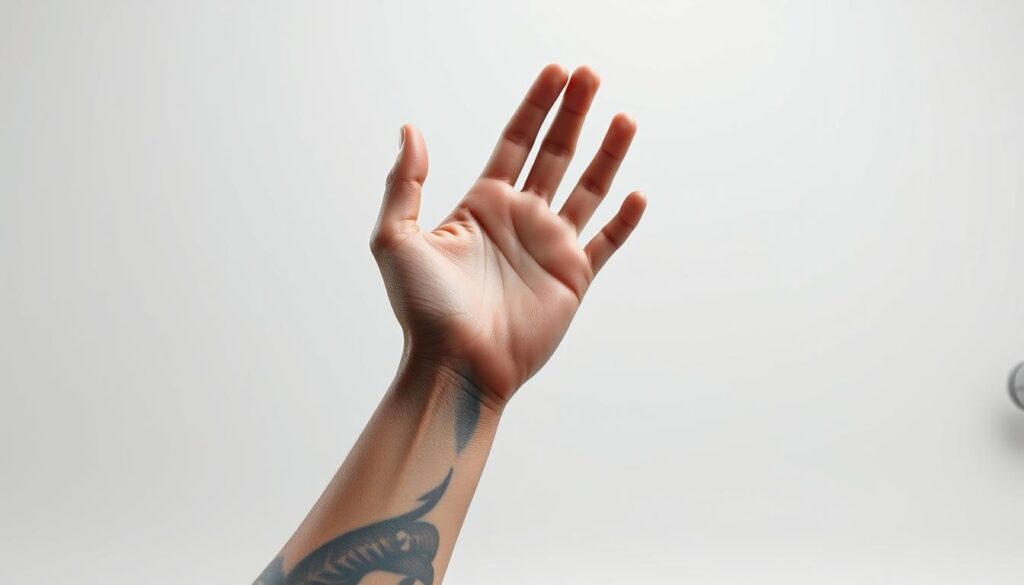
Choosing where your artwork sits on the arm shapes both daily wear and long-term flow.
Full Coverage: Shoulder to Wrist
Full pieces cover the whole arm from shoulder to wrist. They allow complex composition and smooth transitions across the elbow and wrist.
This option gives you the most room for large focal points and layered details. Expect longer sessions and higher cost, but a unified result that reads well from any view.
Half Options: Upper or Lower Arm
Upper-arm half work (shoulder to elbow) hides easily under shirts and can extend over the chest or shoulder cap for future expansion.
Lower-arm half (elbow to wrist) offers daily visibility and easy mirror checks. It’s a conversation starter and needs careful thought for conservative workplaces.
Quarter and Forearm Choices
Quarter pieces (shoulder to mid-bicep) are tidy and professional. They let you keep detail while staying easy to conceal.
Forearm coverage (elbow to wrist) is popular for men who want high-impact placement. Aftercare is simpler here since you can check healing and apply balm or protective lotion without help.
- Clothing tips: avoid tight sleeves while healing and choose breathable fabrics to reduce friction.
- Pain and sessions: inner bicep and the ditch near the elbow are more sensitive—plan shorter sittings if needed.
- Aftercare: start with a gentle cleanser, seal moisture with balm, and use SPF on exposed areas.
| Placement | Coverage | Visibility | Aftercare Ease |
|---|---|---|---|
| Full (shoulder–wrist) | Maximum | High | Moderate (larger area) |
| Half — Upper | Shoulder–elbow | Low (easily covered) | Easy |
| Half — Lower | Elbow–wrist | High | Easy (visible) |
| Quarter / Forearm | Shoulder–mid-bicep / Elbow–wrist | Medium–High | Very easy |
Quick decision guide: pick the placement that matches your goals for visibility, detail density, and long-term styling. Credit your artist for reference images and plan sessions that suit your comfort and schedule.
Best Sleeve Tattoo Ideas to Inspire Your Next Piece
Explore curated motif ideas that translate well across the curves of your arm. Below are focused concepts you can adapt to your scale, palette, and story.
Japanese: Koi, Dragons, Samurai, Cherry Blossoms
Flow-first compositions weave koi and dragons through waves and petals. Use smoke and blossoms to link larger portraits and keep movement continuous.
Traditional & Neo-Traditional
Bold lines and primary colors make anchors, roses, and daggers read at a distance. These designs hold up well as you add panels later.
Dragon-Centric
A dragon-focused piece can be Eastern guardian or Western beast. Tailor scale and posture to show power, wisdom, or protection.
Floral & Rose
Flowers add motion and give negative space for breathing room. Color choices shift meaning: red for love, yellow for joy, black for resilience.
Skull, Geometric, & Myth
Pair skulls with florals or clean geometry to balance mortality and rebirth. Use Greek gods—Zeus, Athena—for heroic focal portraits and supporting symbols.
Horror, Anime, Samurai, and Nature Motifs
Dark themes rely on contrast and mood; anime needs precise likeness and saturated inks. Samurai pieces pair armor texture with petals or waves. Vines act like living ribbons to connect panels.
“Map each panel with a strong focal point, then use patterns and filler to guide the eye.”
- Quick tip: plan a visual story so each section reads alone and as part of the whole.
- When you save references, always give proper credit to the artist who inspired you.
How to Make Your Sleeve Flow Like a Pro
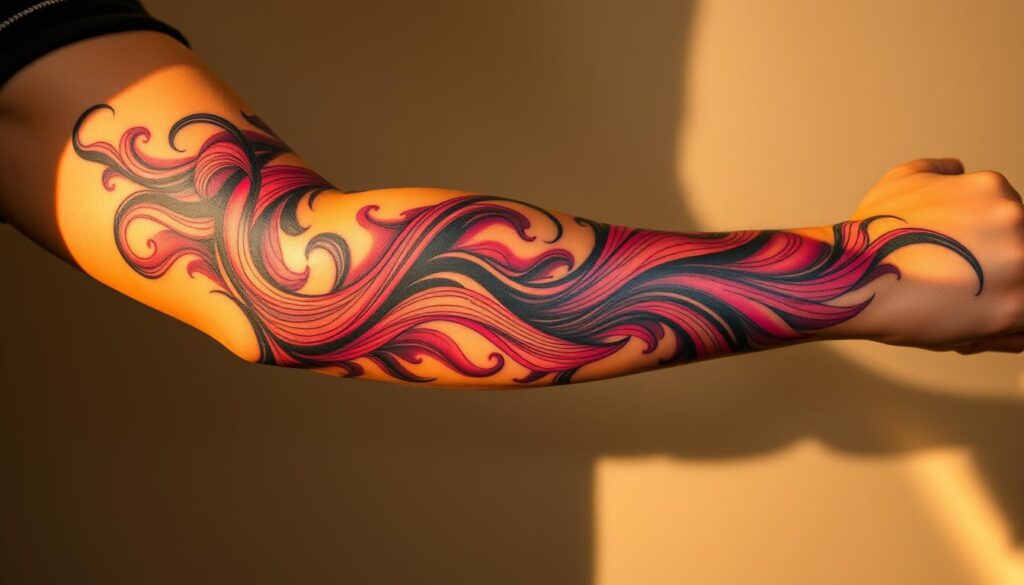
Let anatomy lead your design so the whole arm reads as a single, confident story. Start top-down: place the strongest imagery near the deltoid and guide movement toward the wrist.
Designing for Anatomy: Top-Down Structure
Use the deltoid cap, bicep curve, elbow ditch, and wrist taper as natural stages. Position main elements where muscle and motion add rhythm.
Focal Points: Outside Bicep, Lower Forearm, and Back of Forearm
Define 2–3 bold focal zones so the eye lands on strong forms and then moves. Lucy O’Connell recommends outside bicep first, then lower forearm, and wrapping to the back of the forearm.
“Structure sleeves top-down with three main focal points: outside bicep, lower forearm, and back of forearm.”
Smart Use of Fillers: Patterns, Florals, and Smoke for Cohesion
Pick fillers that match your theme—smoke for Japanese, stipple for geometric, petals for florals—and use mid-tones to link focal zones without crowding them.
- Plan wraparounds: test stencils from all angles so faces or symbols don’t distort across joints.
- Stagger detail: leave negative space at the elbow and inner arm to keep the piece breathing.
- Session order: many artists work top bicep first to manage healing and visibility.
Final tip: manage contrast—save deepest blacks and brightest color for focal points, and always give proper credit to your artist when you share progress photos.
Choosing a Theme That Fits Your Style
Start by deciding whether your arm tells one long story or a set of curated moments.
From single piece to cohesive narrative
Picking a clear theme helps your design read as one finished work. When you plan a unified narrative—like a Japanese journey—you give the artist room to link panels and manage flow.
Choose 2–3 anchor motifs and map smaller elements that bridge them. Keep line weight, palette, and texture consistent so varied images live together without conflict.
Patchwork vs unified themes: what works and why
Patchwork collections can look great when you use nature-inspired cohesion or repeat a palette. The key is balance: maintain similar shading, color temperature, or line style.
Avoid placing a standalone taster piece where you want a future wraparound scene. That spot should be reserved for connectors or a major focal image.
- Artist choice: one artist can give cohesion; multiple artists offer variety. Both are valid.
- Prep: build mood boards with references and color swatches, then let your artist refine ideas.
- Practical: consider your wardrobe and how the theme fits your day-to-day look.
“Most people pick a theme, then pick an artist; a theme helps ideas click together.”
Final tip: set clear expectations—tight brief or creative freedom—and always give proper credit when you share references or finished work.
Color vs Black and Grey: Finding the Right Look for Your Skin and Lifestyle
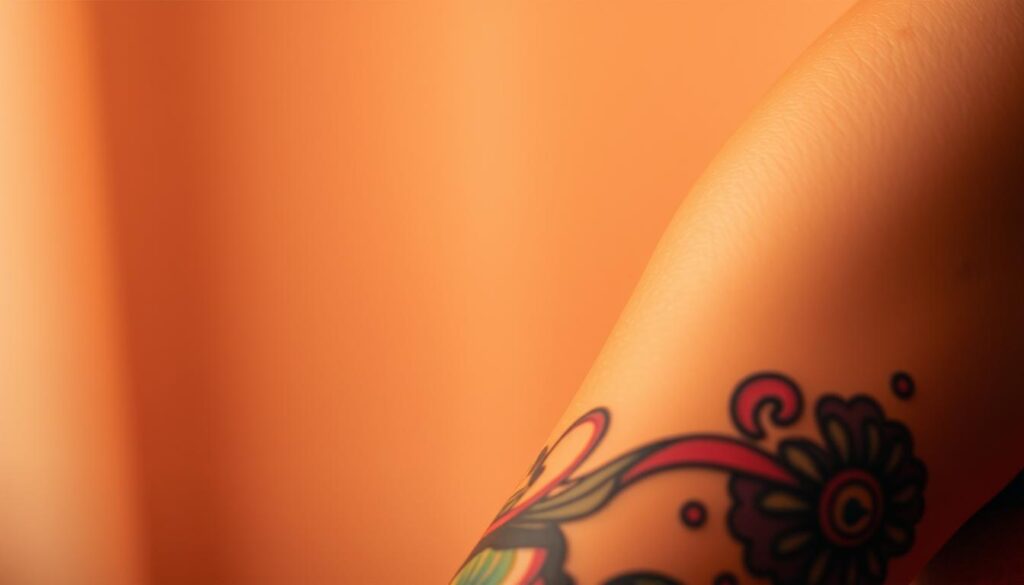
The inks you pick affect contrast, upkeep, and how your skin shows the design over time.
Vibrant color stories bring motifs to life—florals, anime scenes, and traditional palettes pop in daylight. Bright pigments can accent small areas like eyes or petals to create readable highlights without overwhelming the whole arm.
Timeless monochrome—classic black grey work offers drama and long-term contrast. Fine-line and blackwork trends hold detail well and often need fewer color touch-ups over the years.
Longevity, Maintenance, and Aftercare Considerations
Think about your skin type and daily exposure. If you spend time outdoors or train often, plan for extra care and more frequent touch-ups.
- Use gentle cleansers and moisturize morning and night to preserve saturation and linework.
- Apply broad-spectrum SPF to exposed areas daily for long-term protection.
- Pick products—balm, hydrating lotion, and sunscreen—that support healing and long-term beauty.
“Test small elements first: a colored dot or a grey patch helps confirm how inks age on your skin.”
Want to try subtle color before committing? Try meaningful small pieces for a trial run: meaningful small designs. Give credit to your artist when you share progress photos and choose a maintenance plan that fits your routine.
Trend Watch: What’s Hot in Sleeve Tattoos Right Now
This year, artists mix oceanic scenes and mythic knotwork to create modern story-driven sleeves.
High Seas, Nordic, and Balinese-Inspired Aesthetics
High Seas themes put ships, kraken, and rolling waves along the forearm to follow natural contours.
Nordic work uses runes, knotwork, and bold blackwork to anchor motifs. Balinese ornamentation adds patterned borders and dense filler that read well from a distance.
Fine Line Mysticism and Blackwork Styles
Fine-line mysticism pairs delicate religious iconography with stars and subtle shading. Blackwork offers high-contrast panels that make focal images pop.
Irezumi, Tribal Geometric, and Black and Grey Dragons
Irezumi staples—koi, waves, and dragon—appear updated with modern colors or muted black grey palettes. Tribal geometry favors symmetry and flow for a clean silhouette.
“Use trends as a filter, not a rule — pull reference images and give proper credit to your artist.”
| Trend | Key Motifs | Best Use |
|---|---|---|
| High Seas | Ships, kraken, waves | Forearm narratives, motion |
| Nordic / Balinese | Runes, knotwork, ornament | Bold anchors & decorative borders |
| Fine-line / Blackwork | Icons, stars, heavy fills | Contrast, cover-ups, modern looks |
| Irezumi / Tribal | Dragon, koi, geometric | Classic themes with modern color |
sleeve tattoos
Your arm can host a bold narrative or a subtle set of linked images.
Why people choose a sleeve tattoo: it lets you tell a story with high visibility and flexible styling that fits daily life and formal events.
Quick recap of placements: full (shoulder to wrist) for maximum coverage, upper or lower half for easier concealment, and forearm for high-impact display. Each affects comfort, wrap, and how the design reads in motion.
Fast-win ideas include a dragon spine along the outside arm, floral bands as connectors, or geometric panels with star accents. Use consistent fillers—smoke, vines, or dotwork—to keep growing pieces cohesive.
- Prep: hydrate skin, avoid heavy sun a week before an appointment.
- Aftercare: gentle cleanser, daily moisturizer, and broad-spectrum SPF for long-term look.
- Consultation etiquette: bring clean references, be open to composition tweaks, and give proper credit to your artist.
“Plan focal points first, then add connectors that guide the eye.”
Sleeve Tattoos for Men: Visibility, Style, and Balance
For men, an arm design should work for nights out and boardroom meetings alike.
Pick placements that read strong off-duty yet hide under a blazer. Upper-arm and quarter placements give discretion. Reserve forearm or full designs when you want daily visibility.
Professional Settings: Subtle Choices and Placement Tips
Lean on classic themes—traditional, Japanese, Nordic, or black and grey dragon motifs—to match business-casual outfits.
Place your strongest focal on the outside bicep, then step down detail toward the wrist for visual balance. Grooming and wardrobe choices—watch bands, cuff length, breathable shirts—matter as much as the art.
- Plan shorter sessions for sensitive zones and space appointments around busy work seasons.
- Aftercare: clean, moisturize, and avoid friction so the design heals crisp and lasts.
- Bring focused references and clear talking points to consultations so you and your artist can land a strong plan—and always give proper credit for inspiration.
“Dress-up/dress-down strategies make your arm art an asset, never a hassle.”
Temporary Tattoo Sleeves and Cover Options
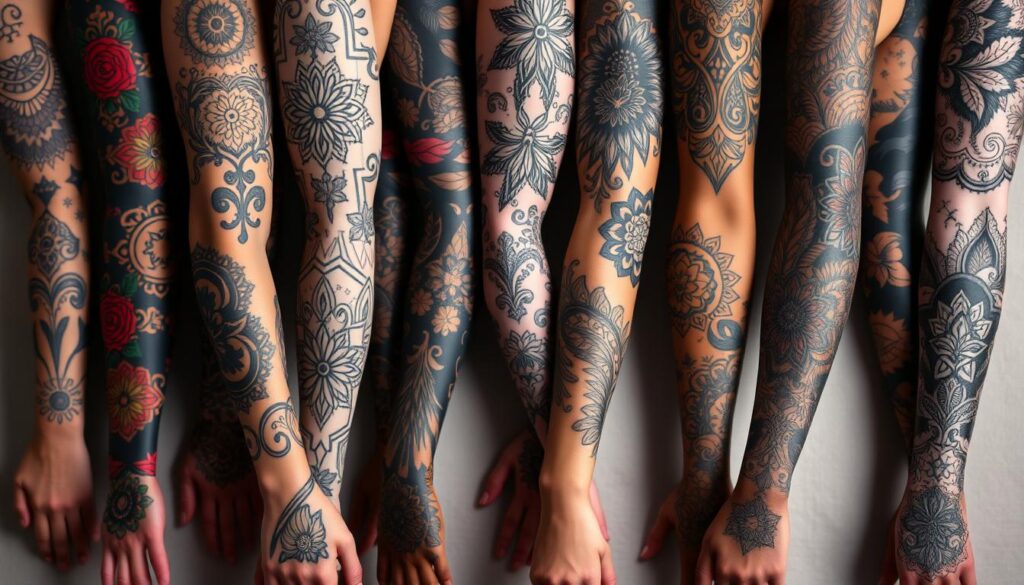
Preview designs with non-permanent options so you can live with a concept before committing.
Try-before-you-ink: use temporary tattoo sleeves and quality transfers to test scale, wrap, and how a design reads when you move. Wear them with different outfits and photograph the view in daylight and low light.
Try-Before-You-Ink: Temporary Sleeves and Transfers
Temporary tattoo sleeves let you trial placement and flow without the cost of real ink. They help you check proportion on your arm and confirm focal points.
Tattoo Cover Strategies: Blackout, Reworks, and Creative Camouflage
For older work, consider full blackout or staged reworks that blend lines and refresh color. Creative camouflage—florals, smoke, geometric fills—softens hard edges and creates cohesion.
- Plan staged sessions: heal between passes so your artist can assess layers.
- Products and care: use gentle cleansers, hydrating balms, and daily SPF to protect new and cover-up work.
- Practical tip: photograph references at home to share with your artist and give proper credit for any inspiration.
| Option | Best Use | Considerations |
|---|---|---|
| Temporary sleeves | Preview scale & flow | Low cost, instant feedback |
| Targeted rework | Refresh or integrate old lines | May need multiple sessions |
| Blackout | Mask multiple old marks | High coverage, long sessions |
| Laser fade + rework | Reduce pigment before redesign | Extra cost, longer timeline |
“Test a mock-up first; live with it for a week to know if it truly fits your style.”
Plan Smart: Budget, Timing, and Sessions
Set realistic expectations early: money, hours, and artist choice will shape the result.
Cost ranges: use the £1,000–£5,000 benchmark for a full piece as your starting point. Prices vary by artist, detail level, and location. Decide if the shop bills hourly or per piece; that affects how many details you can afford.
Scheduling time: expect multi-session work. Map sessions by body area and complexity and plan recovery between appointments. Typical full work can take several days across visits, so block the calendar around big events and travel.
Artist choices: one artist gives consistent line weight and palette. Collecting from many offers variety but needs careful unifying of design and details.
- Include touch-ups, tattoo cover, and filler sessions in your budget.
- Use products like hydrating balms and gentle cleansers to protect healing skin.
- Keep clear records—references, session notes, and costs—so you and the artist stay aligned.
“Build contingency time and funds so you can say yes to an extra pass that makes the arm sing.”
Aftercare That Protects Your Investment
Good aftercare begins on day one and shapes how your arm looks for years to come. Follow your artist’s instructions and use gentle, fragrance-free products to reduce the risk of infection and preserve linework.
Day One to Week One: Clean, Moisturize, and Don’t Soak
On day one, gently cleanse the area with mild soap, pat dry, and apply a thin layer of recommended balm.
Do not soak the fresh work—no baths, pools, or hot tubs—and avoid heavy workouts that cause sweat and friction.
Weeks to Healed: Hydration, Rest, and Friction Control
Over the following weeks, switch from ointment to a light lotion as scabs fall away naturally.
Hydrate inside and out: drink water and moisturize daily to keep skin supple and support healing.
Rest more than you think you need; sleep and low stress speed recovery. Avoid deodorant on the inner bicep until the area is fully healed, and wear breathable fabrics to cut down on rubbing.
Sun Care and Products: Balm, Lotion, and SPF for Longevity
Protect fresh black grey work and color from direct sun during healing. After the surface has sealed, use a broad-spectrum SPF every day to prevent fading.
- Follow a simple week-one routine: gentle cleanse, pat dry, thin balm, and light clothing.
- Resist picking flakes or scabs; keep pets and dirty fabrics away.
- Monitor for redness, heat, or unusual discharge and contact your artist or a clinician if concerned.
- Plan session timing so you have proper healing time between passes, especially near the elbow and wrist creases.
“Take your aftercare seriously—small steps now keep designs bright and skin healthy.”
For a detailed healing timeline and extra tips on how long a tattoo takes to heal, see how long a tattoo takes to. Give proper credit to your artist and stick to gentle, recommended products to keep your new art looking sharp for years.
Respect the Art: Image Credits and Artist Etiquette
A thoughtful post shows the piece, the maker, and the care behind the work.
How to share your work the right way
When you post a tattoo sleeve, make the artist visible. Tag their name and handle so people can find their portfolio. Add the studio location when it helps viewers book a consult.
How to Share Your Tattoo Online the Right Way
Ask permission before you publish close-up images. Respect any timing requests from the artist about healed photos or process shots.
- Always credit the artist by name and tag the studio when you post.
- Post clear, well-lit photos that show the wrap and main focal points for a true view.
- Note when a reference inspired the piece and state it as inspiration—not a copy.
- Avoid heavy filters or AI edits that change color accuracy or hide details.
- Direct booking questions to the artist’s page rather than acting as a middle person.
“Good credit and clear images celebrate the craft and keep the community strong.”
Conclusion
You now have a checklist to turn inspiration into a wearable, long-term design.
Choose placement wisely, plan top-down flow, and pick focal points that suit your anatomy and daily routine. Decide on color or black and grey based on your skin and lifestyle, and budget time in hours and weeks for multiple sessions.
Protect the work with recommended products, daily SPF, and sensible rest during healing. Try temporary tattoo sleeves to test scale, then book a consult with credited references so your artist can refine your ideas.
With care, planning, and clear credit to the maker, your tattoo sleeve will age with balance and beauty—ready to be worn confidently.
