What if you could turn discomfort into confidence when planning your next body art? With nearly half of Americans under 40 sporting ink, it’s clear people prioritize self-expression over temporary sensations. But here’s the secret: understanding your body’s sensitivity zones can transform your entire experience.
This guide helps you decode why some spots feel like a mild pinch while others push limits. You’ll discover how factors like nerve density and skin thickness create dramatic differences between areas like your outer thigh (think 3/10) and rib cage (hello, 8/10).
We’ll break down the science behind these variations without jargon. You’ll learn practical strategies to match designs with low-stress locations or mentally prepare for high-sensitivity zones. By the end, you’ll approach your appointment not just with excitement, but with clarity and control.
Key Takeaways
- Body art placement directly impacts comfort levels during the process
- High-sensitivity areas include bony regions and zones with dense nerve clusters
- Muscular or fatty areas typically cause milder sensations
- Personal pain tolerance varies but follows predictable anatomical patterns
- Proper preparation reduces anxiety and improves the overall experience
Introduction to Tattoo Pain

Let’s get real: ink sessions aren’t a walk in the park. Needles moving at 50-3,000 punctures per minute create sensations ranging from buzzing vibrations to sharp pricks. But here’s the good news – millions embrace this process yearly by focusing on preparation over fear.
Setting Your Expectations
Your mindset shapes your experience more than you think. Anxiety heightens discomfort, while calm focus helps manage it. One client shared: “Breathing techniques turned my shoulder piece from stressful to almost meditative.”
Factors like sleep quality and hydration play bigger roles than most realize. A well-rested body handles prolonged sessions better. Muscular areas generally feel milder – think outer arms versus collarbones.
Why Being Informed Matters
Knowledge transforms uncertainty into control. When you understand how skin thickness affects sensation, you can time sessions strategically. Morning appointments often work best when energy levels peak.
Communication with your artist becomes smoother when you articulate concerns clearly. Remember: temporary sensations lead to permanent self-expression. As one pro artist notes: “Informed clients make collaborative partners – we adjust techniques based on real-time feedback.”
Why Do Tattoos Hurt? Exploring the Sensation

Your body’s hidden messengers determine how you feel during ink sessions. Those buzzing sensations come from an intricate dance between biology and psychology – and knowing the players changes everything.
Your Body’s Alarm System
Over 7 trillion microscopic sensors lie beneath your skin’s surface. When needles create art, these nerve endings fire rapid signals to your brain like text alerts. Areas with denser clusters – think ribs or ankles – send stronger “alerts” than cushioned spots like thighs.
| Body Area | Nerve Density | Sensation Level |
|---|---|---|
| Collarbone | High | Intense |
| Forearm | Medium | Moderate |
| Outer Thigh | Low | Mild |
Mind Over Needle
Your brain doesn’t just receive signals – it interprets them. Anxiety acts like a volume knob, amplifying sensations. One client shared: “When I stopped fixating on the needle, the vibration felt almost rhythmic.”
Your body fights back naturally. Stress triggers cortisol spikes, while calmness releases pain-dampening endorphins. Artists notice clients who chat or listen to music often report milder discomfort. Pro tip: Hydrate well and eat beforehand – low blood sugar heightens sensitivity.
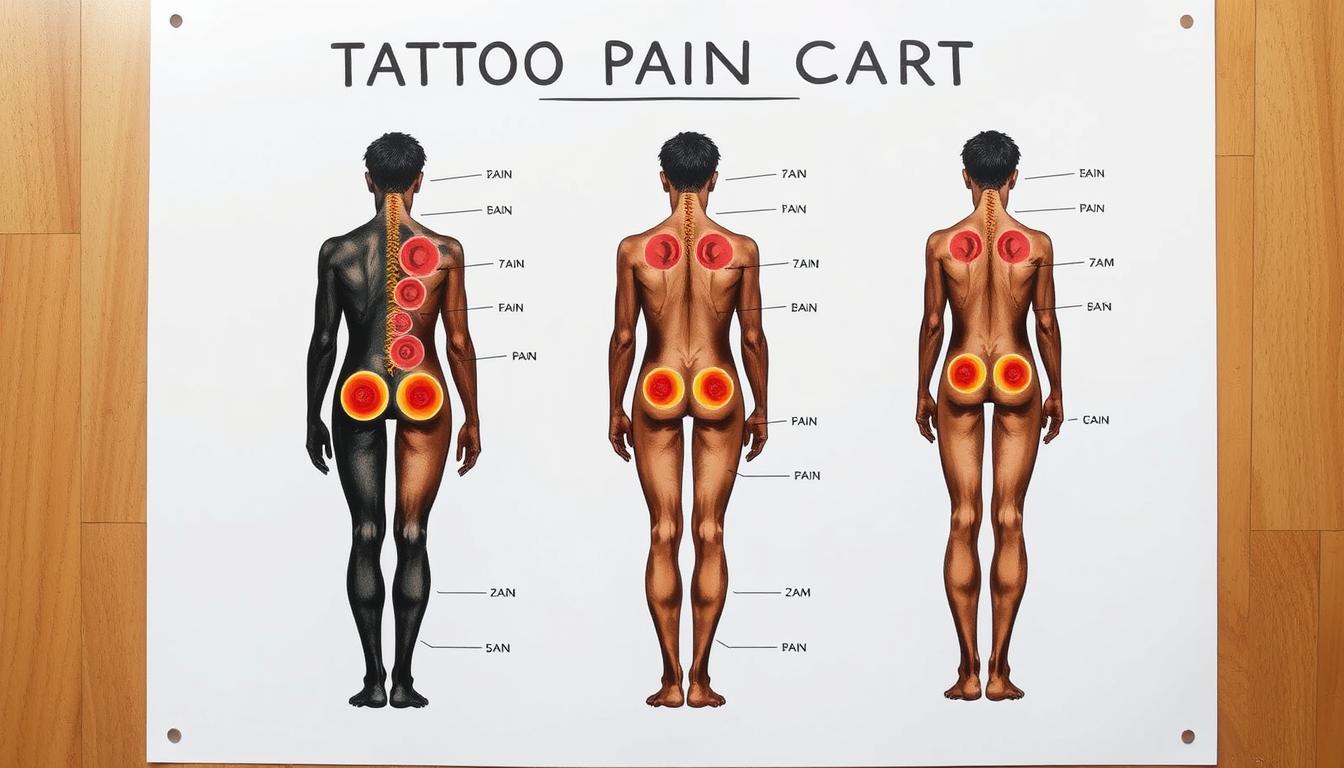
Understanding the “tattoo pain chart” for Better Placement

Ever wonder why some body art placements feel manageable while others test your limits? This visual guide organizes collective wisdom from countless ink sessions into actionable insights. Think of it as your strategic ally for balancing design dreams with physical comfort.
Decoding the Data
The three-tier rating system simplifies complex biological factors. Zones with minimal cushioning – like ankles or spine – often score higher due to bone proximity and nerve density. Compare these typical ratings:
| Body Region | Tissue Depth | Typical Rating |
|---|---|---|
| Upper Back | Moderate | 4/10 |
| Inner Wrist | Thin | 7/10 |
| Calf Muscle | Thick | 3/10 |
Smart Placement Strategies
Use this resource to time sessions effectively. A client shared: “Starting with my outer arm built confidence before tackling my ribs.” Morning appointments work best for sensitive spots when energy levels peak.
Discuss your design with artists early. Many can adjust sizing or shading techniques for challenging zones. Remember: temporary sensations lead to lasting self-expression. Proper planning turns “Can I handle this?” into “I’ve got this.”
Most Painful Tattoo Areas: A Detailed Look

Your body’s blueprint determines where ink feels like whispers versus thunderstorms. Three key factors collide in high-sensitivity zones: proximity to skeletal structures, nerve cluster density, and epidermal thinness. Let’s explore what makes certain spots test even seasoned enthusiasts’ resolve.
Bony Areas and Minimal Fat Cushion
Places where skin hugs bone create intense vibrations. The rib cage transforms needle work into a resonant hum that travels through your thoracic cavity. One artist explains: “Clients often describe sternum pieces feeling like someone’s playing xylophone on their chest.”
| Area | Bone Proximity | Sensation Level |
|---|---|---|
| Elbow | Direct contact | 7.5/10 |
| Spine | 0.2″ cushion | 8/10 |
| Shin | 0.1″ padding | 7.8/10 |
Nerve Endings and Thin Skin Effects
Regions with concentrated nerve networks amplify sensations exponentially. Your armpit’s delicate dermis contains over 1,000 nerve endings per square inch – imagine fireworks beneath translucent tissue. The groin area combines thin skin with constant motion, creating what many call “the wince zone”.
These spots demand strategic planning:
- Schedule shorter sessions for high-sensitivity areas
- Use numbing creams only after artist consultation
- Position body parts to minimize muscle tension
Remember: challenging locations often yield stunning results. As one client shared after completing their rib piece: “The temporary discomfort forged permanent confidence.”
Least Painful Spots for Beginners
Choosing your first design location doesn’t have to feel like a gamble. Certain areas naturally offer smoother experiences thanks to built-in biological advantages. Let’s explore where your body’s architecture works in your favor.
Built-In Cushioning Works Wonders
Your forearm shines as a top starter choice. Its blend of muscle tissue and fatty layers absorbs vibrations like nature’s shock absorber. One artist notes: “Clients often describe forearm work as persistent scratching rather than sharp discomfort.”
The outer thigh takes comfort to another level. With substantial padding from both muscle groups and adipose tissue, this zone handles longer sessions remarkably well. Many compare the sensation to deep pressure rather than acute irritation.
| Area | Muscle Depth | Fat Layer |
|---|---|---|
| Forearm | Moderate | Thin |
| Outer Thigh | Thick | Substantial |
| Upper Back | Variable | Moderate |
Smart Starting Points Matter
Beginner-friendly zones let you focus on the creative process rather than gritting your teeth. The shoulder’s rounded contours distribute needle contact across multiple muscle fibers. Outer bicep areas provide similar benefits with easy visibility for aftercare.
These spots offer practical advantages beyond comfort:
- Simplified healing processes
- Lower risk of friction irritation
- Easier positioning during sessions
Starting in these regions builds both confidence and body awareness. As one first-timer shared: “My forearm piece taught me how to relax – now I’m ready for more adventurous placements.”
Different Types of Tattoo Pain Sensations

Your body communicates through distinct sensations during ink sessions. Recognizing these signals helps you stay prepared and focused. Let’s break down what you might feel and why it happens.
Temperature & Pressure Responses
Initial contact often brings a dull pressure, like someone pressing a pen cap into your skin. This baseline feeling continues throughout most sessions. Areas with thicker tissue, like your upper arm, typically maintain this steady rhythm.
Sharp spikes occur during intricate details. One client described it as “a dozen fire ants tap-dancing in formation.” These quick bursts usually fade once the artist moves to a new spot.
| Sensation Type | Primary Cause | Common Areas |
|---|---|---|
| Dull Ache | Continuous needle work | Forearms, Thighs |
| Sharp Sting | Fine-line detailing | Wrists, Ankles |
| Burning | Prolonged shading | Ribs, Shoulder blades |
Rhythmic & Textured Feelings
Shading creates a dragging sensation similar to cat claws on sunburned skin. Multi-needle configurations amplify this effect. Bony zones add a vibrational buzz – imagine your skeleton humming along with the machine.
Extended color packing often leads to localized heat buildup. Artists recommend short breaks during these phases. Pro tip: Cooling sprays or numbing gels can help manage intense moments when used strategically.
Factors That Affect Your Tattoo Pain Tolerance

Your unique biology plays conductor in how you experience ink sessions. While everyone feels sensations differently, predictable patterns emerge based on physical and psychological factors.
Personal Sensitivity and Body Type
Your skin’s thickness changes with age. Younger people often have springy dermis that reacts strongly, while mature skin might feel less intense but heal slower. One client noted: “My upper arm piece at 25 felt sharper than my calf design at 40.”
Body composition creates natural shock absorbers. Areas with more muscle and fat – like thighs – cushion needle vibrations better than bony zones. Compare these typical scenarios:
| Body Type | Preferred Area | Sensation Level |
|---|---|---|
| Athletic | Shoulders | 4/10 |
| Lean | Ribs | 8/10 |
| Curvy | Outer Thigh | 3/10 |
Mental preparation alters your experience dramatically. Anxiety triggers stress hormones that amplify discomfort. Those with previous ink experience often report better coping skills. Pro tip: Discuss skin conditions like scars with your artist beforehand – damaged tissue may require adjusted techniques.
Biological sex introduces subtle differences too. Research shows hormonal fluctuations can temporarily heighten sensitivity. Understanding these variables helps you choose optimal session timing and locations.
Pre-Tattoo Preparation Tips for a Pain-Managed Session
Ready to transform nervous energy into a smooth creative process? Your pre-appointment routine directly impacts how your body handles the experience. Start with hydration – drink water like you’re prepping for a workout, as plump skin cells handle needle work better than dehydrated tissue.
Fuel up with slow-release carbs and proteins 90 minutes beforehand. A banana with peanut butter or oatmeal keeps blood sugar stable. Avoid caffeine and alcohol – they heighten sensitivity and cause shaky hands (yours and your artist’s).
Dress strategically. Loose clothing prevents friction on fresh work while allowing easy access to the target area. Bring distraction tools – noise-canceling headphones or stress balls help redirect focus during intense moments.
Discuss numbing options with your artist beforehand. Quality topical creams applied 60 minutes pre-session can take the edge off sensitive zones. Pro tip: Test any products on a small skin patch days earlier to avoid allergic surprises.
Mental prep matters as much as physical readiness. Practice visualization techniques – imagine the buzzing sensation as background noise rather than a threat. One artist shares: “Proper prep lets us focus on artistry, not just endurance.” Your preparation today becomes tomorrow’s confidence.