What if getting inked didn’t have to hurt? For many, the idea of sitting through hours of needlework sounds intimidating. Yet there’s a solution buzzing in tattoo circles that promises to turn discomfort into a manageable experience. But how much of it is hype versus reality?
Let’s cut through the noise. Topical solutions designed to reduce sensitivity can make sessions smoother—when applied properly. Artists and clients alike report fewer squirms and shorter breaks, especially during detailed work. But timing and technique matter just as much as the product itself.
Curious about potential downsides? Some worry these creams might interfere with ink retention or skin preparation. Rest assured: modern formulas are tested to balance effectiveness with safety. We’ll break down the science behind how they temporarily block nerve signals without compromising your artist’s canvas.
Key Takeaways
- Topical solutions reduce discomfort when applied correctly
- Timing and application methods impact effectiveness
- Quality formulas won’t interfere with ink retention
- Combining creams with breathing techniques enhances results
- Always consult your artist about product compatibility
Introduction to Tattoo Numbing Cream
Reducing the “ouch” factor in permanent body art starts with preparation. While skin becomes a canvas during the process, sensitivity varies widely between individuals. Some areas feel like a cat scratch, while others might test your resolve.
Understanding the Purpose
These topical solutions act like a dimmer switch for nerve endings. They don’t erase sensation completely—you’ll still feel pressure from the machine. But they soften sharp edges of discomfort, letting you focus on the artwork rather than the needle.
First-timers often worry about unbearable sensations. Placement matters: ribs and ankles naturally cause more twitching than biceps. A quality formula tailored for body art helps manage these differences without altering skin texture.
What to Expect in This Guide
We’ll explore how timing impacts effectiveness—applying too early or late changes results. You’ll discover application tricks artists recommend, like avoiding moisturizers beforehand. We’ll also bust myths about ink rejection or prolonged healing.
By the end, you’ll know how to collaborate with your artist for optimal comfort. Remember: communication is key. Share your plans beforehand—some studios have preferred products that play nice with their techniques.
What Is Tattoo Numbing Cream?
Tattoo enthusiasts have a secret weapon against pain, and it’s not just mental grit. This specialized product temporarily dials down discomfort, letting artists work precisely while you stay relaxed. Think of it as a temporary mute button for your nerve endings.
Definition and Key Uses
Designed as a topical solution, these products create a barrier between your skin’s pain receptors and the tattoo machine. They’re ideal for bony areas like collarbones or ankles, where sensitivity runs high. Apply it 30-90 minutes before your session—timing varies by formula.
Quality versions won’t leave residue or affect ink absorption. Artists often recommend patch tests first. Avoid over-application—a thin, even layer works best.
The Role of Lidocaine
Lidocaine stars in most effective formulas. This FDA-approved anesthetic blocks sodium channels in nerves, stopping “pain” signals from reaching your brain. You’ve likely felt its effects during dental cleanings or minor surgeries.
Concentrations between 4-5% balance safety and effectiveness. Higher doses require medical supervision. Combined with vasoconstrictors like epinephrine, it prolongs numbness without compromising skin integrity.
Does Numbing Cream Work for Tattoos?
Many wonder if there’s a way to ease tattoo discomfort effectively. The answer? Absolutely—when you select the right product and follow proper protocols. These topical solutions shine brightest in sensitive zones like ribs or ankles, where even seasoned clients might flinch.
Not all formulas deliver equal results. Over-the-counter options often contain 2-4% lidocaine, while premium versions like HUSH max out at 5%—the strongest concentration available without a prescription. This difference matters: higher lidocaine levels block nerve signals more effectively, turning sharp jabs into dull pressure.
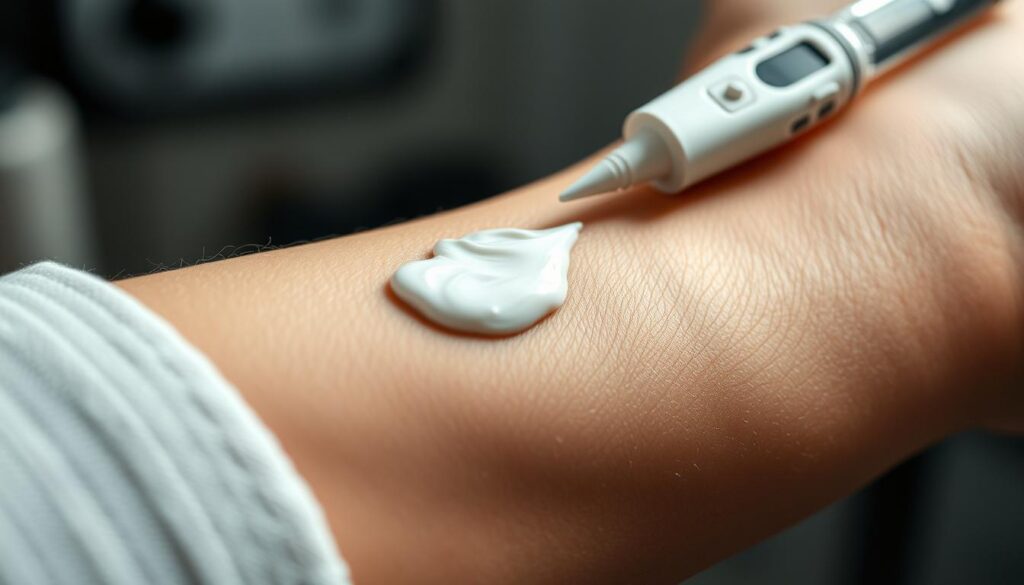
Application timing plays a crucial role. Spread a thin layer 30-90 minutes before your session, depending on the brand’s instructions. The active ingredients need time to penetrate and temporarily silence sodium channels in your nerve endings. You’ll still feel the machine’s vibration, but intense stinging fades dramatically.
Regular users report game-changing experiences. One client described their 5-hour back piece as “surprisingly tolerable” with professional-grade formulas. Remember: these products complement—rather than replace—your artist’s expertise. Always discuss your plans beforehand to ensure compatibility with their ink techniques.
How Does Numbing Cream Work?
Ever wondered how that magic cream takes the edge off your tattoo session? Let’s peel back the layers of science without needing a biology degree. Your body’s alarm system relies on a network of messengers shouting through microscopic highways.
The Science Behind Pain Signals
When a needle hits your skin, nerves act like overeager texters—they blast electrical impulses to your brain. These pain signals travel through sodium channels, tiny gateways in nerve cells. Think of them as emergency hotlines your body uses to scream “Danger!”
How Lidocaine Blocks Nerve Channels
This is where lidocaine becomes your secret agent. It jams those sodium pathways like gum in a lock. The cream’s active ingredient sits on your skin’s surface, muffling the “this hurts!” messages before they reach your brain. You’ll still sense pressure—like someone pressing a pen to your arm—but sharp stings fade into background noise.
One artist compares it to “wearing noise-canceling headphones for your skin.” The effect lasts 2-4 hours, letting artists tackle tricky spots without constant breaks. Just remember: quality formulas balance strength with safety, so you stay comfortable without compromising your tattoo’s clarity.
How to Apply Tattoo Numbing Cream Effectively
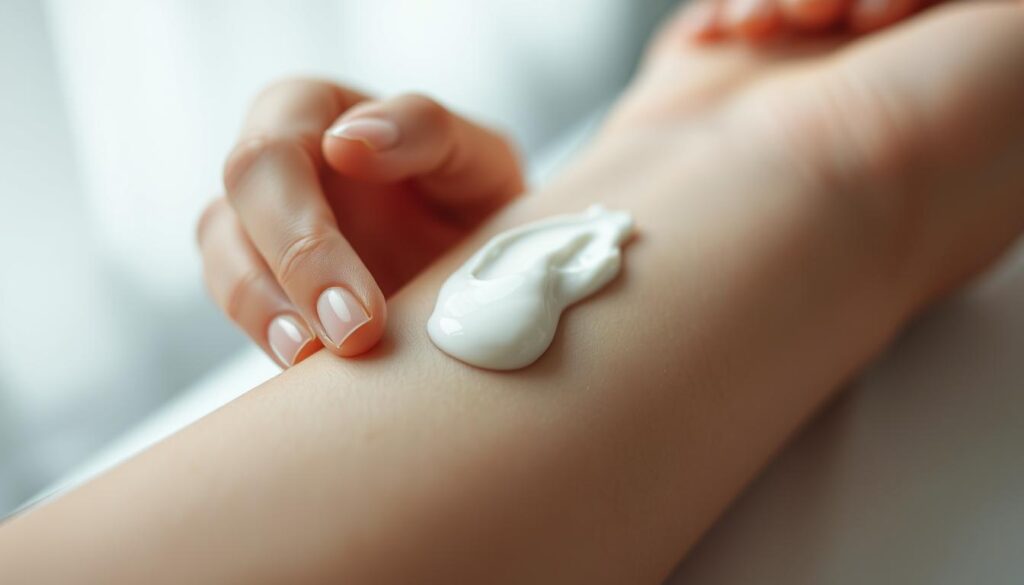
Ready to make your tattoo session smoother? Mastering the prep work transforms how your body responds to topical solutions. Let’s walk through the process artists swear by.
Preparing Your Skin
Clean skin absorbs better. Wash the area with antibacterial soap—hot water opens pores for deeper penetration. Pat dry with paper towels, then swipe with rubbing alcohol. One artist notes: “Oils or lotions create barriers. Start fresh for maximum effect.”
Step-by-Step Application Process
Follow this timeline for optimal results:
- Slip on gloves to avoid numbing your fingertips
- Spread a pea-sized layer over every inch of the target zone
- Cover with plastic wrap—no air gaps!
- Set a timer for 60-90 minutes
| Step | Time Needed | Pro Tip |
|---|---|---|
| Cleaning | 5 minutes | Use circular motions |
| Applying Cream | 2 minutes | Thicker ≠ better |
| Waiting Period | 60-90 minutes | Watch a show |
Remove the wrap right before your appointment. The layer should look slightly absorbed but still visible. Skin will feel cool and tingly—that’s your green light!
The Benefits and Limitations of Using Numbing Cream
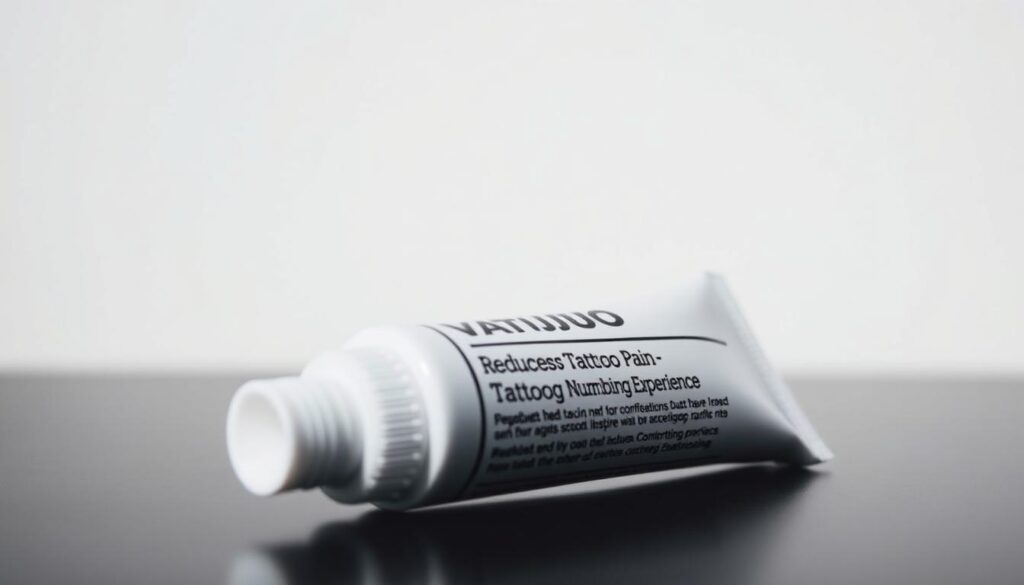
Transforming your ink experience starts with realistic expectations. Topical solutions offer clear perks but come with time constraints you’ll want to plan around.
Advantages During Tattoo Sessions
These products let you sit through multi-hour appointments with minimal squirming. Less discomfort means artists can tackle intricate designs without constant pauses. One client shared: “My sleeve progress doubled in one sitting—I barely felt the shading!”
You’ll also save money by completing larger pieces faster. Fewer sessions mean less time off work and lower studio fees. Anxiety melts away when sharp stings turn into gentle vibrations.
Potential Downsides and Considerations
Effects typically fade between 60-180 minutes. For marathon 4+ hour sessions, expect sensations to return gradually. Some describe this transition as “switching from muted TV static to full volume”—though reactions vary.
Smart users test products beforehand to gauge personal tolerance. Artists recommend splitting big projects into 3-hour blocks if sensitivity spikes post-numbness. Remember: communication with your tattoo pro ensures seamless adjustments mid-session.
Expert Tips for a More Comfortable Tattoo Experience
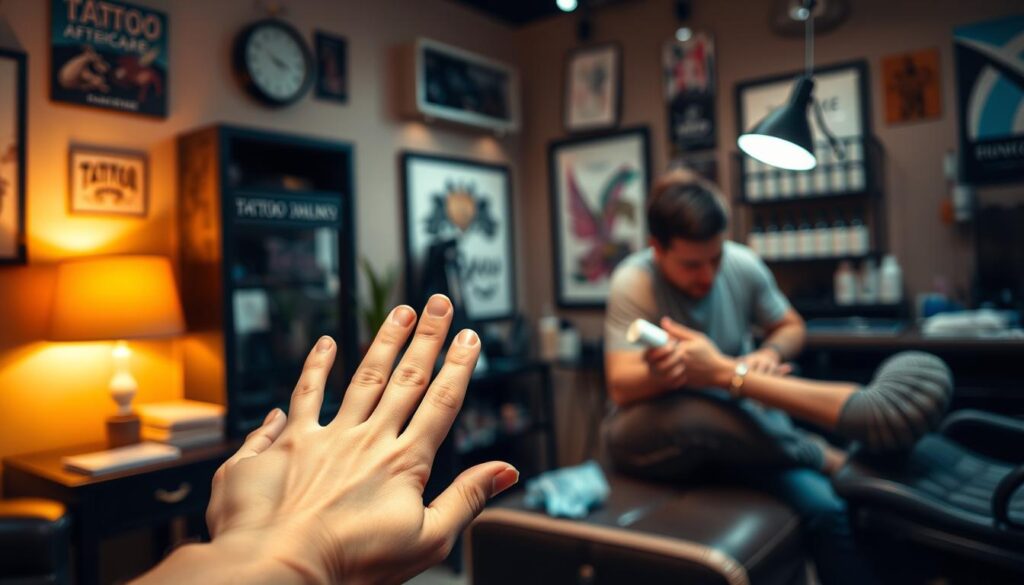
Your comfort during body art sessions matters as much as the final design. Seasoned professionals and clients share proven strategies to help you stay calm and collected under the needle.
Advice from Tattoo Artists
Open communication with your artist is non-negotiable. Many studios have strict policies about pre-applied topical solutions. “Skin behaves differently when treated,” explains Brooklyn-based ink specialist Mara Lin. “We need to adjust needle depth and speed for optimal results.”
Some creators keep medical-grade sprays on hand for sensitive areas. These products are tested for compatibility with their techniques, ensuring your session stays efficient. Always disclose any products you’ve used—hidden ingredients could react with stencils or antiseptics.
Additional Pain Management Techniques
When topical solutions aren’t an option, try these alternatives:
- Practice rhythmic breathing during intense moments
- Request short breaks every 90 minutes
- Bring noise-canceling headphones with calming playlists
First-timers should consider these pro tips:
- Choose fleshy areas like thighs for initial designs
- Eat protein-rich meals 2 hours beforehand
- Hydrate well for 48 hours pre-appointment
Remember: getting tattooed is a collaborative process. Your artist wants you comfortable—ask about their favorite stress-relief tools, from grip toys to posture adjustments.
Tattoo Aftercare and Maintaining Comfort
Your fresh ink deserves VIP treatment once the needle stops buzzing. Proper care preserves vibrant colors and sharp lines while preventing complications. Think of this phase as your skin’s recovery marathon—it needs steady support.
Post-Tattoo Skin Care
Keep it clean without overdoing it. Use fragrance-free antibacterial soap twice daily, gently patting dry with paper towels. Avoid scrubbing—your design is fresh paint, not a dirty pan.
Moisturize smartly with products your artist approves. Thin layers of specialized ointments prevent scabbing better than thick globs. One client swears by “the rice grain rule—if it shines, you’ve used too much.”
Let your skin breathe between bandage changes. Tight clothing or sweaty workouts can wait—priority one is healing. Cool showers beat hot baths for the first week, keeping ink intact while washing away grime.
Watch for unusual redness or swelling. Most irritation fades in 48 hours, but persistent issues need professional attention. Your artist wants that masterpiece to last—don’t hesitate to send them healing progress photos.
