Could your favorite salon treatment secretly weaken the very feature you’re trying to enhance? Millions adore the chip-resistant shine of gel manicures, but whispers about their safety linger. Let’s separate hype from reality.
That glossy finish isn’t just about aesthetics—modern formulas bond tightly to natural surfaces. However, concerns about UV lamps and removal processes aren’t unfounded. The key lies in how you approach these treatments, not whether to avoid them entirely.
Salon practices vary widely, and your at-home care plays a crucial role. We’ll explore what dermatologists recommend for maintaining strength between appointments. You’ll also discover why hydration matters more than you might think.
Key Takeaways
- UV exposure during curing requires protective measures
- Improper removal causes most structural damage
- Acetone-free options exist for sensitive users
- Recovery periods between treatments boost resilience
- Vitamin-enriched base coats enhance protection
Arm yourself with knowledge before your next polish change. This guide reveals professional techniques for minimizing risks while maximizing that coveted glossy look. Your hands deserve both beauty and vitality.
Introduction to Gel Manicures

Ever left a salon fearing your fresh polish would smudge before reaching your car? Modern solutions eliminate that stress entirely. These chip-resistant treatments maintain flawless shine through workouts, dishwashing, and daily wear—no babysitting required.
What Makes Them Popular
Durability drives demand. A single application lasts up to 21 days without fading or peeling. Unlike traditional options that demand 30+ minutes of air-drying, specialized lamps cure layers in 90 seconds flat. Busy professionals adore this time-saving perk.
At-Home Revolution
DIY kits exploded during lockdowns, letting users recreate salon-quality beauty results safely. Starter bundles now include LED lamps, base coats, and vibrant colors. Many find home applications cheaper than weekly salon visits.
| Feature | Traditional Polish | Gel Polish |
|---|---|---|
| Drying Time | 30+ minutes | 60-90 seconds |
| Longevity | 3-5 days | 14-21 days |
| Maintenance | Frequent touch-ups | Zero upkeep |
Special occasions and beach vacations benefit most from extended wear. Yet regular users appreciate skipping constant reapplications. Just remember—proper prep and removal matter as much as the polish itself.
How Gel Nail Polish Works

That glossy perfection on fingertips doesn’t happen by magic – it’s science in action. Unlike traditional polish that air-dries through evaporation, these formulas transform through light-activated chemistry.
The Light-Speed Transformation
Special molecules called photoinitiators wait dormant in liquid polish. When exposed to specific light wavelengths, they spring into action. This triggers a chain reaction where liquid polymers cross-link into a flexible armor.
Two lamp types make it happen:
- UV lamps: Use broad-spectrum ultraviolet light
- LED lamps: Emit targeted wavelengths for faster curing
You’ll feel the difference immediately. Regular polish starts hardening the moment it’s applied, while gel remains workable until light exposure. This allows precise shaping – perfect for intricate designs like dramatic stiletto styles.
LED units typically cure layers in 30-45 seconds versus UV’s 60-90 seconds. Both achieve the same rock-hard finish, but newer LED models last 5x longer. Remember: curing completes the chemical bond, so never skip this step!
Benefits and Allure of Gel Manicures

Ever wished your freshly painted tips could withstand real life immediately? Modern solutions deliver salon-quality resilience that laughs at dishwater and keyboard warriors alike. The secret lies in advanced formulas that cure rock-hard while keeping their mirror finish.
Speed Meets Endurance
Watch liquid transform into armor under LED light in under two minutes. Unlike regular options needing half-hour dry times, cured layers let you text, type, or tackle chores instantly. That smudge-proof surface stays flawless through 18+ days of wear.
| Feature | Standard Polish | Gel Formula |
|---|---|---|
| Dry Time | 30+ minutes | 90 seconds |
| Shine Retention | 3-4 days | Full wear period |
| Chip Resistance | Moderate | Industrial-grade |
Busy bees adore skipping weekly touch-ups. The extended wear means fewer salon visits – perfect for back-to-back meetings or tropical getaways. Plus, that fortified coating lets natural surfaces grow longer without snapping.
Many notice improved strength during wear cycles. Brittle tips gain flexibility while looking salon-fresh. Just remember: proper removal preserves this protective advantage between applications.
Understanding is gel bad for your nails

Are conflicting opinions about nail treatments leaving you confused? Let’s clarify what professionals really think about those glossy layers. Two camps dominate the conversation: skin specialists and nail artists.
Expert Perspectives and Dermatologist Insights
Dermatologist Dr. Chey Ranasinghe cautions, “Repeated UV exposure during curing adds up over time.” Her concerns focus on light-related skin risks and removal methods that strip surface layers. Yet certified technician Metta Francis counters: “Properly applied formulas act like protective shields.”
This divide stems from different priorities. Skin doctors prioritize cancer prevention, while nail pros emphasize structural integrity. Both agree on one thing: technique matters more than the product itself.
Misconceptions vs. Reality
Many blame formulas for weakness when poor application causes issues. Peeling from rushed prep work gets mistaken for polish damage. Aggressive scraping during removal harms surfaces more than any chemical.
Quality products make a difference too. Reputable brands use gentler ingredients than bargain kits. Investing in professional-grade base coats prevents staining and keeps surfaces strong between appointments.
Your approach determines outcomes. Follow cure times precisely, moisturize daily, and never pick at edges. With smart habits, you can enjoy vibrant color without compromising what’s underneath.
Potential Risks and Nail Damage from Gel
Those dazzling manicures might hide unexpected consequences. Two primary concerns emerge when maintaining that glossy look: light exposure during curing and ingredients that could irritate sensitive systems.
UV Exposure and Skin Concerns
Curing lamps emit UVA rays similar to tanning beds. Dr. Lisa Harrison, a board-certified dermatologist, warns: “Just 10 minutes under these lamps equals a full day’s beach sun exposure for unprotected hands.” Repeated sessions may accelerate aging and increase cancer risks.
| Risk Type | Source | Potential Damage | Prevention |
|---|---|---|---|
| Light Exposure | Curing Lamps | Premature skin aging | SPF gloves |
| Chemical Reaction | Acrylates | Contact dermatitis | Patch testing |
| Physical Trauma | Improper removal | Surface grooves | Professional soak-offs |
Chemical Ingredients and Allergic Reactions
Common gel components like methyl acrylate can trigger redness and swelling. Symptoms might appear suddenly after years of use. Watch for these signs:
- Persistent itching around cuticles
- Blisters forming under polish
- Peeling skin on fingertips
Aggressive removal techniques cause most structural harm. Picking at edges strips natural layers, while over-filing weakens surfaces. Allow professionals to handle removals using acetone wraps instead of scraping.
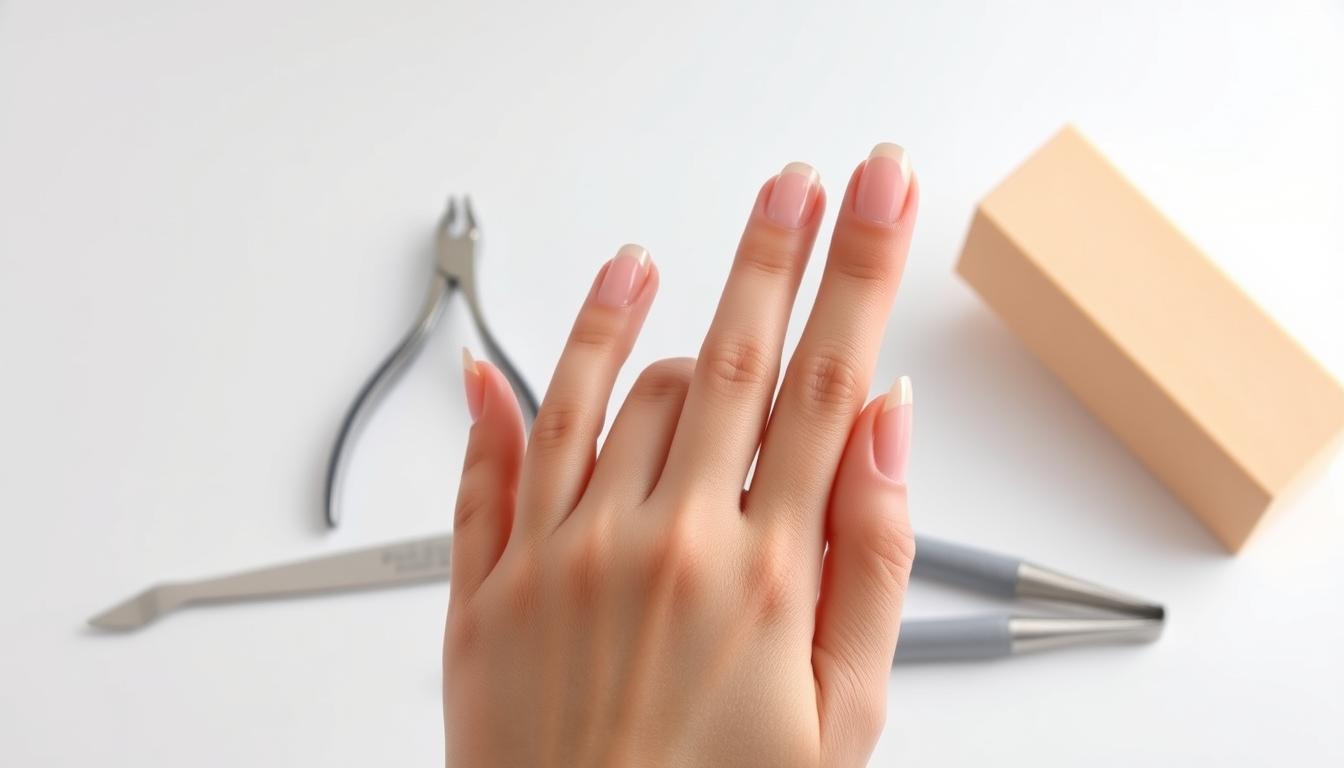
Proper Application Techniques for a Safe Gel Manicure

Achieving salon-quality results starts with mastering the fundamentals. Preparation creates the foundation for long-lasting wear without compromising strength. Let’s explore methods that keep surfaces intact while delivering vibrant color.
Step-by-Step Guide for Flawless Results
Begin by gently buffing surfaces with a 180-grit file. This removes shine for better adhesion without thinning layers. Always wipe away dust using alcohol prep pads before applying base coats.
Use thin, even strokes when painting. Thick layers trap uncured product, leading to peeling. Stick to one brand’s complete system – their builder, color, and top coat work together chemically.
Professional vs. Home Application
Salons offer precision tools and sterilization protocols. Technicians cure each layer thoroughly under commercial-grade lamps. At home, you control timing but must follow instructions exactly.
| Factor | Salon Service | DIY Kit |
|---|---|---|
| Tools | Medical-grade equipment | Basic applicators |
| Curing Time | Optimized settings | Manual timing |
| Cost Per Use | $35-$60 | $2-$8 |
Apply sunscreen 20 minutes before curing if using UV lamps. Clean polish spills immediately with acetone-dipped brushes. Remember: thin application beats rushed thick layers every time.
Effective Gel Polish Removal Process
Your stunning manicure’s longevity depends on how you bid it farewell. Master the removal process to maintain surface strength while switching up styles. Rushed techniques create microscopic cracks, but strategic methods preserve vitality.
Safe Removal Techniques to Prevent Damage
Start by lightly buffing the glossy top layer with a 180-grit file. This breaks the seal without thinning natural surfaces. “Always soak – never scrape,” advises nail specialist Tanya Cruz. Acetone-soaked cotton balls wrapped in foil work best for dissolving layers gently.
Follow this 3-step ritual:
- Protect cuticles with petroleum jelly before applying solvent
- Wait 10-15 minutes – impatience causes peeling
- Gently lift softened polish with rounded plastic tools
Metal implements create grooves, while orangewood sticks prevent scratches. Leave builder layers intact if reapplying color – they act as armor between treatments. Hydrate immediately after with jojoba oil to counteract acetone‘s drying effects.
When done correctly, your natural base remains smooth and resilient. Bookmark this process for stress-free transitions between vibrant looks!
Maintaining Healthy Nails After Gel Use
What happens after polish removal matters as much as the initial application. Hydration becomes your secret weapon for resilient tips that bounce back stronger. Start with a recovery plan that combines nourishment and strategic rest periods.
Post-Removal Care: Moisturizing and Cuticle Oil
Slather on cuticle oil within minutes of polish removal. This locks in moisture before acetone fully dries out the nail bed. Apply it twice daily – think of it as vitamins for your cuticles.
Pair oil treatments with thick hand creams containing shea butter. Massage them into fingertips to boost circulation. For extra protection during breaks, try stiletto designs using breathable regular polish instead of gels.
Scheduling Breaks Between Manicures
Give surfaces a full week to rebuild natural oils between treatments. Use this time to spot weaknesses – peeling edges or white spots signal needed repairs. Gentle buffing smooths ridges without thinning layers.
Monthly breaks let you assess natural nails under clear strengtheners. Keep oil handy during recovery weeks to maintain flexibility. Remember: hydrated tips withstand future color changes better than brittle ones.