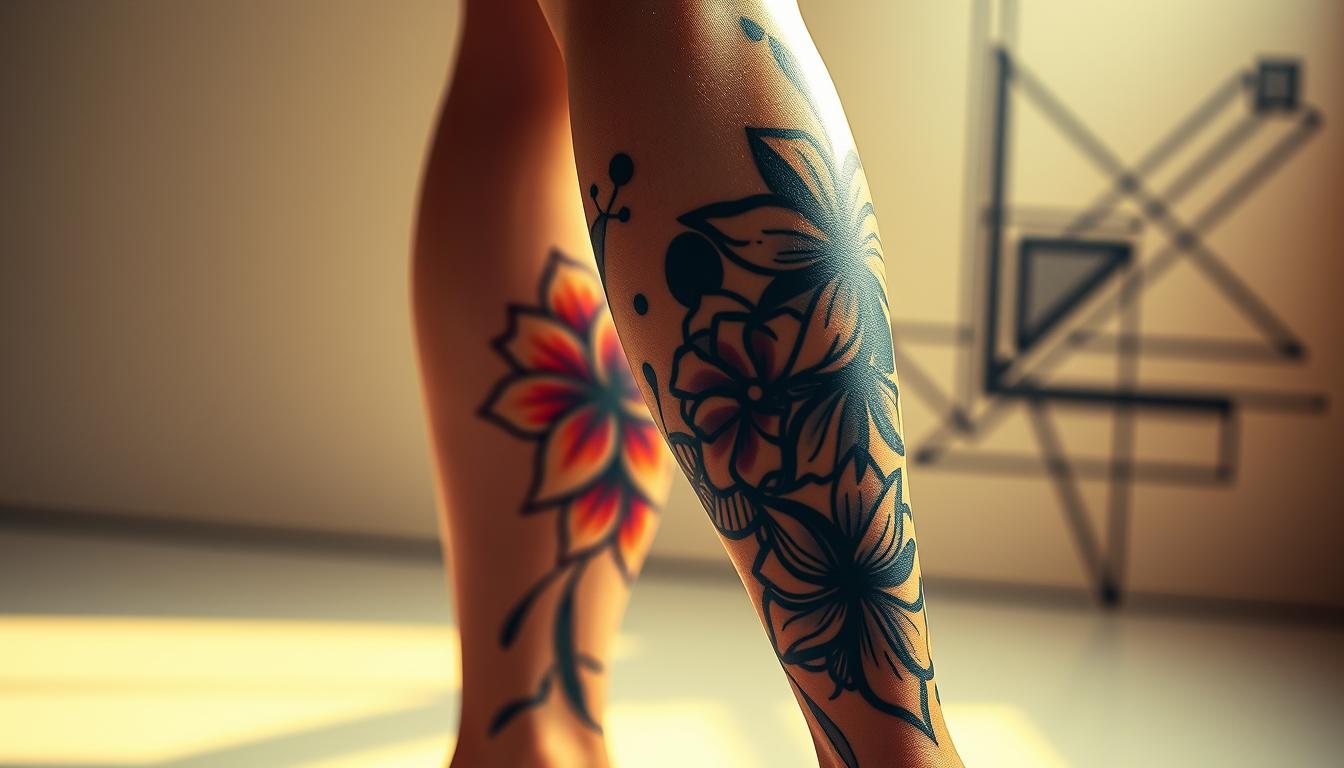
Curious how a single design can transform your body and still stay easy to cover? You can use your leg as a flexible canvas, from a tiny ankle mark to a full leg sleeve that tells a story.
Think about placement first: vertical designs and wraparound pieces use the space well and look great from every angle. Many people prefer a patchwork route, collecting small pieces from different artists rather than committing to one theme.
Expect some spots to be more intense—the knee, the back of the thigh, and parts near the calf can sting. Prep helps: hydrate, moisturize for a week, and plan breaks during sessions to make the process smoother for you and your artist.
Healing matters: most work heals in two to three weeks. Avoid heavy workouts until the itchy, dry phase and skip shaving or waxing while healing. Protect color with sunscreen once healed to keep bright designs vivid.
Key Takeaways
- Use vertical and wraparound design ideas to make the most of your leg canvas.
- Start small if you’re new; build toward a full leg piece if you want a cohesive story.
- Prep your body with hydration and moisturizers for an easier session and healing.
- Some areas are more painful—schedule breaks and breathe through them.
- Give healing time, avoid shaving, and use sunscreen on healed color work.
Leg Tattoo Ideas You’ll Love Right Now
A smart placement can turn a small mark into a strong statement or let a big scene breathe.
Small to statement pieces: choosing your canvas
Decide if you want a hidden minimalist symbol or a bold wrap that reads from every angle. Thigh placements give you a roomy spot for portraits and large scenes. Lower areas like the calf and shin suit vertical tattoo designs and gallery-style framed pieces.
Patchwork, sticker-style art is popular for collectors who visit multiple artists. It ages nicely when you leave breathing room between pieces.
If you plan a sleeve, choose a coherent theme—Japanese, geometric, or floral—to keep future work intentional. Map the side, front, and back zones now so new additions keep flow and avoid crowding.
- Pick a central anchor piece and add supporting elements later.
- Save knees and ankles for simpler shapes that heal well.
- Let visibility, pain tolerance, and budget guide your choice to get tattoo work that feels fun and doable.
Thigh Tattoo Ideas: Big Impact, Easy to Hide
The thigh gives you room for sweeping scenes that read like a canvas — perfect for portraits, florals, or a roaring animal.
Portraits and memorials on the upper leg
Your upper leg is a great spot for meaningful portraits — family, pets, or icons — because the area offers space for lifelike detail.
Bring multiple high-resolution photos with consistent lighting so your artist can capture expression and skin tone accurately.
Bold florals and garden-style designs
Peonies, roses, and wildflowers flow with the thigh’s curves and make a bold, feminine statement. A soft background of stippling or smoke ties separate elements together.
Lions, tigers, and large animal scenes
Large animal imagery anchors a piece; pair a lion with crowns or flowers for meaning. The upper outer thigh is one of the least painful areas, so you can plan longer sessions.
“Use the thigh as your narrative starting point and let the story travel down to the knee and calf.”
| Option | Best For | Pain Level | Visibility |
|---|---|---|---|
| Portrait | Memorials, lifelike detail | Low–Medium (upper outer) | Easy to hide |
| Floral | Flowing, feminine designs | Low–Medium | Concealable |
| Animal scene | Bold anchors, storytelling | Medium | Hidden when needed |
- Use soft backgrounds to merge elements into a cohesive design.
- If you plan a full sleeve later, let the thigh be your narrative starting point.
- Ask for short breaks during long shading sessions and stay hydrated.
Calf and Shin Concepts for Vertical Designs
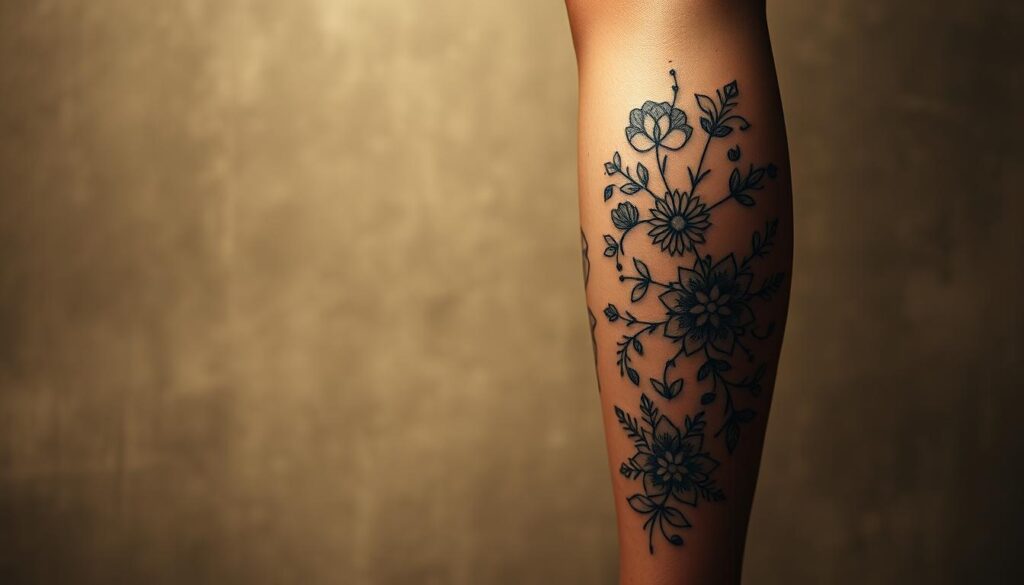
The calf and shin are natural corridors for tall, flowing imagery that moves with you.
The calf is prime real estate for elongated animals and framed portraits. Snakes, eagles, and owls stretch beautifully here and wrap with the muscle as you move.
The shin offers a flatter plane that suits linear work. Think arrows, koi, or vertical scripts that run top to bottom with strong backgrounds and smart negative space.
Plan for a sleeve by leaving room above and below the calf so the knee and ankle can join later. Knees can sting, so save detailed pain-prone spots until you have experience.
“Start with a strong calf anchor and let connecting backgrounds flow up and down.”
- The calf supports realistic portraits framed as focal points.
- Use negative space on the shin to emphasize scales, feathers, or frame edges.
- Remember visibility: lower-limb work shows with shorts, so pick art you want to see daily.
| Area | Best Uses | Pain |
|---|---|---|
| Calf | Elongated animals, framed portraits | Low–Medium |
| Shin | Linear motifs, koi, arrows | Medium |
| Knee | Bold, simple marks for sleeve flow | High |
Side Leg Tattoo Inspiration for Strong Lines
The side of your limb gives a long, narrow canvas made for bold, uninterrupted lines.
Use strong linework—geometric stripes, flame motifs, and clean scripts travel the side beautifully. Taller people get extra vertical space, while the area below the knee needs slimmer shapes to avoid warping.
Place wider lettering or stacked geometric blocks on the side of the thigh so it hides easily under clothing. On the side of the calf, keep bands and chevrons narrow to follow the muscle curve.
“Test movement: bend, flex, and walk while checking line flow so the work looks strong in motion.”
- Pair minimal shading with bold lines for long-term clarity.
- Balance black ink and negative space for visual punch without heavy color.
- Plan seams if you intend to add front or back pieces later.
| Placement | Best Use | Notes |
|---|---|---|
| Side of thigh | Large lettering, stacked geometry | More width; easy to conceal |
| Side of calf | Slender stripes, flames | Follow muscle; keep lines slim |
| Both sides | Mirrored styles | Symmetry or asymmetric contrast works well |
Snakes, Lions, and Animal Leg Tattoos
Bold fauna designs read well in motion and make strong focal points on a long canvas. Pick a creature whose meaning matches your intent—power, renewal, courage, or change—and plan placement that lets the image move with you.
Snake wraps: power, rebirth, and movement
Snakes coil beautifully around the thigh or lower limb, creating motion every time you step. A wrapped stencil test is essential so the coil sits seamless and avoids awkward overlaps.
Roaring lions: courage, honor, leadership
Lion concepts work well on the thigh or calf where a mane can breathe. Add a crown or jungle foliage to turn the piece into a clear symbol of leadership and honor.
Butterflies and moths: change and hope
Butterflies and moths make great ankle accents or larger floral compositions on the upper area. They read as transformation and hope when paired with blooms or soft backgrounds.
- Place animals along natural muscle lines so they move realistically when you walk or flex.
- Mix animals with other symbols—daggers, hearts, or skulls—for layered meaning.
- Keep high-contrast edges and test lighting references for realism or choose stylized outlines for a graphic look.
Japanese Leg Tattoo Ideas (Irezumi Aesthetics)
Irezumi brings bold storytelling to a long canvas, using flowing motifs and powerful symbols.
Build around a central motif: pick koi swimming upstream, a coiled dragon, or an expressive oni mask as your anchor. These symbols carry meaning—perseverance, strength, protection—and read well in motion.
Use thick linework and high-contrast shading so the design stays clear as a large piece. Traditional backgrounds—water, wind bars, peonies, or chrysanthemums—tie separate elements into a smooth flow.
Koi, dragons, and oni masks
Place koi vertically to emphasize movement. Let dragons wrap for dramatic silhouettes that change as you walk.
Oni masks and samurai faces need thigh or upper-calf space so expression and detail breathe. Add symbolic flowers or waves to reinforce themes like honor and transformation.
Composing bold lines, contrast, and backgrounds
Plan your sleeve approach: finish backgrounds early so new pieces drop in seamlessly. Map scales, fins, and petals across seams to avoid awkward gaps during multi-session work.
- Choose a cohesive style for line weight, shading, and palette.
- Deep reds, blues, and greens pop; black-and-gray keeps a timeless look.
- Test stencils wrapped around the limb to check flow before inking.
For more on traditional influences and cultural context, read about Japanese practice here.
Tribal and Polynesian Leg Sleeve Designs
Traditional motifs wrap naturally around muscle lines, turning movement into narrative.
Modern tribal leg work draws from Māori and broader Polynesian patterns. Bands and story-driven symbols wrap the calf and shin to form a cohesive flow.
Maori-inspired stories, bands, and symbols
Māori bands can read like chapters. Place symbols to follow muscles so images move with you. Work closely with your artist to align motifs front, side, and back.
Marquesan cross and fish-scale motifs
The Marquesan cross stands for balance and harmony, while fish-scale patterns often signify prosperity. Many people blend these with modern geometry for a personal touch.
“Use negative space as a breath between heavy black lines to keep the design readable over time.”
- Plan sessions carefully: a full sleeve is a lot of coverage and needs healing windows.
- Calibrate line weights so small details stay clear as you age.
- Discuss cultural meaning with your artist to ensure respectful, accurate representation.
Geometric Leg Tattoo Design Playbook
Precision linework and repeating motifs make geometric designs easy to mirror or intentionally offset across both sides of your body.
Symmetry vs. asymmetric balance on both legs
Decide whether you want mirrored symmetry or a deliberate contrast. Mirrored pieces read like a pair and emphasize balance.
An asymmetric dialogue creates motion and interest when you walk. Both look striking with bold geometry.
Geometric animals and tessellations
Geometric animals reduce forms to facets and lines—wolves, owls, or bears read clearly from a distance on the calf or shin.
Tessellations and dotwork add texture without heavy shading and adapt well to curved surfaces.
- Plan negative space so patterns breathe and don’t overwhelm.
- Wrap motifs thoughtfully so seams align with movement.
- Calibrate line thickness for longevity; bolder outlines protect small details.
- Start with an anchor pattern or animal and expand into a cohesive sleeve.
- Test stencils standing and seated to confirm flow and placement.
“Begin with one strong idea and let geometry guide future additions.”
Religious, Quote, and Text-Based Leg Tattoos
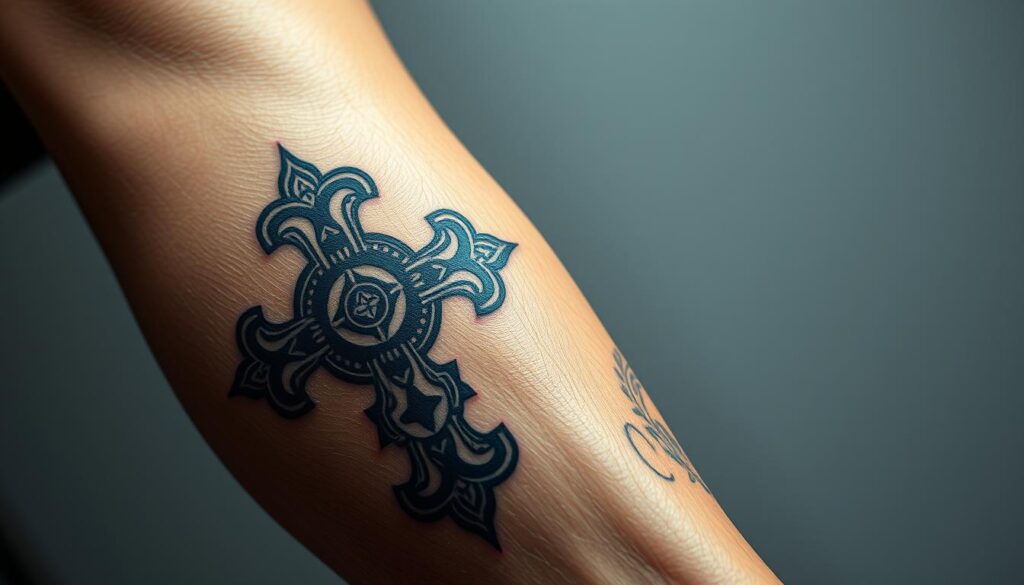
A guardian figure or a single verse can anchor a design and shape how surrounding art fits.
Religious imagery—angels, archangels, and saints—works well on the thigh or calf. Wings, swords, and light rays frame figures for dramatic impact. Place larger holy figures where the body gives space so faces and hands read clearly.
Script, verses, and symbolic marks
Longer quotes and Bible verses need room to stay legible. The upper thigh suits horizontal lines. The calf and shin take vertical scripts or stacked lines that follow muscle flow.
- Showcase faith with angels or saints on the thigh or calf, using wings and rays for framing.
- Keep quotes legible: upper thigh for horizontal text; lower areas for vertical columns.
- Numbers, dates, and coordinates make subtle markers and expand easily later.
- Confirm Japanese character meanings with a native speaker before inking.
- Try a minimal cross or verse number near the ankle for discretion.
“Balance iconography and text so neither element overwhelms the other.”
| Placement | Best Use | Readability |
|---|---|---|
| Upper Thigh | Long horizontal quotes, saints, portraits | High |
| Calf | Vertical scripture, archangel profiles | High |
| Ankle / Behind Calf | Minimal symbols, verse numbers, small crosses | Medium |
Color Leg Tattoos and Style Choices
Color choices can change the whole mood of a design, turning a simple mark into a vivid statement. Think about how hue, contrast, and placement will age on your skin. Match the palette to your wardrobe and how often the piece will show.
Vintage (American traditional) and bold flash
Vintage style relies on solid blacks, clipped shading, and punchy reds, blues, and greens.
These pieces stack well and read clearly from a distance. Vintage animal or nautical flash works great on calves and shins and forms a durable base if you later build a sleeve.
Watercolor and painterly fades
Watercolor mimics paint on the body with soft gradients and splashes.
This approach looks dreamy on the thigh where there’s room for flow. Expect softer edges and more touch-ups over time, so plan visits with an artist experienced in fades and blends.
Color blocking for crisp modern edges
Color blocking uses clean separations to keep hues bright and avoid muddiness.
If you want a cohesive sleeve tattoo, set a consistent palette so different motifs feel unified. Deep reds and greens pair well with black-and-gray backgrounds, especially for japanese leg-inspired pieces.
- Pick a style that fits your personality: vintage, watercolor, or color blocking.
- On darker skin, saturated blues and greens often read best—test swatches with your artist.
- Plan highlights so color reads when you move, and test swatches to see how pigments heal.
“Choose a palette early to keep separate pieces cohesive as you add work.”
Leg Tattoos on Darker Skin Tones
On rich skin tones, some colors can mellow—picking the right palette makes all the difference.
Choose pigments that read bold. Deep reds, dark blues, and rich greens tend to heal visibly on darker complexions. White accents lifted into linework or highlights add contrast and crisp edges.
Choosing inks: reds, dark blues, greens, and white accents
Work with an artist experienced with darker skin so pigments and saturation match your undertone. Ask to see healed photos from similar people to judge lasting color.
- Use stronger line weights on the lower limb for clarity from a distance.
- Consider color-forward linework instead of pure black to keep pieces vibrant.
- Discuss layering techniques so hues stay vivid without overworking the skin.
- Aftercare matters: gentle cleansing, moisturization, and sunscreen protect healed color.
“Communicate your goals clearly so your artist can adapt palette and saturation to your vision.”
Planning a Leg Sleeve: Full, Half, and Three-Quarter
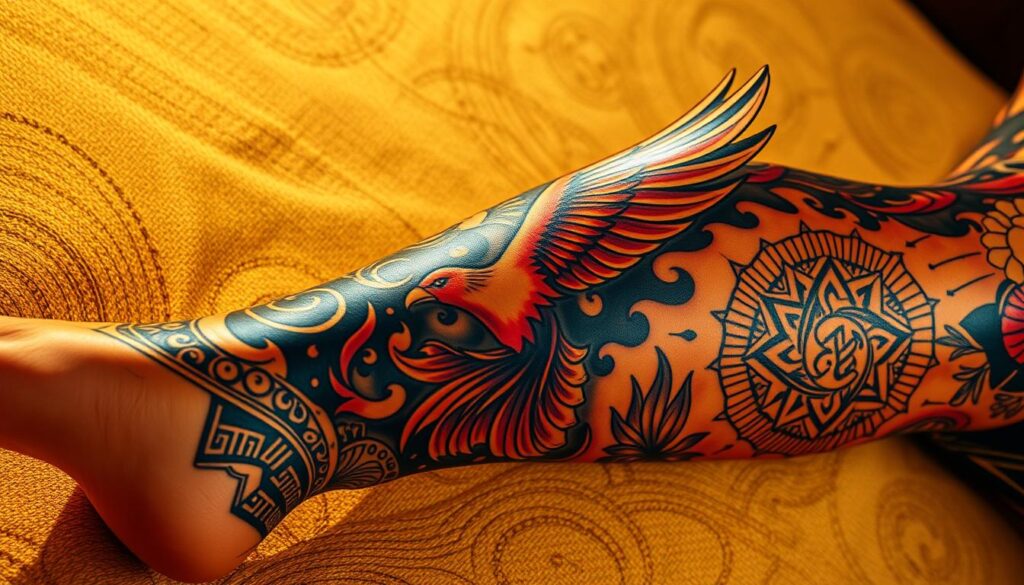
Planning a sleeve means thinking in chapters—each session should build a clear narrative across your limb. Choose an option that fits your timeline, budget, and pain tolerance.
Full leg sleeve (hip to ankle): cohesive storytelling
Go big if you want a continuous story from hip to ankle. Map anchor pieces first—portrait, dragon, or floral panel—and plan backgrounds so elements connect smoothly.
Half and three-quarter sleeve: focused scope and flow
A half sleeve gives a high-impact zone with less time in the chair. The three-quarter option reaches mid-thigh to ankle for strong visual flow without committing to the hip.
Patchwork vs. integrated approaches
A patchwork sleeve collects smaller pieces over time. Keep spacing, line weight, and filler consistent so separate pieces read as one. An integrated approach uses a single composition to avoid awkward seams.
- For lower-half work, design vertical flow along the calf and shin.
- If you love tribal leg elements, place bands early to align with anatomy.
- Use a session roadmap: outlines, shading, then color and backgrounds.
“Anchor first, connect later — movement and transitions make the final piece sing.”
Pain Map and Session Strategy for Your Leg
Certain zones on your limb tend to register more pain; knowing them helps you plan smarter sessions.
What hurts most: Expect the knee and the knee ditch to be higher on the scale. The inner thigh and parts of the calf can also feel intense for many people.
Artists often split large calf panels across sessions so your skin heals cleaner. If a piece has a lot of heavy shading, ask to break it into stages.
Breaks and coping: Find the way that helps you zone out—music, talk, or quiet. Bring snacks and water to steady energy during long sits.
- Plan short pauses proactively to keep momentum without burning out.
- Outline first, then shading, then color and background if time is tight.
- Be honest about pain so your artist can change pace or position.
- Expect some swelling on the lower limb; plan shoes and activity accordingly.
“Trust the process: multi-session routes often give the best healed results.”
Design tip: Keep knee and ankle marks bold and simple so small details don’t blur as you move. Good communication with your artist makes a lot of difference for successful leg tattoos.
Timeline: How Long Leg Tattoos Take and Heal
Simple marks heal fast; sprawling pieces demand time, planning, and patience.
From quick linework to multi-day sleeves
Small work—a tiny ankle or calf line—can finish in about 30–60 minutes. You leave the chair with a fresh mark and basic aftercare instructions.
Large pieces like a full sleeve tattoo need multiple long sessions. Artists often split color and shading across days to avoid overworking your skin.
Typical healing windows and activity guidance
Most work follows a familiar path: an initial weepy phase, then scabbing or flaking, and finally the dry, itchy phase around week two.
Healing often completes in 2–3 weeks, though some people settle faster and others take about a month. Build wiggle room into your plan.
- A tiny ankle or calf linework tattoo might be done in under an hour; dense sleeves take many day-long sittings.
- Hold off on running, leg day, or hot yoga until open skin has closed to avoid irritation.
- If your calf or shin swells after long sits, elevate and rest the limb and follow aftercare closely.
- Schedule travel, sun exposure, pools, and events around healing—fresh work dislikes sweat, sand, and chlorine.
- Plan multi-session strategies and discuss touch-ups with your artist; true color settling can take weeks.
“Solid aftercare—gentle washing, thin moisturizer, and clean clothing—helps you heal on schedule.”
Prepping, Aftercare, and Everyday Maintenance
Proper prep and simple daily care keep your new work looking sharp and heal smoothly.
Hydrate and moisturize before your appointment. A week of daily moisturization and drinking extra water makes your skin more supple. That helps your artist lay down cleaner lines and reduces trauma to the skin.
Fuel your body and rest up. Eat a balanced meal and sleep well the night before. Your immune system handles the session better when you come fed and rested.
Post-session basics
Wash gently with mild soap, pat dry, and apply a thin aftercare layer. Too much cream can trap moisture and slow healing. Remember: no cream truly heals a wound—your body does the work.
Shaving, waxing, activity, and sunscreen
Avoid shaving or waxing the area while skin is healing. Plan hair removal timing as an option before your appointment so you won’t need to touch the fresh ink.
Skip long runs, heavy leg workouts, and hot-sweat sessions until the open-skin phase passes. Sweat and friction can prolong recovery.
Sunscreen matters. Once healed, apply SPF regularly to protect color and line clarity. UV exposure fades pigment fast, so daily protection is a smart choice for long-term results.
| Stage | Do | Avoid |
|---|---|---|
| Pre-session | Hydrate, moisturize, rest, eat | Alcohol, heavy sun, new hair removal |
| First week | Gentle wash, thin aftercare layer, clean clothing | Shaving/waxing, tight or abrasive fabrics |
| After healed | Daily sunscreen, check touch-ups | Prolonged sun without protection |
- Choose breathable, clean clothes that won’t rub the area.
- Don’t pick scabs or flakes; let healing finish naturally.
- If you’re sensitive, ask about hypoallergenic products or protective wraps as an option.
- Stay in touch with your artist for product and timing recommendations.
“Thin layers, patience, and sunscreen protect your investment and help the skin heal well.”
Best Placements for Leg Tattoos
Placement choices balance visibility, pain, and the scale of the scene you want to create.
Upper thigh: discreet and spacious
The upper leg offers a great spot for large portraits and sprawling florals that you can hide or reveal at will.
It’s roomy, heals well, and gives artists space for fine detail. For more thigh tattoo ideas, check efficient placement and inspiration here.
Calf and shin: verticals and wraparounds
The calf and shin suit tall, flowing imagery—snakes, koi, scripts—or wraps that move with you.
These areas read well in motion and make a strong side or back placement for framed pieces.
Knees and ankles: small, bold, and band ideas
Knees can be painful but add unique transition points; keep marks bold and simple.
Ankles are a discreet entry point if you’re new. Bands and mandalas work as cultural or purely aesthetic statements.
“Mirror placements for symmetry or go asymmetric on one side leg for a modern editorial look.”
Conclusion
When you narrow your options, a clear plan makes moving from ideas to ink feel easy and confident.
Think about purpose first: match your choice to visibility and comfort. Thigh work gives scale and discretion, while the calf suits tall, vertical impact.
Start small if you’re unsure. Add pieces over time or commit to a full leg route once you map anchors, backgrounds, and session pacing.
Prep, pace, and aftercare matter most. Follow your artist’s guidance, protect healed color with sunscreen, and trust the process—there’s a lot of ways to make your leg tattoo idea truly yours.
