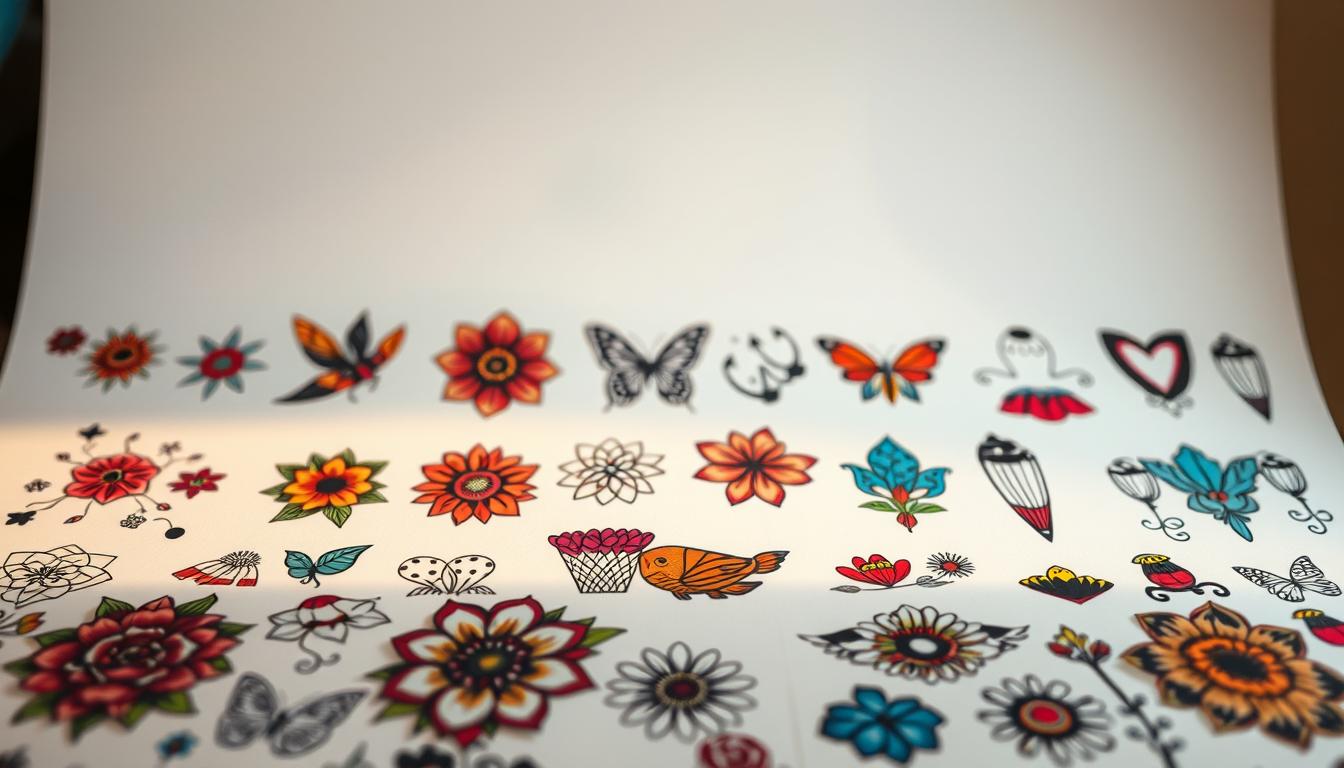
What if you could reinvent your style every single day—without needles, pain, or regret? Temporary body art isn’t just for kids or festivals. It’s a creative playground where you can experiment with bold designs, test-drive permanent ink ideas, or simply add flair to your outfit. Best of all? You don’t need artistic superpowers to master it.
Whether you’re drawn to intricate patterns or minimalist symbols, crafting your own designs unlocks endless possibilities. Imagine wearing a delicate vine one day and a geometric masterpiece the next. Water-transfer methods let you apply art in seconds, while homemade options use everyday items like eyeliner or paper. The best part? Mistakes vanish with soap and water.
This guide reveals why temporary body art has exploded in popularity. It’s not just about avoiding commitment—it’s about embracing change. From themed parties to testing sleeve concepts, these designs adapt to your mood, events, or even your morning coffee inspiration.
Key Takeaways
- Create personalized body art without special skills or expensive tools
- Experiment with styles risk-free before considering permanent ink
- Choose from multiple application methods for different durations
- Perfect for events, photoshoots, or everyday self-expression
- Remove designs effortlessly when you’re ready for something new
Getting Started with Temporary Tattoo DIY
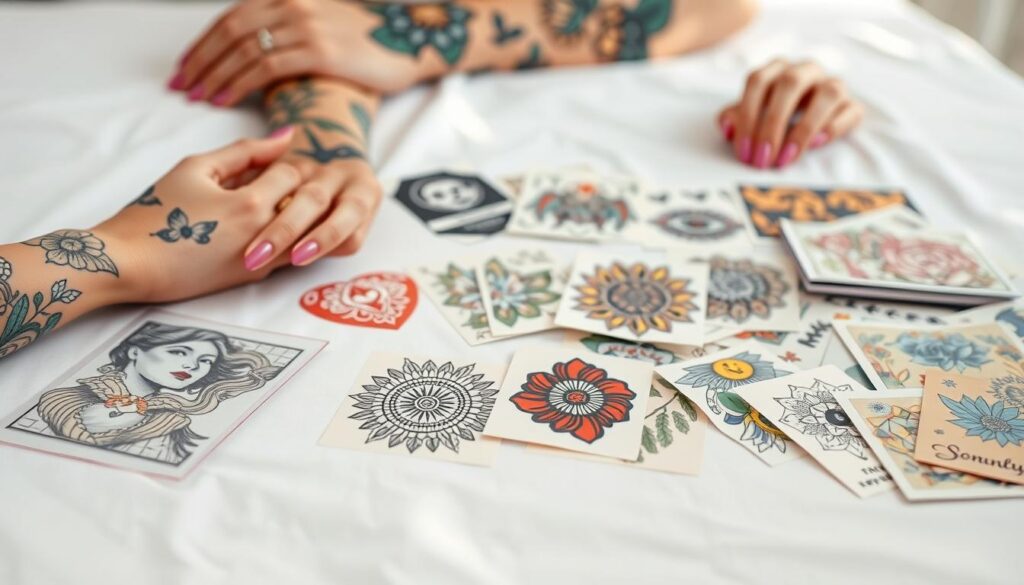
Ever wanted to switch up your look without the commitment? Temporary body art has become a cultural phenomenon, blending self-expression with practicality. These creative accessories let you wear bold statements or subtle accents wherever life takes you.
Understanding the Benefits of Temporary Tattoos
Why choose removable body art? Zero commitment tops the list. Unlike permanent ink, these designs fade naturally or wash off completely. No appointments, no needles – just instant style transformations.
Application takes under five minutes. Press, dampen, and peel. Made with skin-safe materials, they work on most body areas. Removal’s equally simple – baby oil dissolves even stubborn metallic patterns.
“Temporary tattoos let people test-drive personal style like never before.”
Deciding on Your Tattoo Style and Purpose
Match your design to the occasion. Delicate florals enhance daytime outfits, while glowing UV patterns shine at night events. Consider these factors:
| Purpose | Ideal Duration | Best Method |
|---|---|---|
| Special events | 1-3 days | Pre-printed transfers |
| Style testing | 5-7 days | Inkjet-printed paper |
| Longer wear | 2 weeks | Sealed henna hybrids |
Placement affects visibility and wear time. High-friction areas like hands require touch-ups. For intricate artwork, choose flat surfaces like shoulders or ankles. Your skin’s natural oils determine how long patterns stay crisp – dry skin types often get extra days of wear.
Essential Materials and Tools for Your DIY Project
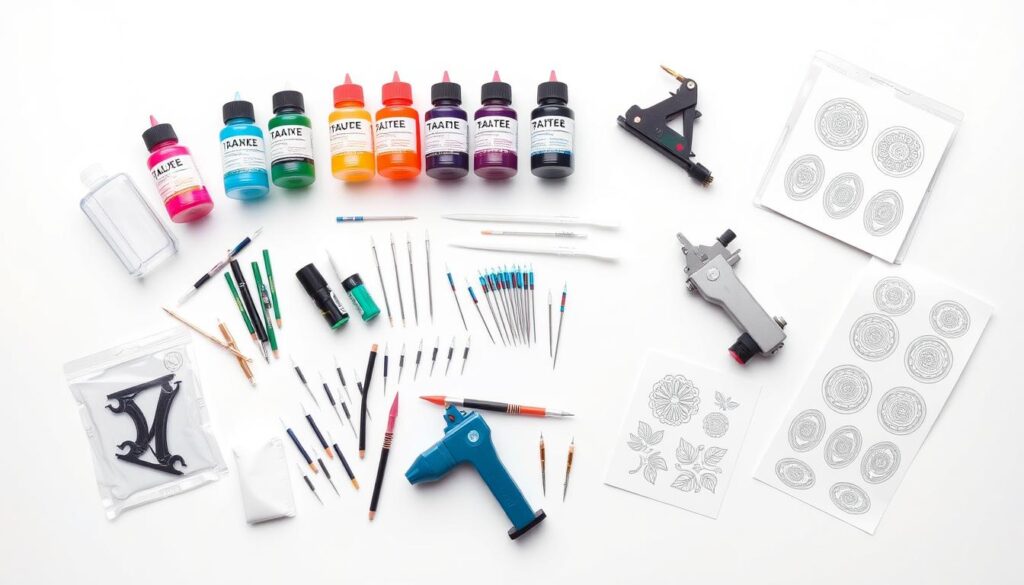
Your kitchen drawer might hold the secret to wearable art. With basic supplies and smart choices, you can turn ordinary items into bold body statements. Let’s unpack what you’ll need to bring your vision to skin.
Selecting the Right Tattoo Paper and Inkjet Printer
Printer performance makes or breaks your design. Inkjet models vary widely – some smear colors, while others struggle with crisp lines. Test black density by printing sample graphics before committing to full sheets.
| Method | Key Materials | Best For |
|---|---|---|
| Tape Transfer | Packaging tape, regular paper | Quick monochrome designs |
| Perfume Technique | Alcohol-based fragrances, hot water | Vintage-style transfers |
| Craft Approach | Specialty tattoo paper, gel pens | Vibrant multi-color art |
Gathering Household Items and Optional Supplies
Scissors trim designs to perfection, while baby powder locks ink in place. Cologne becomes your secret weapon – its alcohol content helps release images from paper. Keep rubbing alcohol nearby for quick skin prep.
Gloves prevent smudges during transfers. Hairspray adds staying power to finished pieces. Tracing paper lets you sketch ideas before finalizing them. Remember: Your printer’s ink type determines whether designs last 12 hours or 3 days.
how to make temporary tattoos: A Step-by-Step Guide
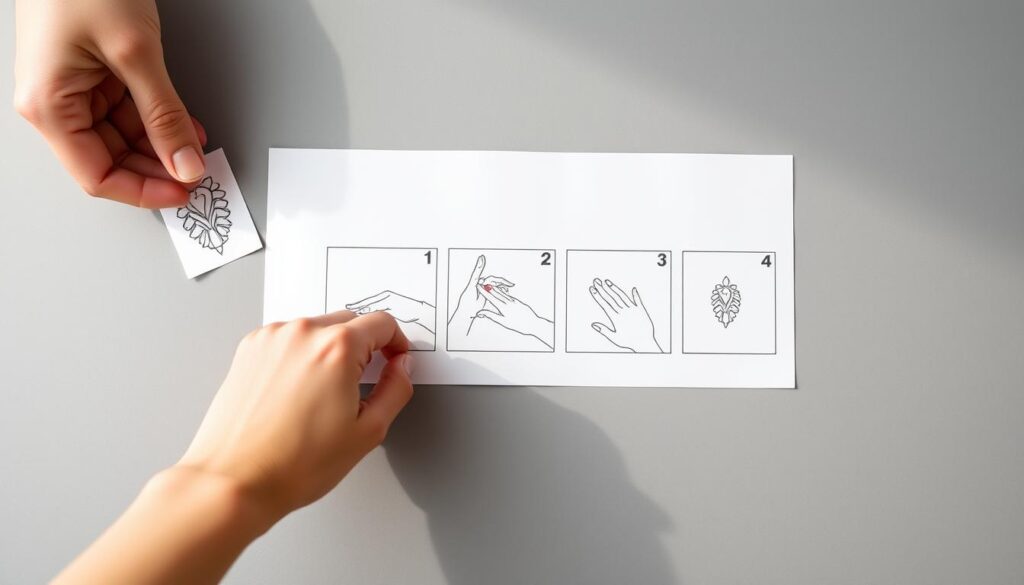
Transform ordinary materials into striking skin statements using these professional techniques. Whether you’re crafting delicate patterns or bold graphics, precision matters at every stage.
Preparing Your Design and Printer Settings
Mirror-flip your artwork before printing – letters and symbols must reverse for correct placement. High-contrast black-and-white designs transfer best, while color images require specialty paper. Set your printer to “best quality” mode and let ink dry completely.
| Transfer Method | Materials Needed | Average Duration |
|---|---|---|
| Packaging Tape | Clear tape, scissors | 12-24 hours |
| Perfume Technique | Alcohol-based fragrance, bowl | 2-3 days |
| Specialty Paper | Inkjet tattoo sheets | 5-7 days |
Transferring the Image to Your Skin
Clean your skin with soap and pat dry thoroughly – moisture ruins transfers. Position the paper face-down, then press firmly for 30 seconds. Slowly peel one corner to check adhesion. If edges lift, re-press for 15 more seconds.
“The secret? Let the ink bond completely before moving the stencil.”
Applying Colour, Sealing, and Enhancing Durability
Wait 10 minutes before adding colored details with cosmetic markers. Dust baby powder over finished designs to absorb oils. For extra staying power, mist hairspray from 6 inches away. Reapply perfume layers every 8 hours to refresh alcohol-based transfers.
Avoid tight clothing over fresh designs for the first hour. Swimming or sweating? Apply waterproof sealant. Most methods last 1-3 days – perfect for testing styles before committing.
Advanced Techniques and Customization Ideas
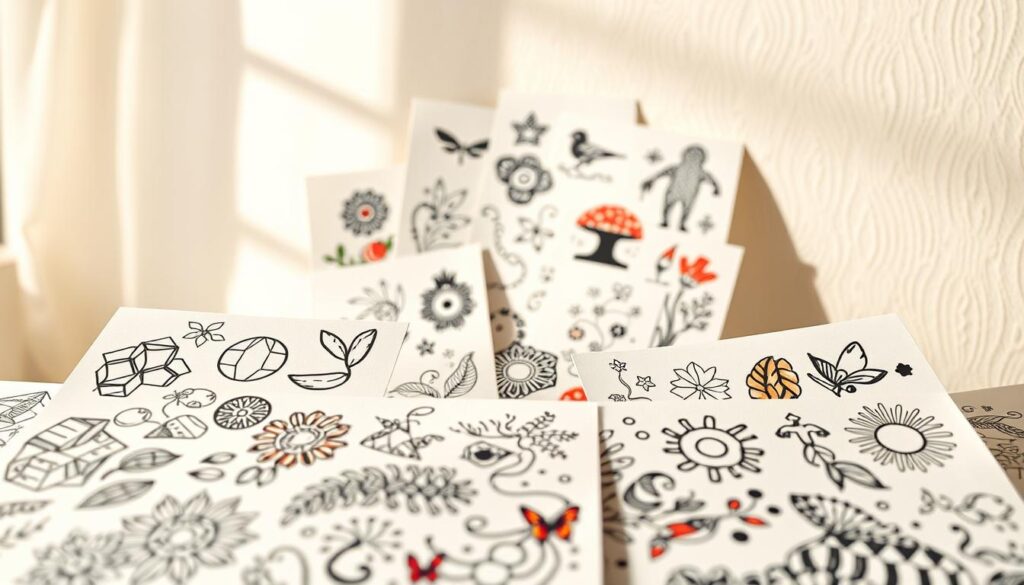
Ready to elevate your body art game? Professional-level results come from clever material combinations and strategic layering. These methods turn basic designs into gallery-worthy skin statements.
Utilizing Perfume, Baby Powder, and Alternative Methods
The perfume technique creates semi-permanent magic. Apply alcohol-based fragrance to transfer paper, press firmly, and watch designs bond for up to 14 days. Boost longevity by dabbing Vaseline daily – it locks moisture while keeping artwork crisp.
Seal colored pieces like a pro:
- Dust baby powder with a makeup brush
- Tap away excess with clean tissue
- Mist hairspray from 8 inches away
Liquid eyeliner becomes your sketchpad for freehand creations. Add depth with matching eyeshadow, then set with translucent powder. Pro tip: Blend multiple markers for sunset gradients that look airbrushed.
Tips for Long-Lasting Results and Creative Variations
Balance is crucial. Too much sealing spray causes cracking, while insufficient powder lets oils break down designs. Test combinations on your inner wrist before committing to visible areas.
| Skin Type | Ideal Sealer | Max Duration |
|---|---|---|
| Oily | Cornstarch + matte spray | 28 hours |
| Dry | Baby powder + hydrating mist | 42 hours |
Layer stencils for 3D effects. Place geometric patterns under floral vines, or surround bold symbols with delicate dots. Your collarbone becomes a canvas for evolving artwork that changes with your mood.
Conclusion
Body art becomes a playground when creativity meets removable solutions. You’ve mastered techniques that turn imagination into wearable statements—no needles required. Whether testing sleeve concepts or accessorizing for a party, your skin transforms into a personal gallery.
Removal stays stress-free. Warm water and gentle rubbing erase most designs. Stubborn inks? A cotton swab dipped in acetone does the trick. Pro tip: Avoid neck spiders before beach days—strategic placement saves wardrobe panic.
Each method serves different needs. Quick perfume transfers work for last-minute events, while sealed paper designs endure vacations. Always patch-test new techniques on a small area first. Your inner wrist makes the perfect lab for experimentation.
The real magic? Freedom to reinvent yourself daily. Bold patterns, delicate vines, or abstract splashes—your body becomes clay for self-expression. Now go turn Tuesday’s coffee stain sketch into tomorrow’s conversation-starting tattoo.
